How to Prevent and Treat Blisters when Hiking
Updated on
-
Sneak Peak – The 5 Key Tips
- Wear properly fitting footwear. This is the best way to prevent blisters.
- High-quality hiking socks help prevent blisters – if they have the right size and thickness.
- Blisters are caused by moisture inside your shoes, from sweat or the weather.
- This is why it’s important to keep your feet as dry as possible.
- Using blister plasters at critical areas can prevent blisters or stop them getting worse.
For more in-depth information, read the whole article.
- Hiking blisters – What causes them?
- How to prevent blisters in hiking boots
- Choosing the right boots
- Managing moisture
- How to avoid blisters with foot care
- How functional socks can help
- First aid: How to treat blisters
Outdoors at last – enjoying the lush forest trails, alpine ridges and steep summits with panoramic mountain views. Time to re-energise and reconnect. However, if you get blisters, even the most magical, dream trails can be a nightmare for your feet and everything can end up going downhill from there on.
However, this does not have to be the case. If your boots fit and your socks are clean and dry, you can make hiking blisters the exception, not the rule.

1 Hiking blisters – What causes them?
Pretty much every hiker is familiar with this common complaint: What starts out as a slight rubbing feeling and hot sensation can quickly progress to become a painful water blister inside your socks.
Our skin has three layers: the epidermis, dermis and subcutaneous tissue. Friction in your boots causes these layers of skin to rub against one another. The shearing force causes the layers to separate and a bubble of fluid forms. This fluid (called serum) provides natural protection for the skin beneath it.
Don’t ignore the warning signs: if you notice a ‘hot spot’, it’s best to treat it immediately – especially if you still have kilometres of trail to go. If you’ve caught the spot before a blister has fully formed, prevention is key. Because if you ignore it, the blister might get bigger, fill with more fluid and ultimately burst inside your sweaty, dirty boot and sock.
If you see red fluid – a blood blister – this means that your capillaries in the area of the blister might also have been damaged.
Expertise and know-how for your outdoor adventures – welcome to the HANWAG BOOTCAMP. Watch the how-to videos on our YouTube channel.
Blisters can be caused by a number of reasons:
- Boots that don’t fit properly.
- Stones or pine needles inside your boots.
- Dust or sand in your socks.
- Seams or wrinkles in your socks.
- Wet boots from rain, or crossing a stream or snowfield.
- Extremely sweaty feet.
Hiking blisters are often caused by the moisture produced by sweating. It’s like when you step out of the bath and look down at your feet. When your skin is soft, wrinkly and sensitive, these are the ideal preconditions for blisters to form. Steep ascents and descents and carrying a heavy pack can also increase the risk of blisters. Because this increases friction and rubbing inside your boots.

2 How to prevent blisters in hiking boots
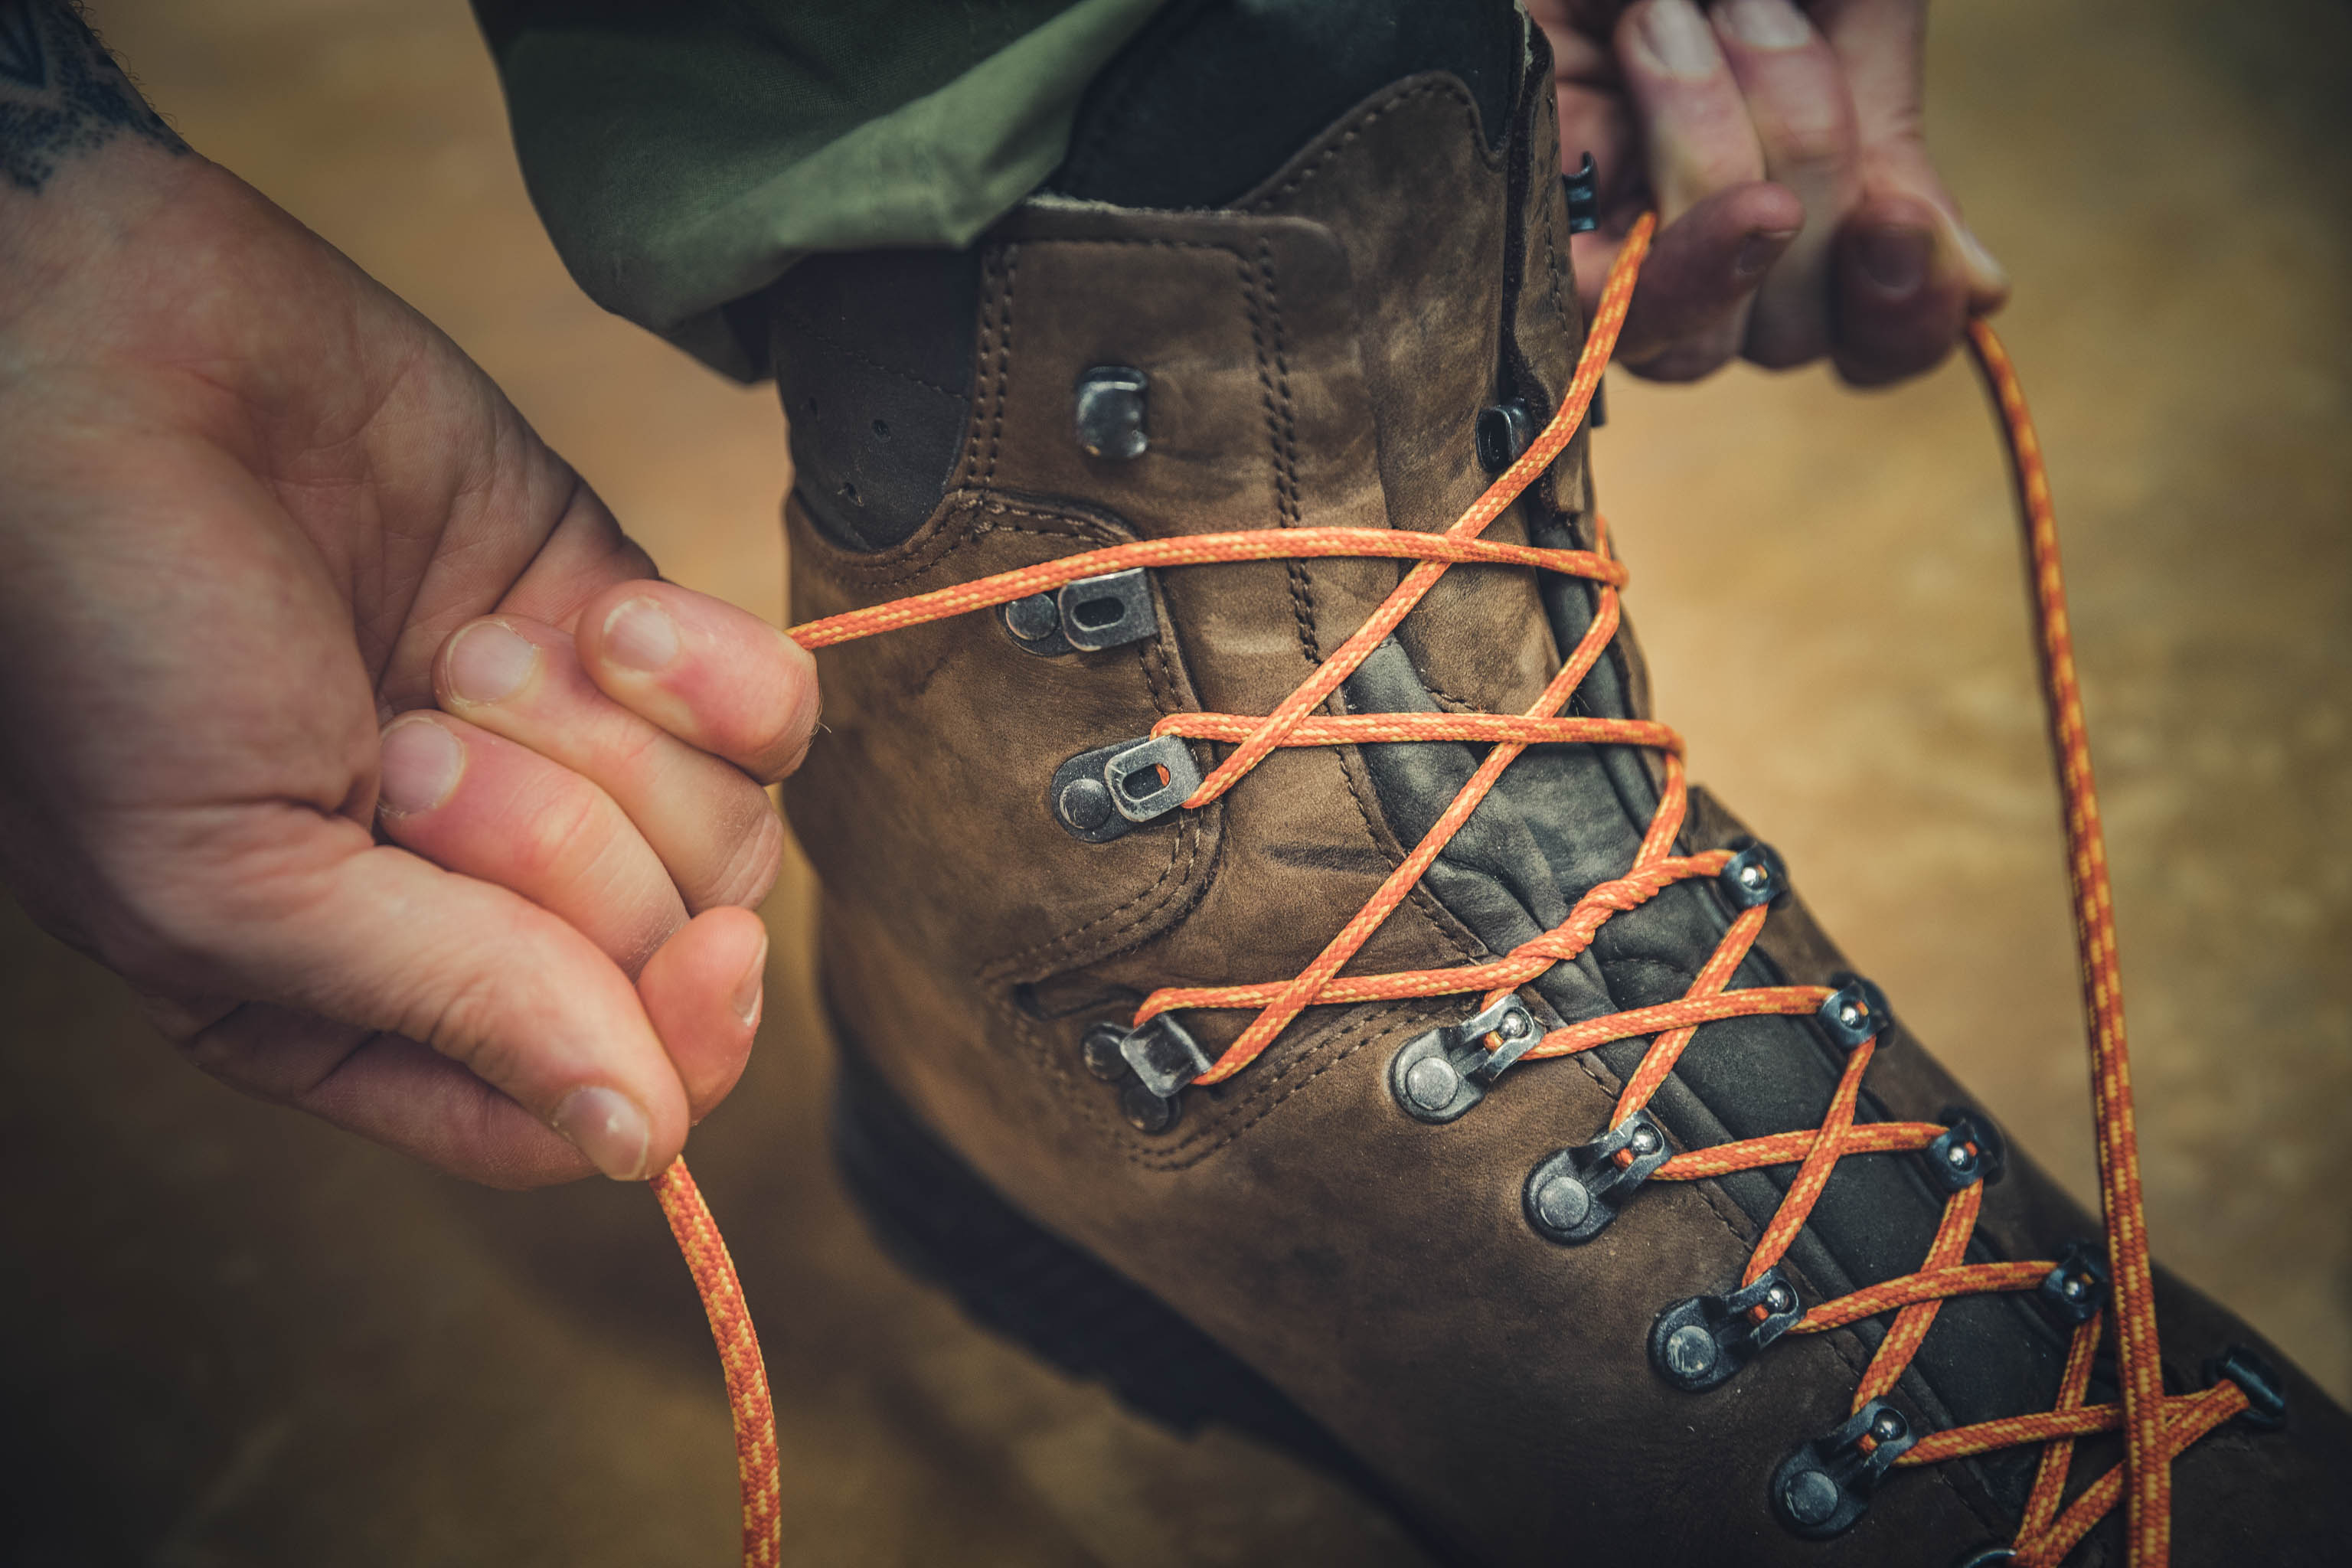
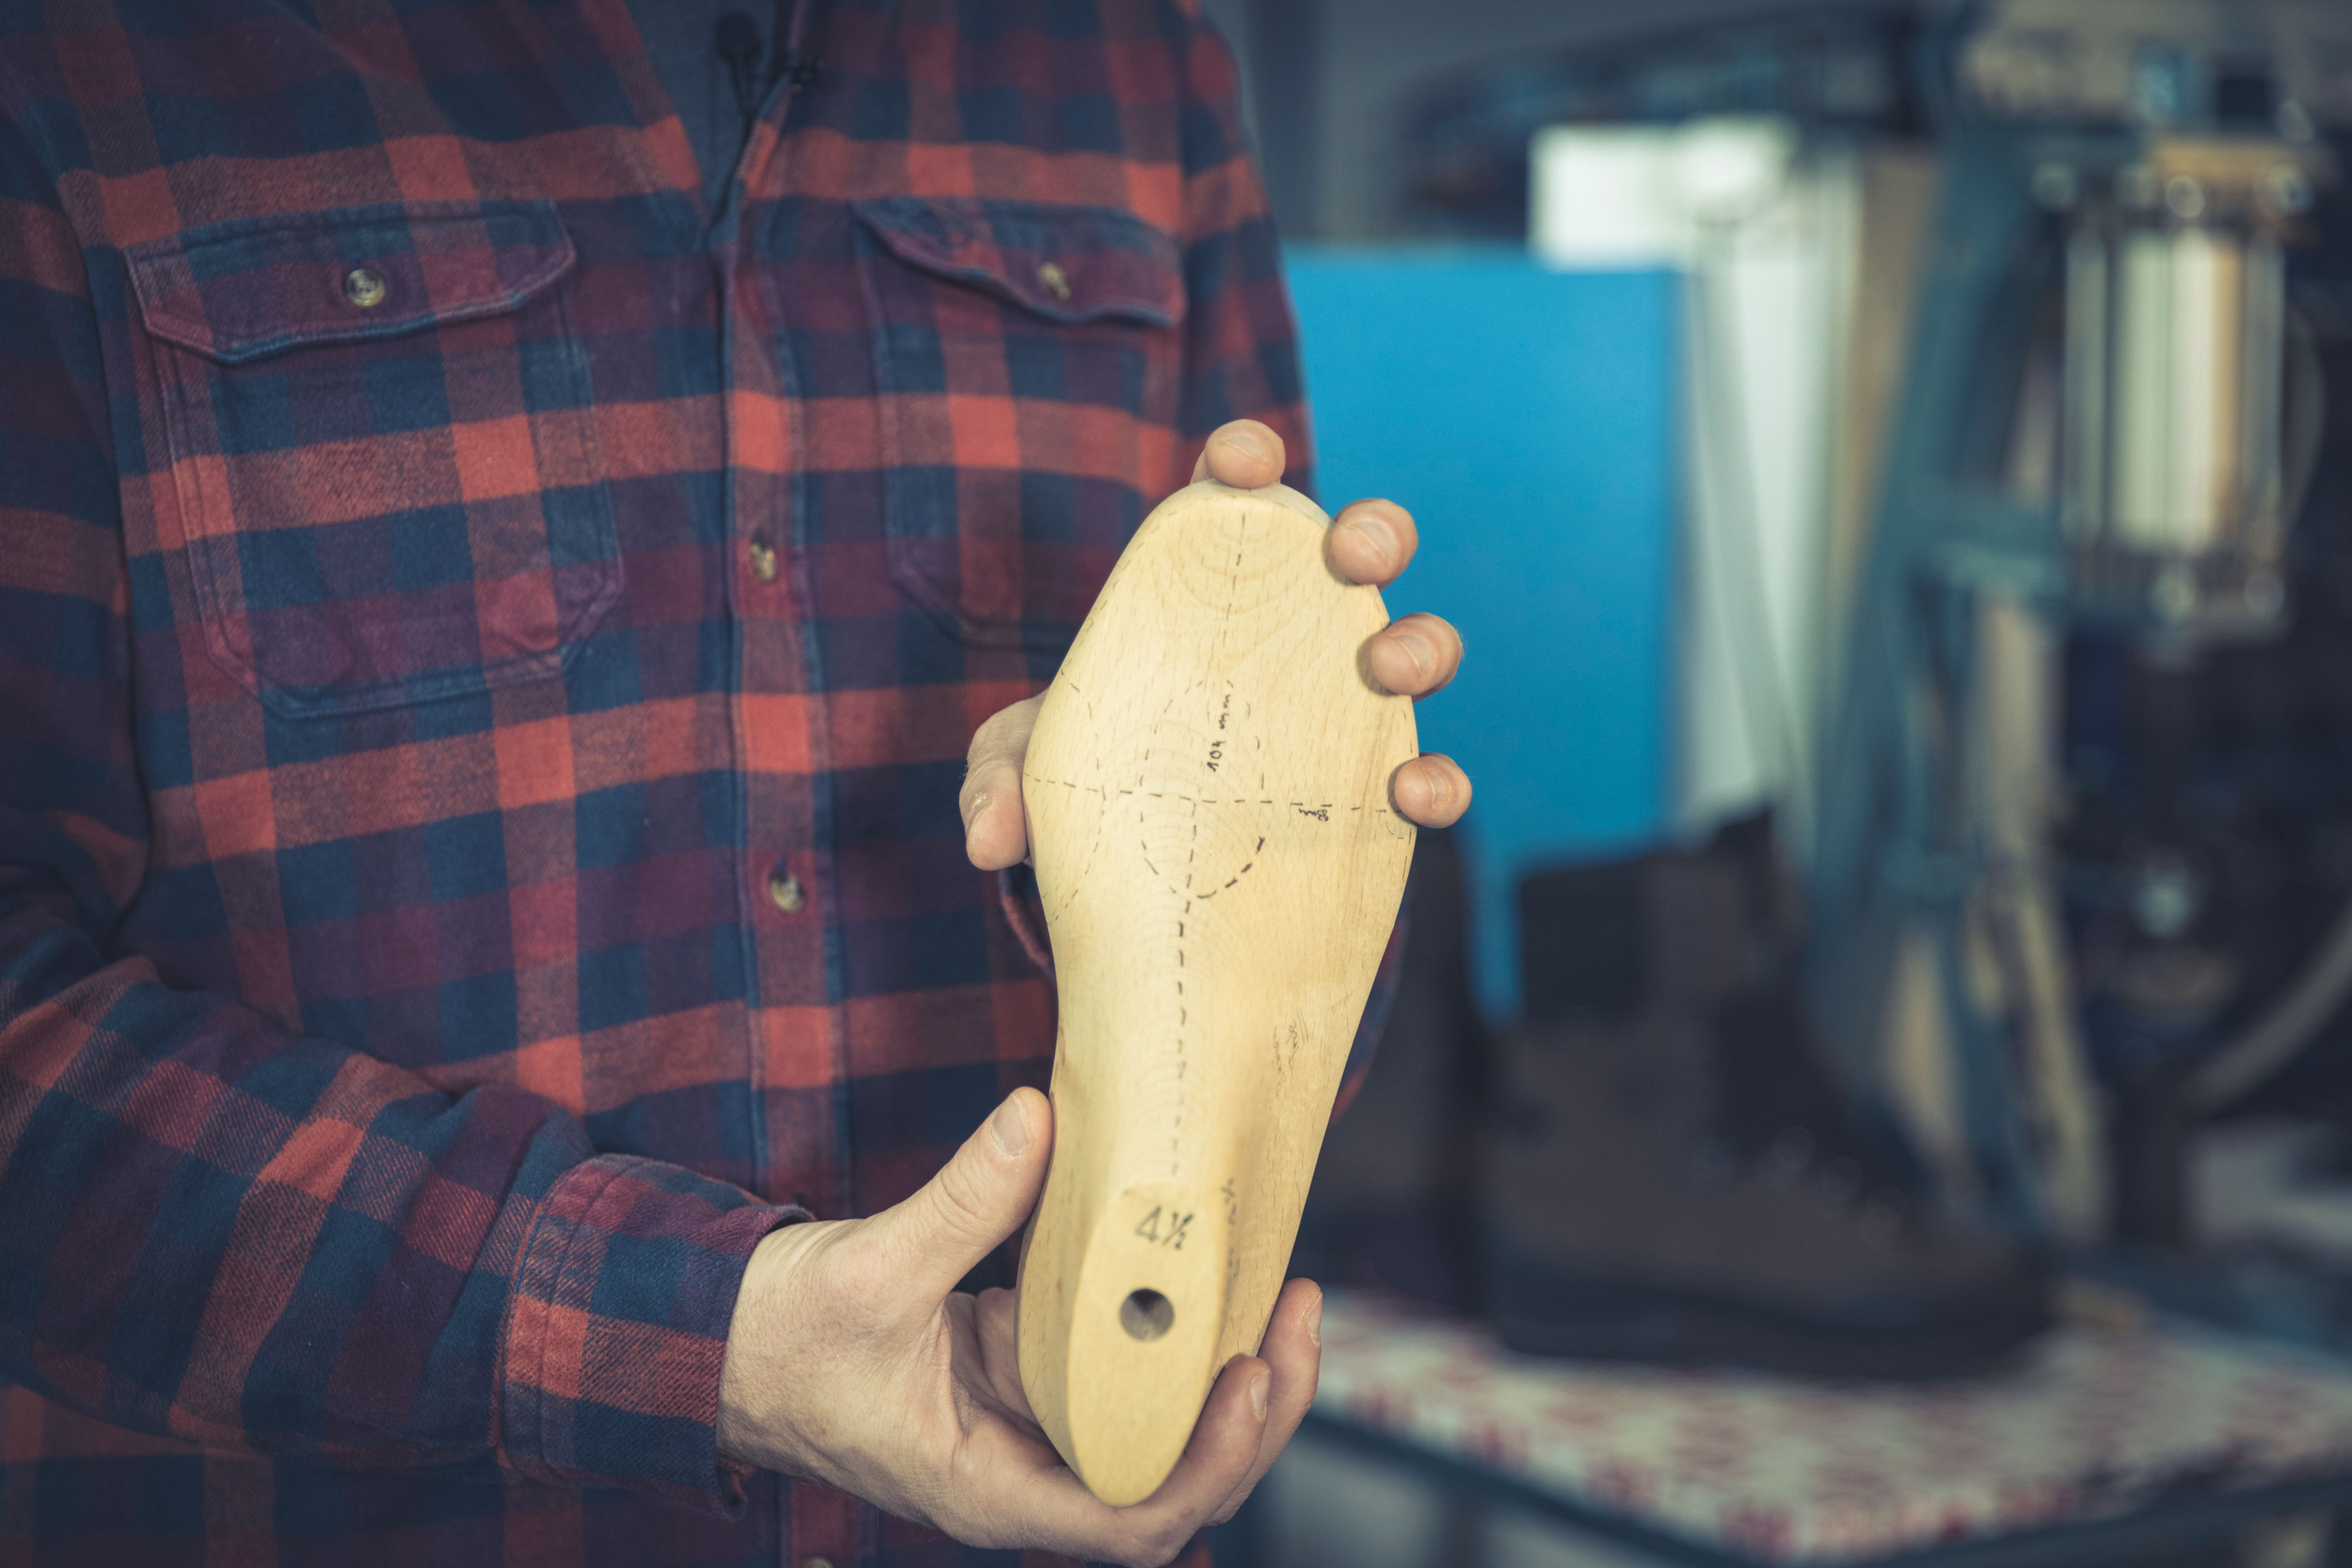
However, there is good news… by following good advice and using proven techniques you can prevent hiking blisters. The most important factor though is that your boots fit correctly right from the start. “If a boot rubs when you try it on in-store, – even if only slightly – we recommend that you choose a different model,” says Andreas Settele, Head of Research and Development HANWAG. “Take your time to find the right boot for your feet.”
Tip: A lightweight heel wedge or a thin spacer sole under the footbed can reduce the volume and improve heel support. The lacing plays an important role too: If your boot is laced too loose, then it will automatically rub more.
3 Choosing the right boots
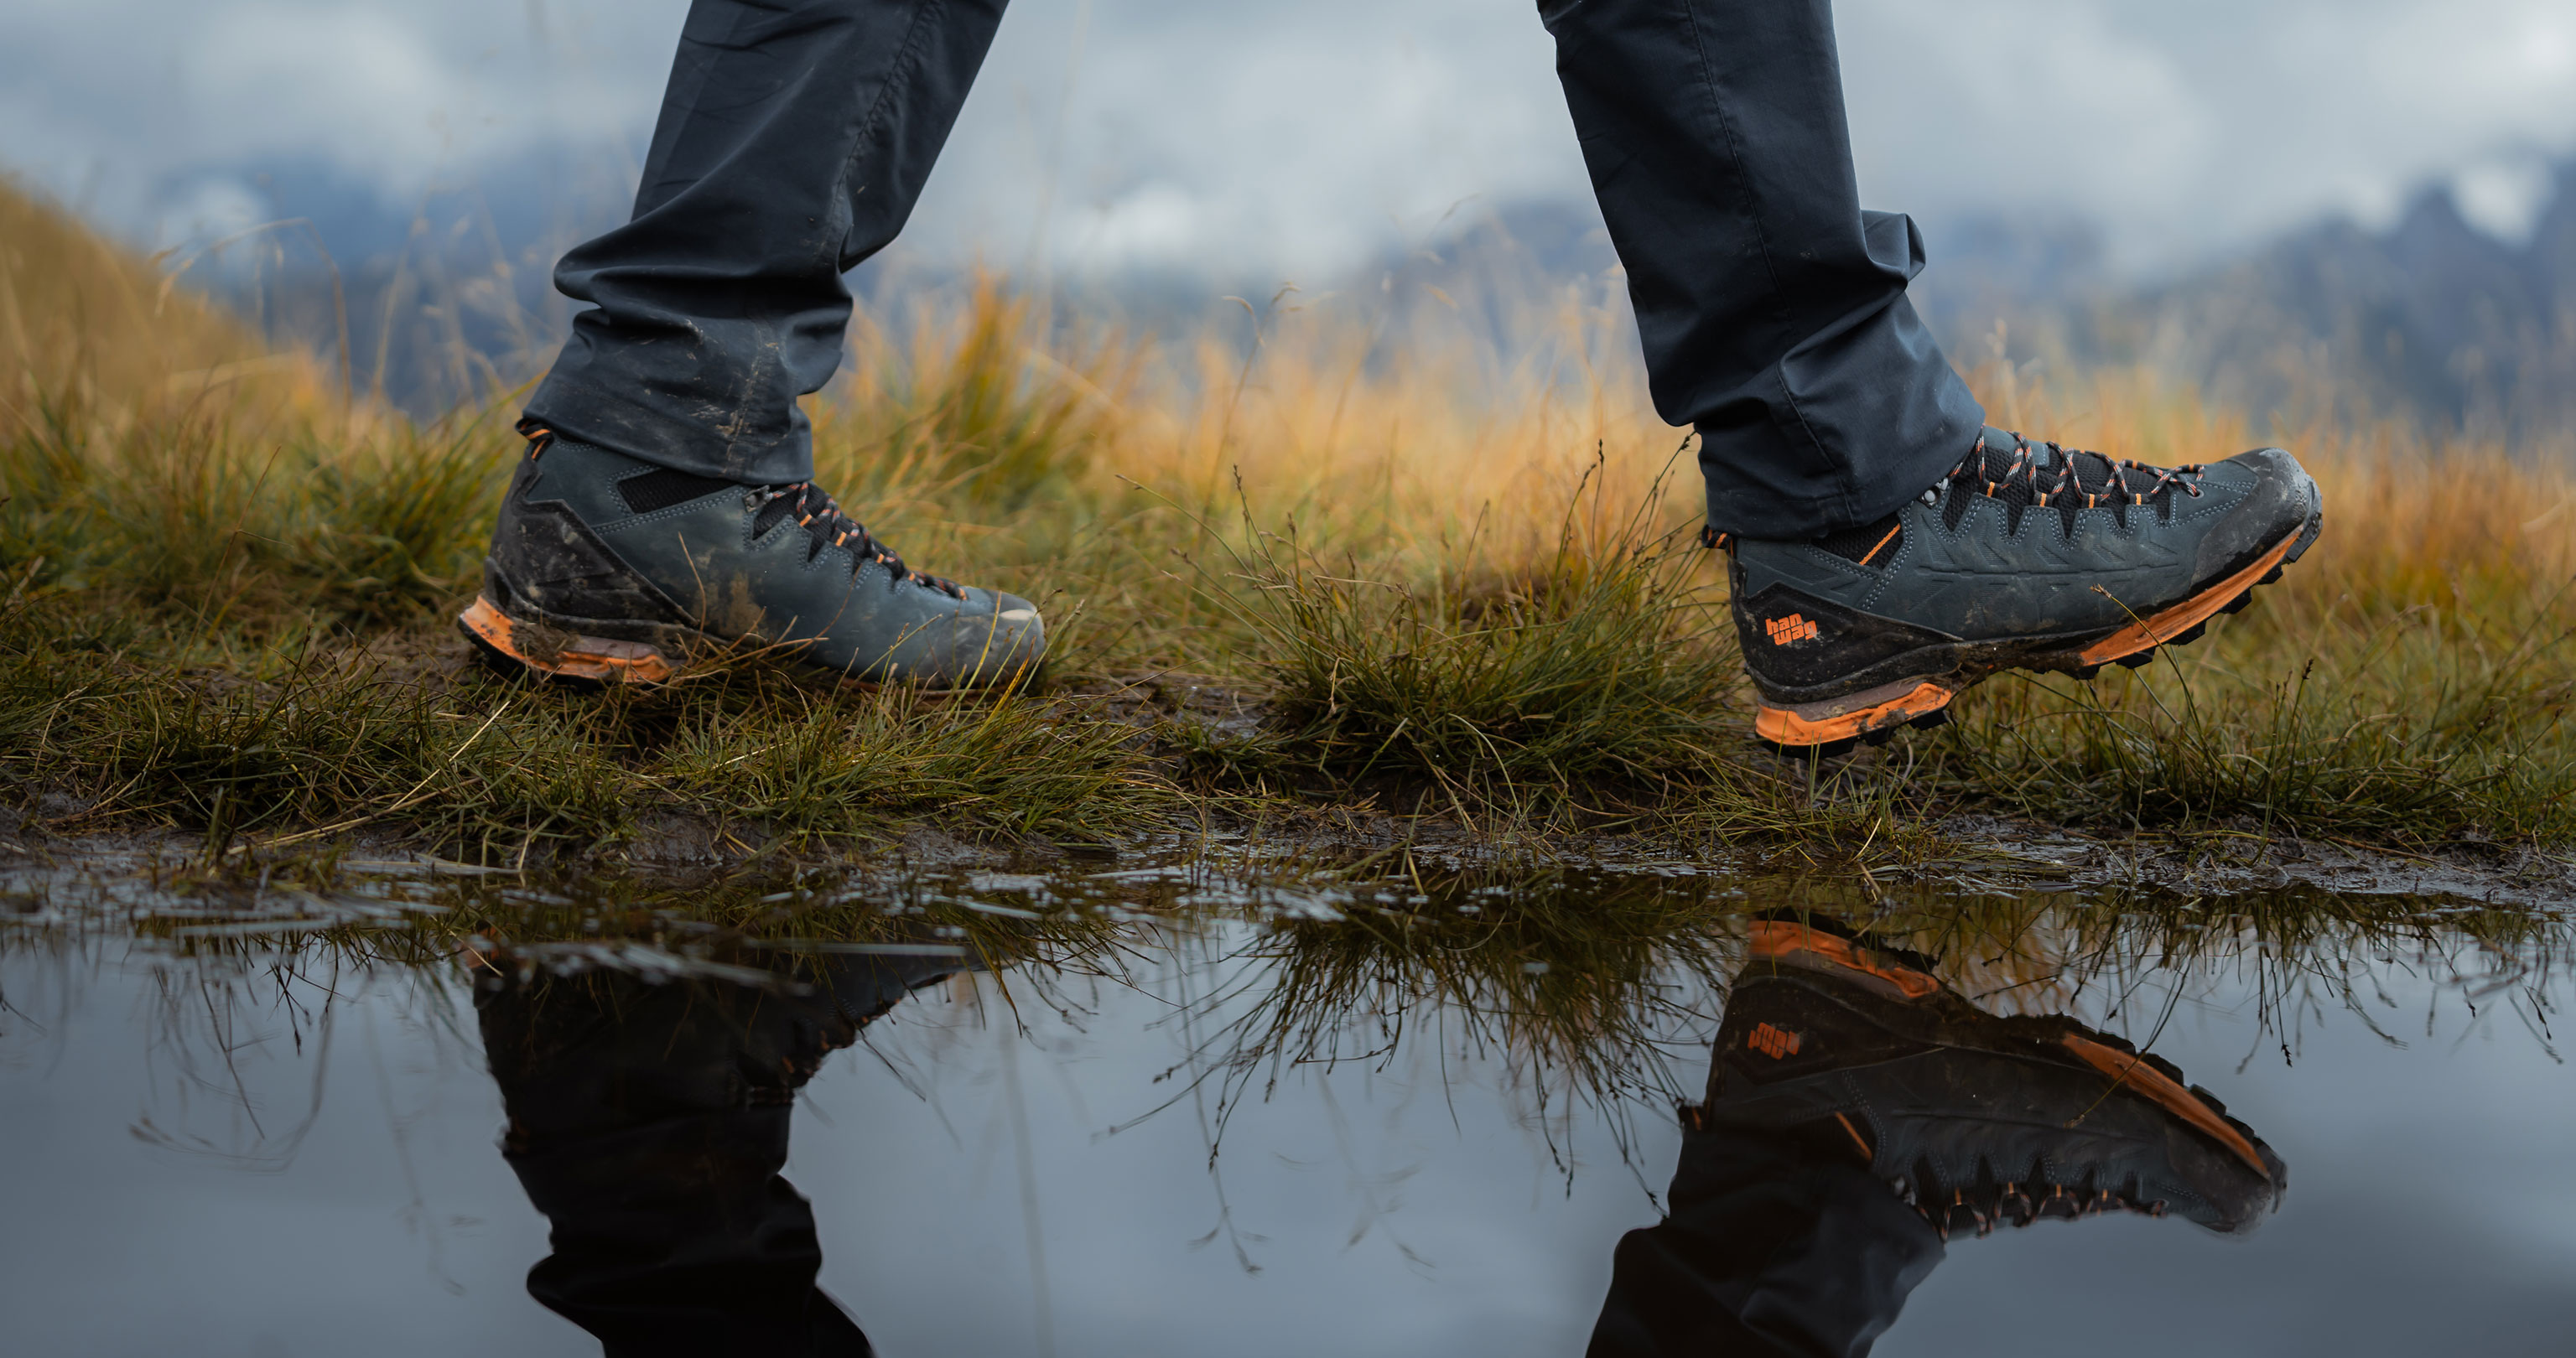
Your boots should match your planned activity. The longer the distances you plan to hike, the more important it is to make sure that your boot is suitable for the terrain and the weather conditions. Sturdy, relatively stiff and well insulated alpine boots are built specifically for mountain use. They are designed for climbing in rocky terrain, not for comfortable roll-off or an energy-saving gait. Moreover, they’re much too warm for summer tours at lower altitudes.
What happens when you wear these kinds of boots on a summer hiking trip? Your feet will sweat profusely, your skin gets wet and swells, making it susceptible to blisters. The stiff construction doesn’t help either: it causes lots of friction.
Conversely, you can also get blisters if you wear footwear that is too light and flexible for difficult terrain.

"Leather is highly absorbent, which helps to keep feet drier."
Andreas Settele, Head of Research and Development HANWAG4 Managing moisture
Will I get through my hiking trip without blisters? This often depends on the lining in your boots. In this respect, classic leather linings are still simply unbeatable. “Leather is more supple on the foot than fabric linings or functional membranes or other waterproof materials,” explains Andreas Settele. “In addition, leather is highly absorbent, which helps to keep feet drier.”
Tip: Gaiters help reduce the risk of blisters on feet. Especially in rough or marshy terrain or on trails with deep sand, gravel, scree and snow. They provide efficient protection and keep rain and snow out. And they can be easily stowed in your pack when you don’t need them.
Waterproof membrane systems are less suitable for summer trips and warmer regions. To absorb and transport moisture out of hiking boots, a distinct difference in inside and outside temperature is required. This is not possible in warm conditions and so waterproof membranes become counterproductive. Sweat cannot escape from the shoe. Moisture accumulates on the inside. The feet get soft – and are more prone to blisters.
Andreas Settele’s advice: “For most hikers, boots that are not fully waterproof are completely fine.” Classic leather boots treated with a silicone-based PFC-free waterproof care product will easily withstand showers and puddles.

5 How to avoid blisters with foot care
On longer or multi-day treks, your feet take a fair bit of punishment. The following tips can help prevent hiking blisters:
- Cut your toenails: This is something you should do every time before you go on a tour. If your toenails are long or ingrown then they can quickly become painful and cause blisters.
- Blister plasters: If you know that you often get blisters at particular parts of your feet, then put blister plasters on these critical areas before setting off.
- Tape: To protect sensitive spots, use medical tape to cover the affected areas. Important: avoid creating folds or creases as they can rub.
- Anti-blister sticks: These can also reduce the risk of blisters. They coat the skin in a thin layer that prevents friction and chafing.
6 How functional socks can help
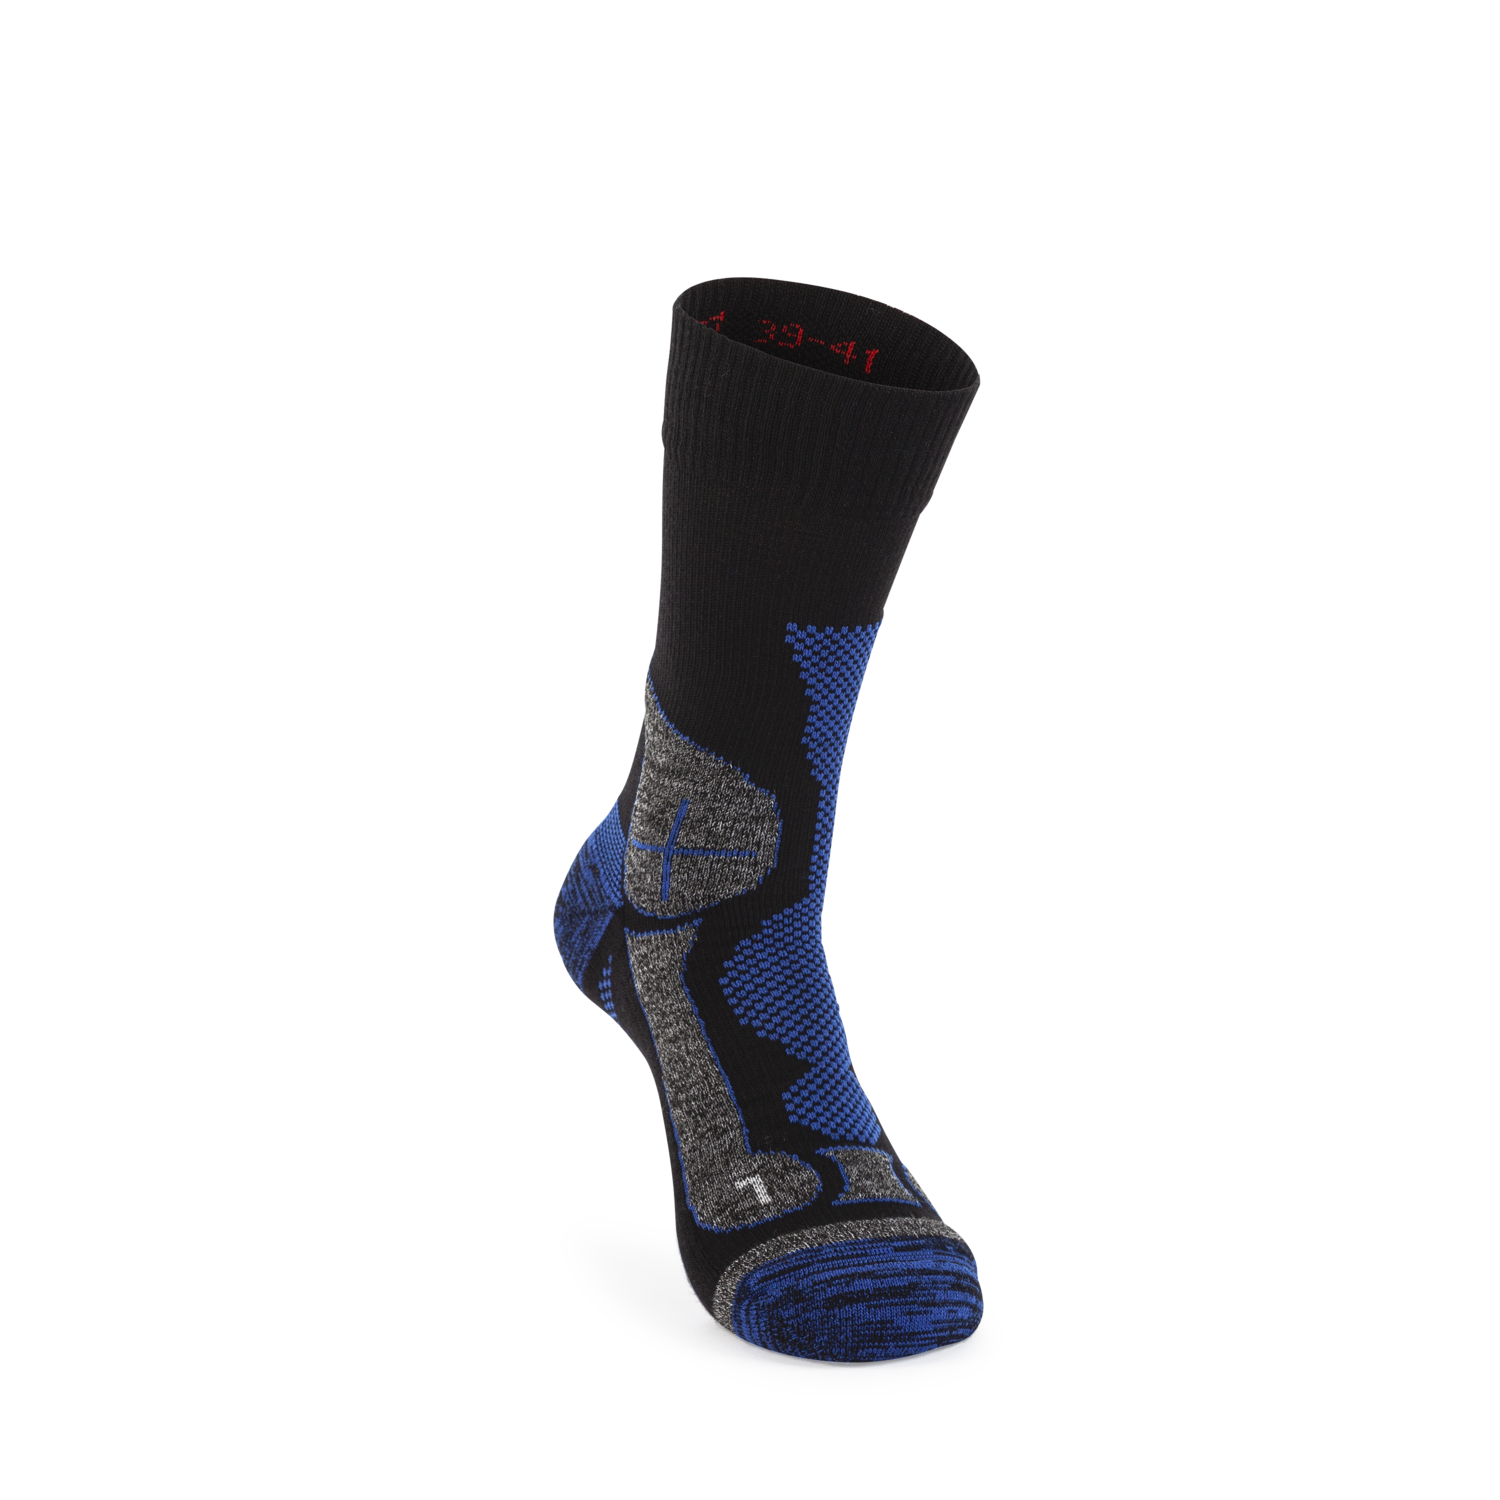
High-quality functional socks make all the difference. Modern functional socks made of durable, moisture-transporting synthetic fibres, often in combination with merino wool, inhibit unpleasant odours and keep feet warm even when wet. Avoid cotton socks as they retain moisture and hold it close to the skin.
Tip: Hiking socks with reinforced heels, toes and ankle sections reduce potential friction and last longer.

7 First aid: How to treat blisters
What to do with blisters? If possible, try to avoid piercing blisters as this can expose the skin to bacteria, which can lead to infection.
The most important thing is to treat blisters early, before they get too big. This is why precautionary measures are so important.
Blister plasters help prevent skin layers from rubbing against each other, by spreading the pressure on the sensitive spot over a greater surface area. To do this as effectively as possible, use a blister plaster that is larger than the affected area. Simply clean the skin around the blister, then apply the plaster, and you’re done.
In an emergency, normal plasters and medical tape can help – and if you have nothing else to hand then duct tape can help too – but only as long as the blister is just a hot spot and not a fully-formed blister. You should place a plaster between the duct tape and the blister, to ensure that the skin is not irritated by the adhesive.
The good news is if you catch blisters early enough, and treat them correctly, caring for your feet properly in the process, then blisters will usually heal within a few days.
Always stay up to date: Subscribe to the HANWAG newsletter and become part of our community.
If a blister has burst, or you’ve decided to pierce it because it’s too big and painful, then you should follow basic first aid rules on infection prevention: Clean the skin properly. Then, pierce the blister using a sterilised needle. Once the liquid has been drained from the blister and you’ve dried the area, you can apply a blister plaster.
The ‘operation’ is a little more complicated if the top layer of skin has been ruptured. In this case, the wound should be treated with antiseptic. If you don’t have any, then you can also use clean or boiled (and cooled) water to clean the wound. Then cover the wound with a plaster to keep it clean. A blister plaster is also the best option here, because it creates an airtight seal around the area. And since blister plasters are also waterproof, it protects the skin and keeps it dry.
"If possible, try not to pierce a blister, unless you really have to, as there is always a risk of infection."
Andreas Settele, Head of Research and Development HANWAGTake large blisters seriously – they are wounds that need to be dealt with properly. If a blister becomes infected, go to see a doctor. Indicators include thicker, yellow-coloured pus in the blister, increased pain, swelling, reddening or heat in the area or even fever. In extreme cases, this could even lead to sepsis (blood poisoning).
But that really is only the worst-case scenario. And you won’t let it go that far, because you’ll follow the care tips outlined above. And so, we wish you many hours of happy hiking – pain free and blister free.

Christian Penning
Often found on high-alpine summits, or wild, windy beaches. In the mountains of Bavaria, the Western Alps or South America – mountaineering, trekking and trail running.