Pro tips: Learn how to take good photos
Updated on
- Get out there and take more photos
- Take your photos at the right time of day
- Always keep your camera ready
- As a beginner, use automatic mode
- Stabilise your camera where necessary
- Pro Tip 1: Use a fixed focal length lens
- Pro Tip 2: Ditch auto mode
- Pro Tip 3: Take photos with slower shutter speeds
- Pro Tip 4: Incorporate people in your photos
- Pro Tip 5: Tell stories with your pictures
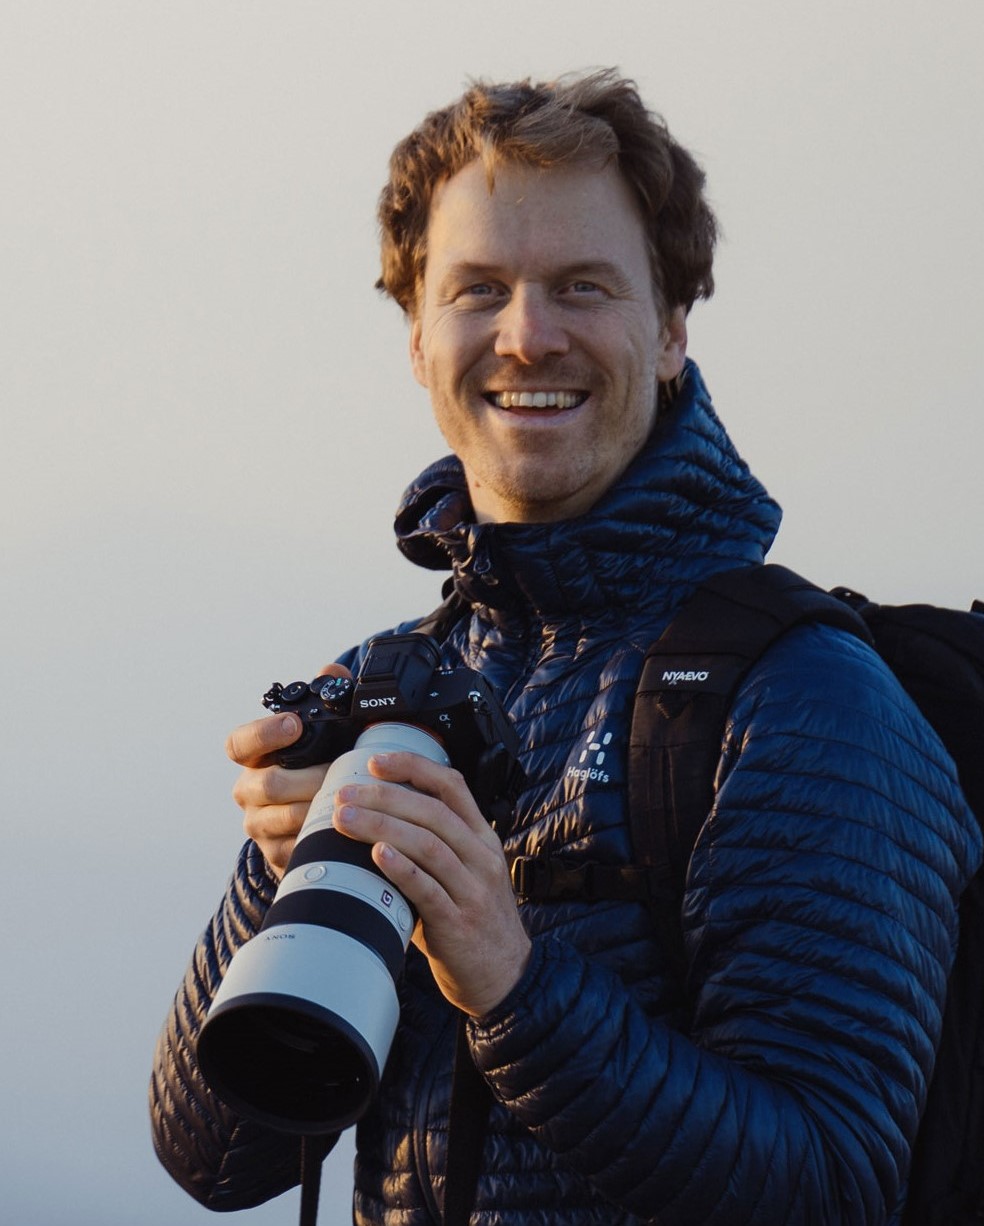
Roman Königshofer is a professional outdoor photographer. In this article, he shares tips for how to take good photos.
The first part is aimed at photography for beginners. The second part contains more advanced photography tips.
As we are talking primarily about outdoor photography tips, you’ll learn how to take better photos of hikes, landscapes and sunsets.
You don’t need an expensive camera to use Roman’s photography tips. Even if you only use a mobile phone, you’ll be able to take much better photos.
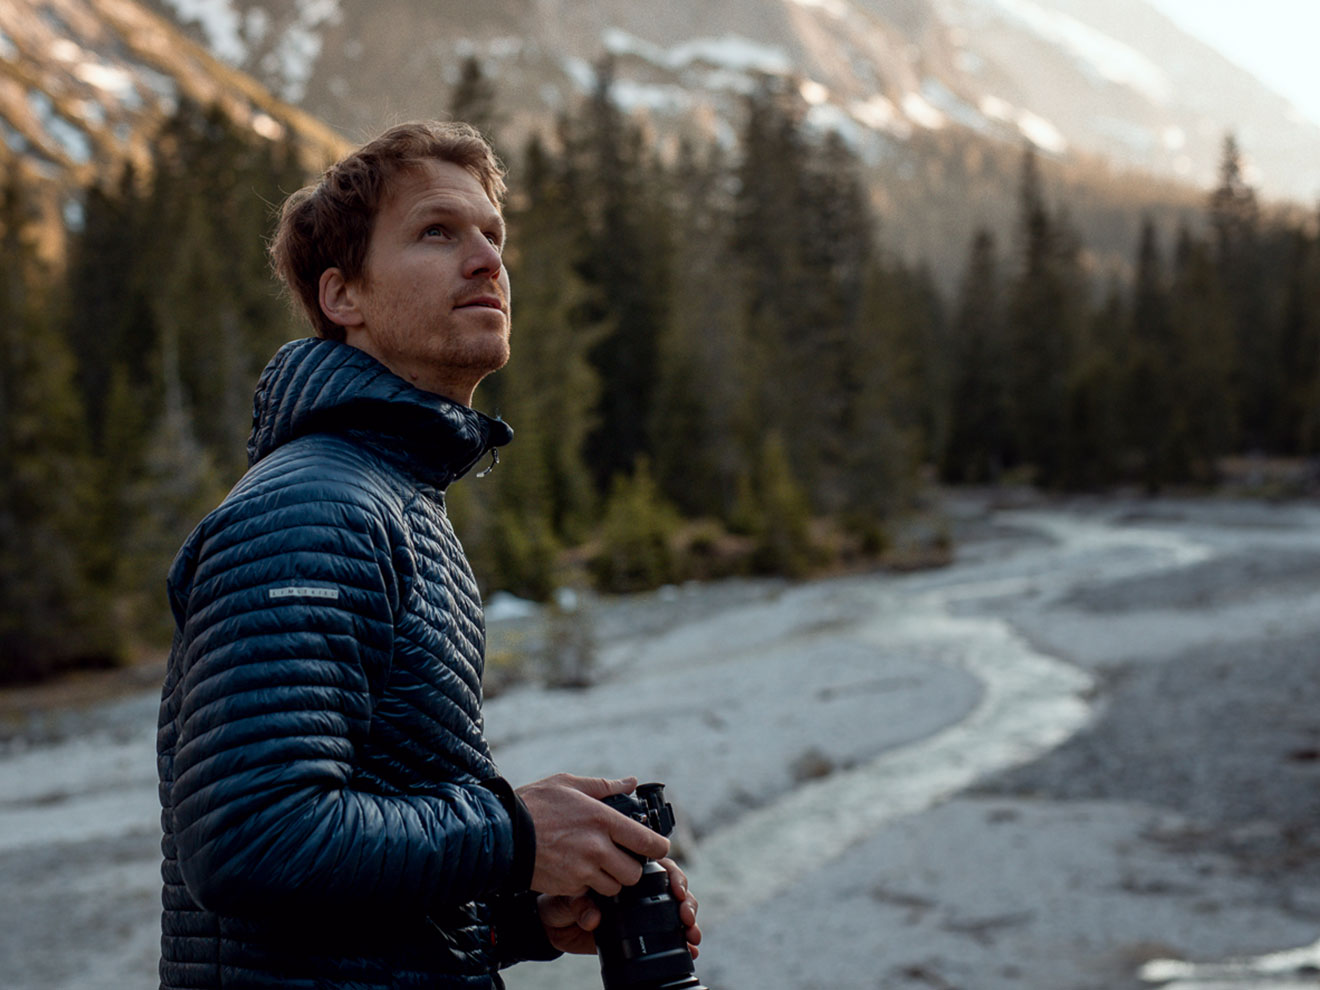
Roman Königshofer is a HANWAG Sole People member. He’s been a professional photographer and filmmaker since 2009. He works for outdoor media and in advertising for well-known companies. Roman comes from Styria, Austria and is a member of the German Roamers outdoor photographer collective. You can find Roman on Instagram here.
5 photography tips for beginners
1 Get out there and take more photos
My first tip for photography for beginners: Don’t get too hung up on your equipment. New photographers often get overly obsessed with technology. These days, you can take great photos with your phone.
The most important thing is to get out there and take more photos. After all, practice makes perfect. And the more I go out, the more chances I have of catching good conditions and being able to take better nature photos.
Don’t miss: Roman Königshofer’s best outdoor pictures
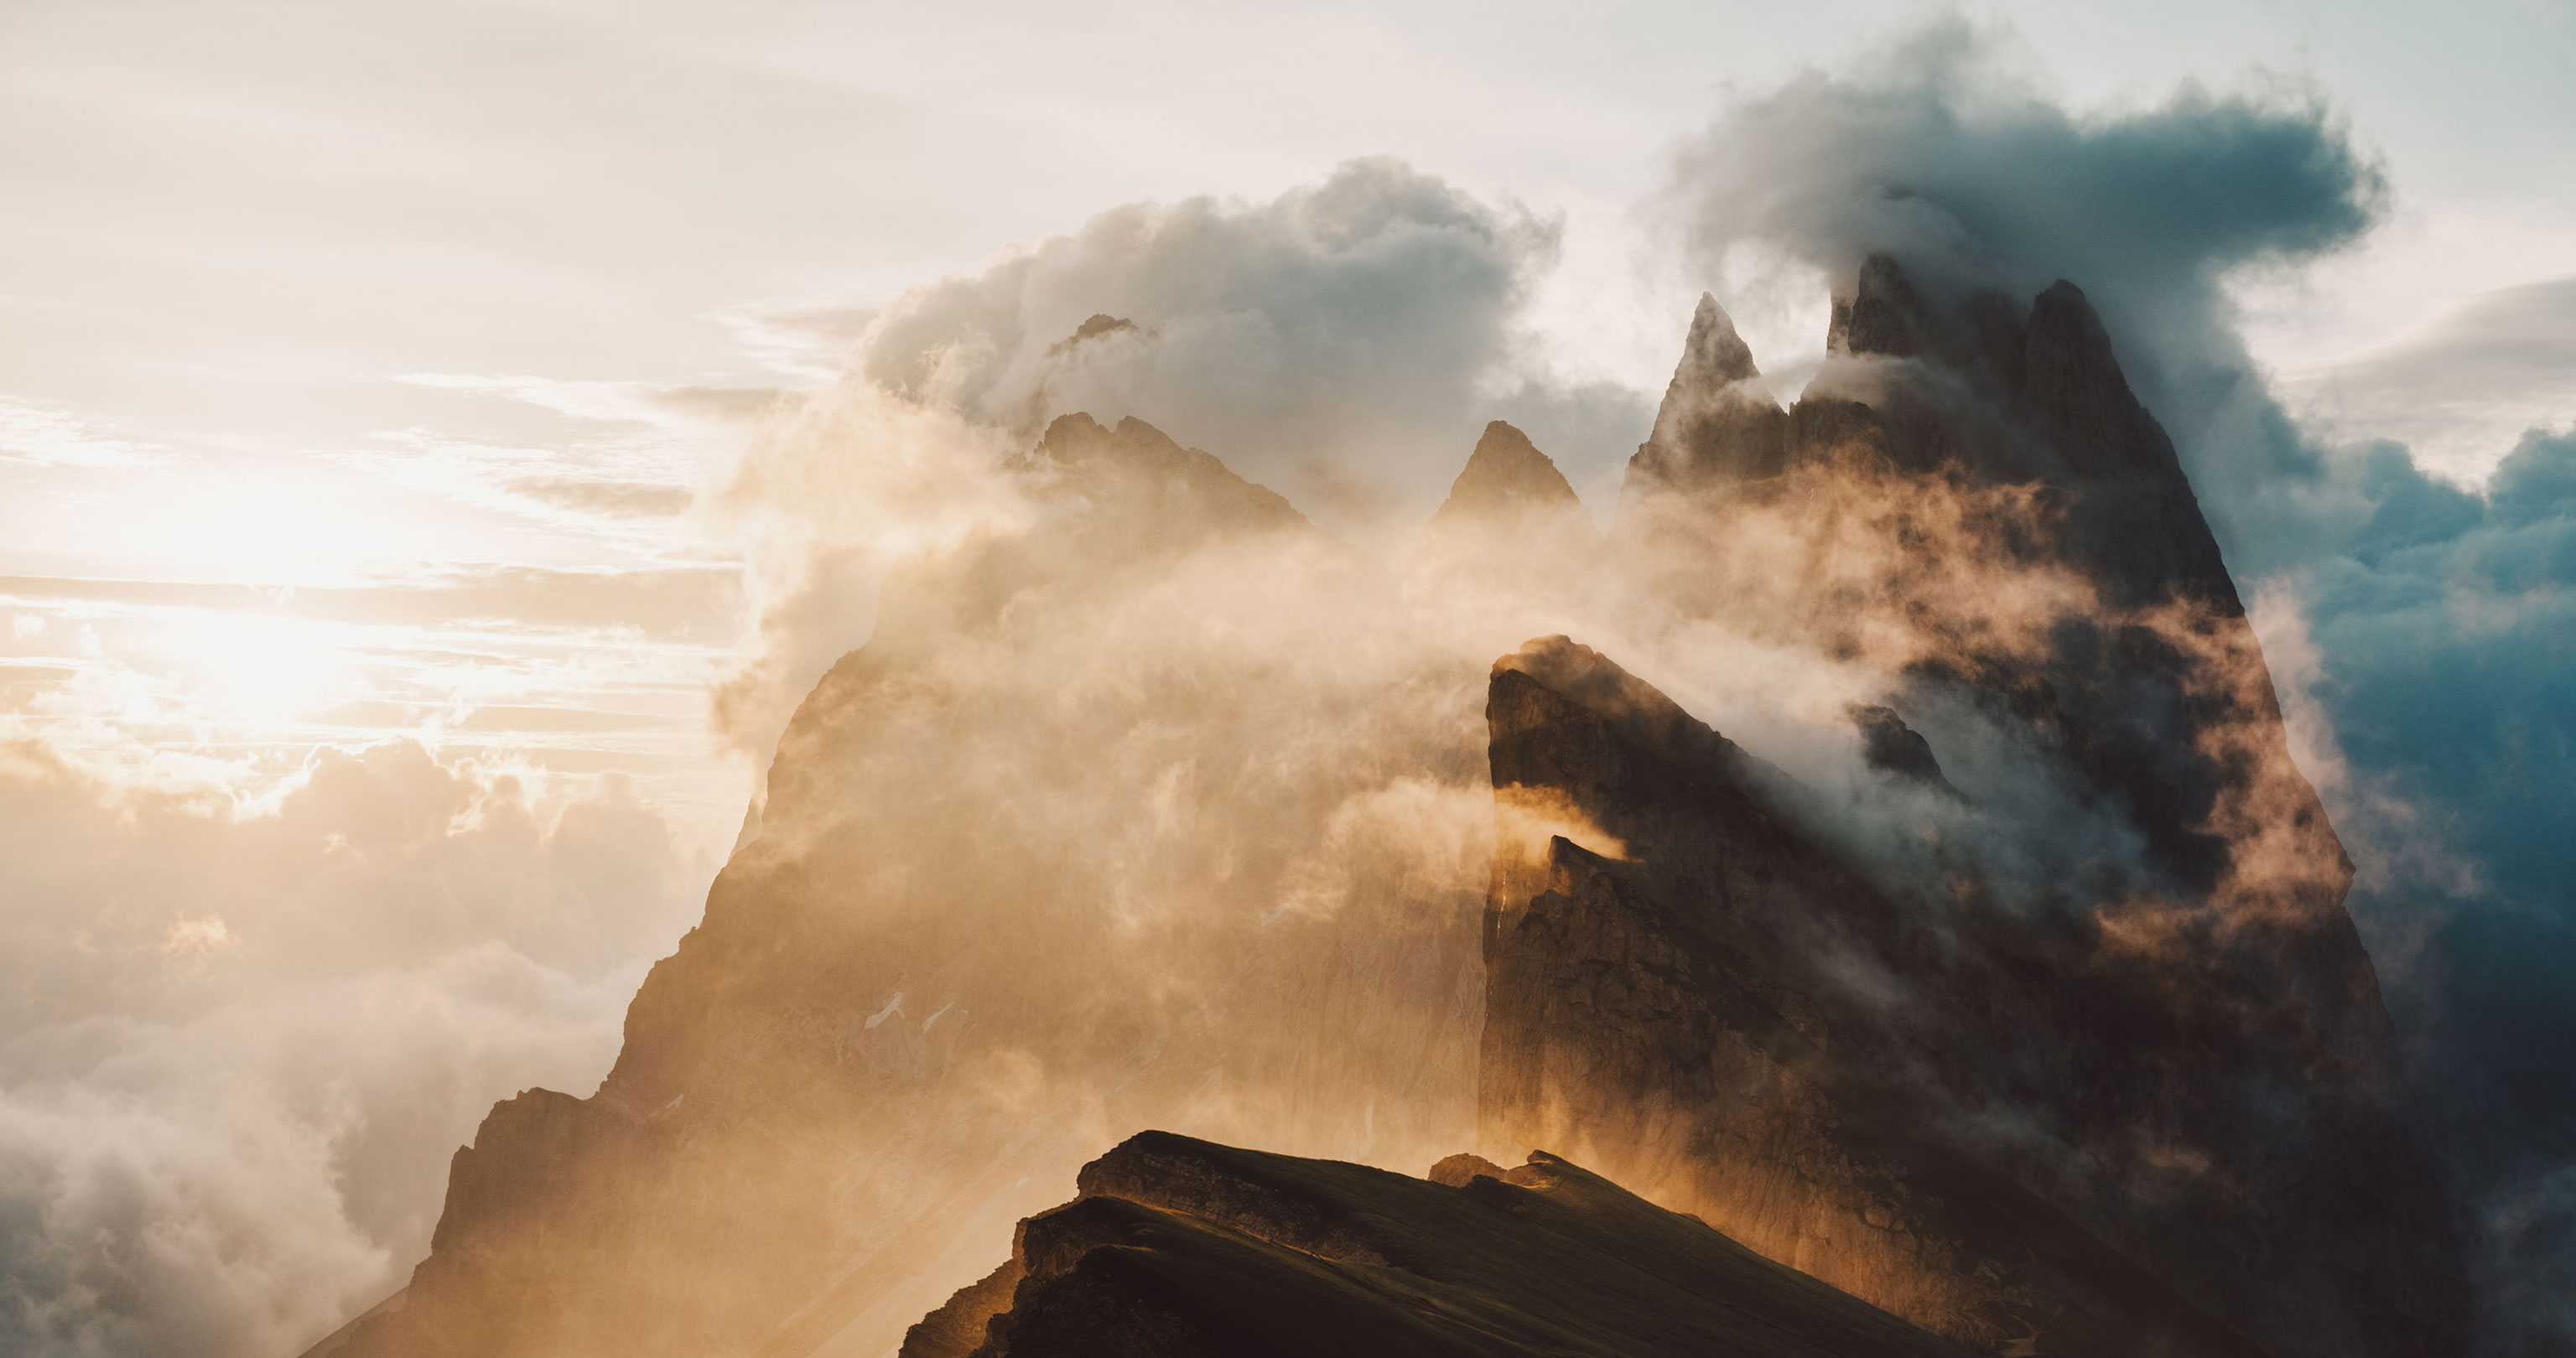
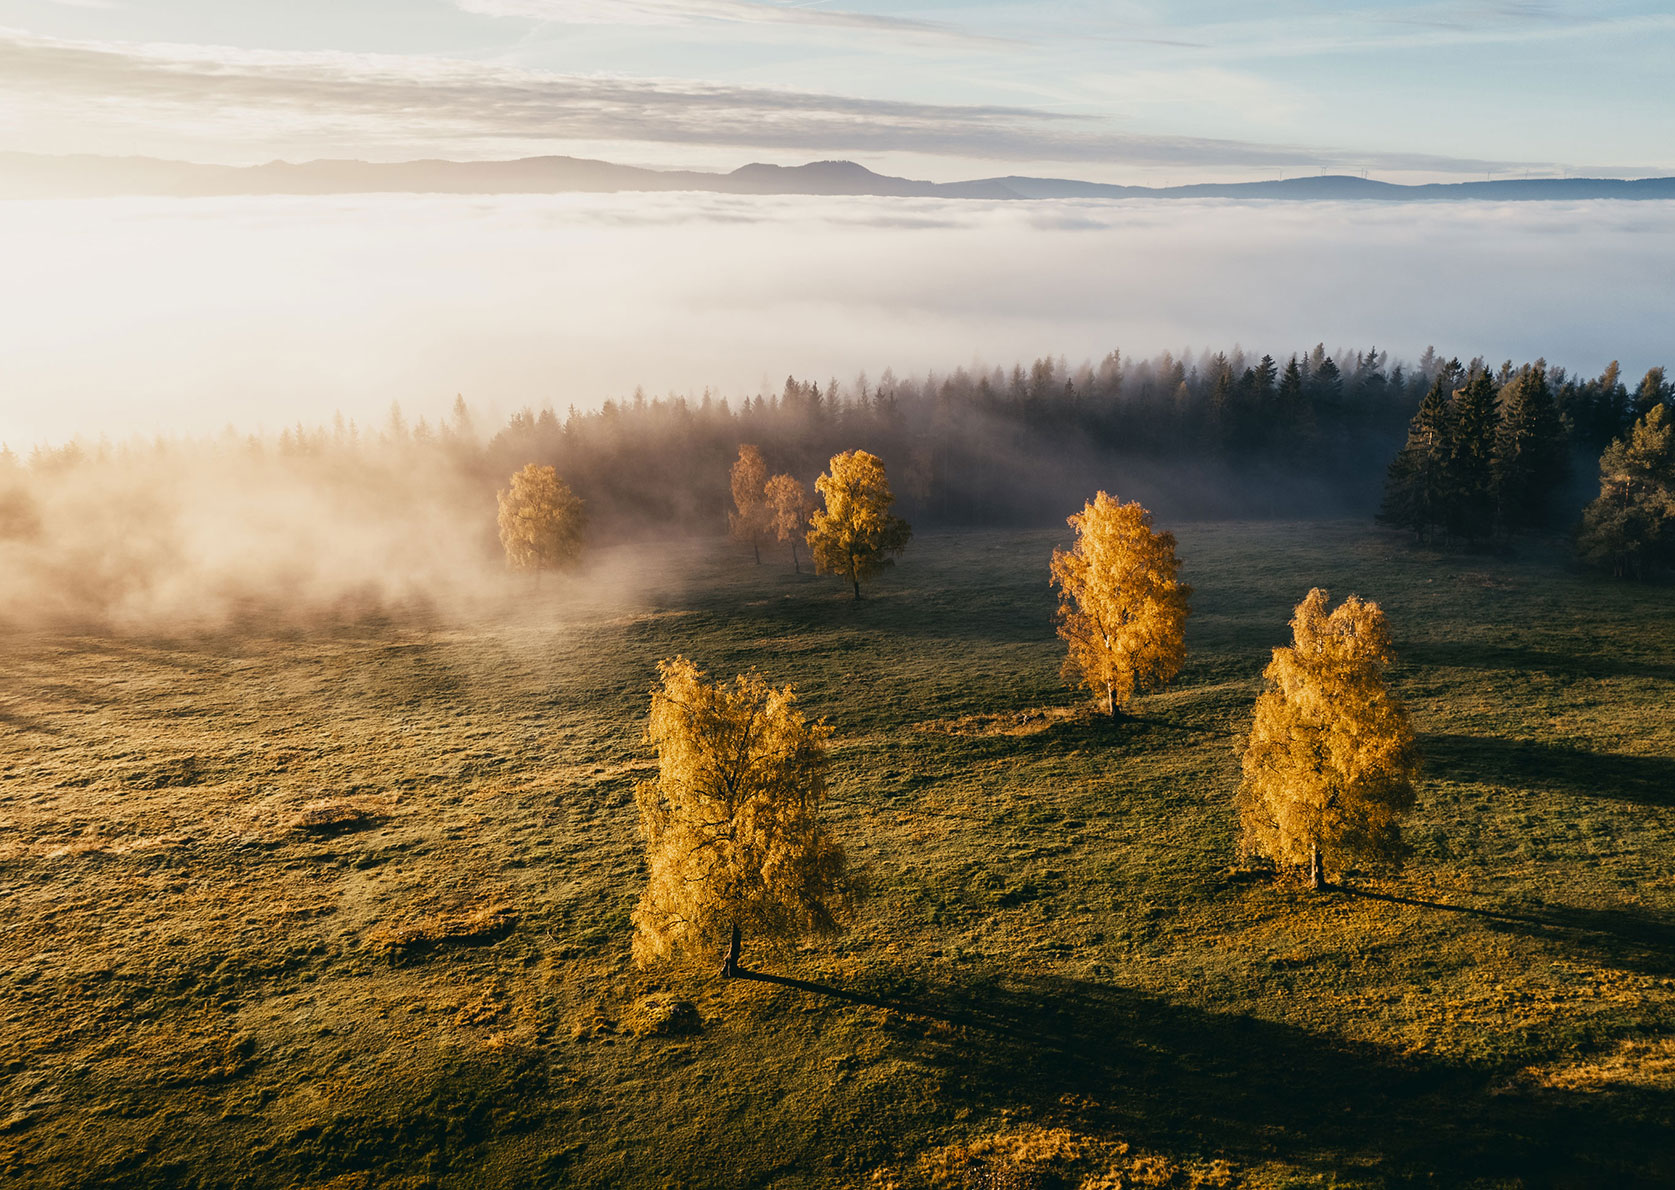
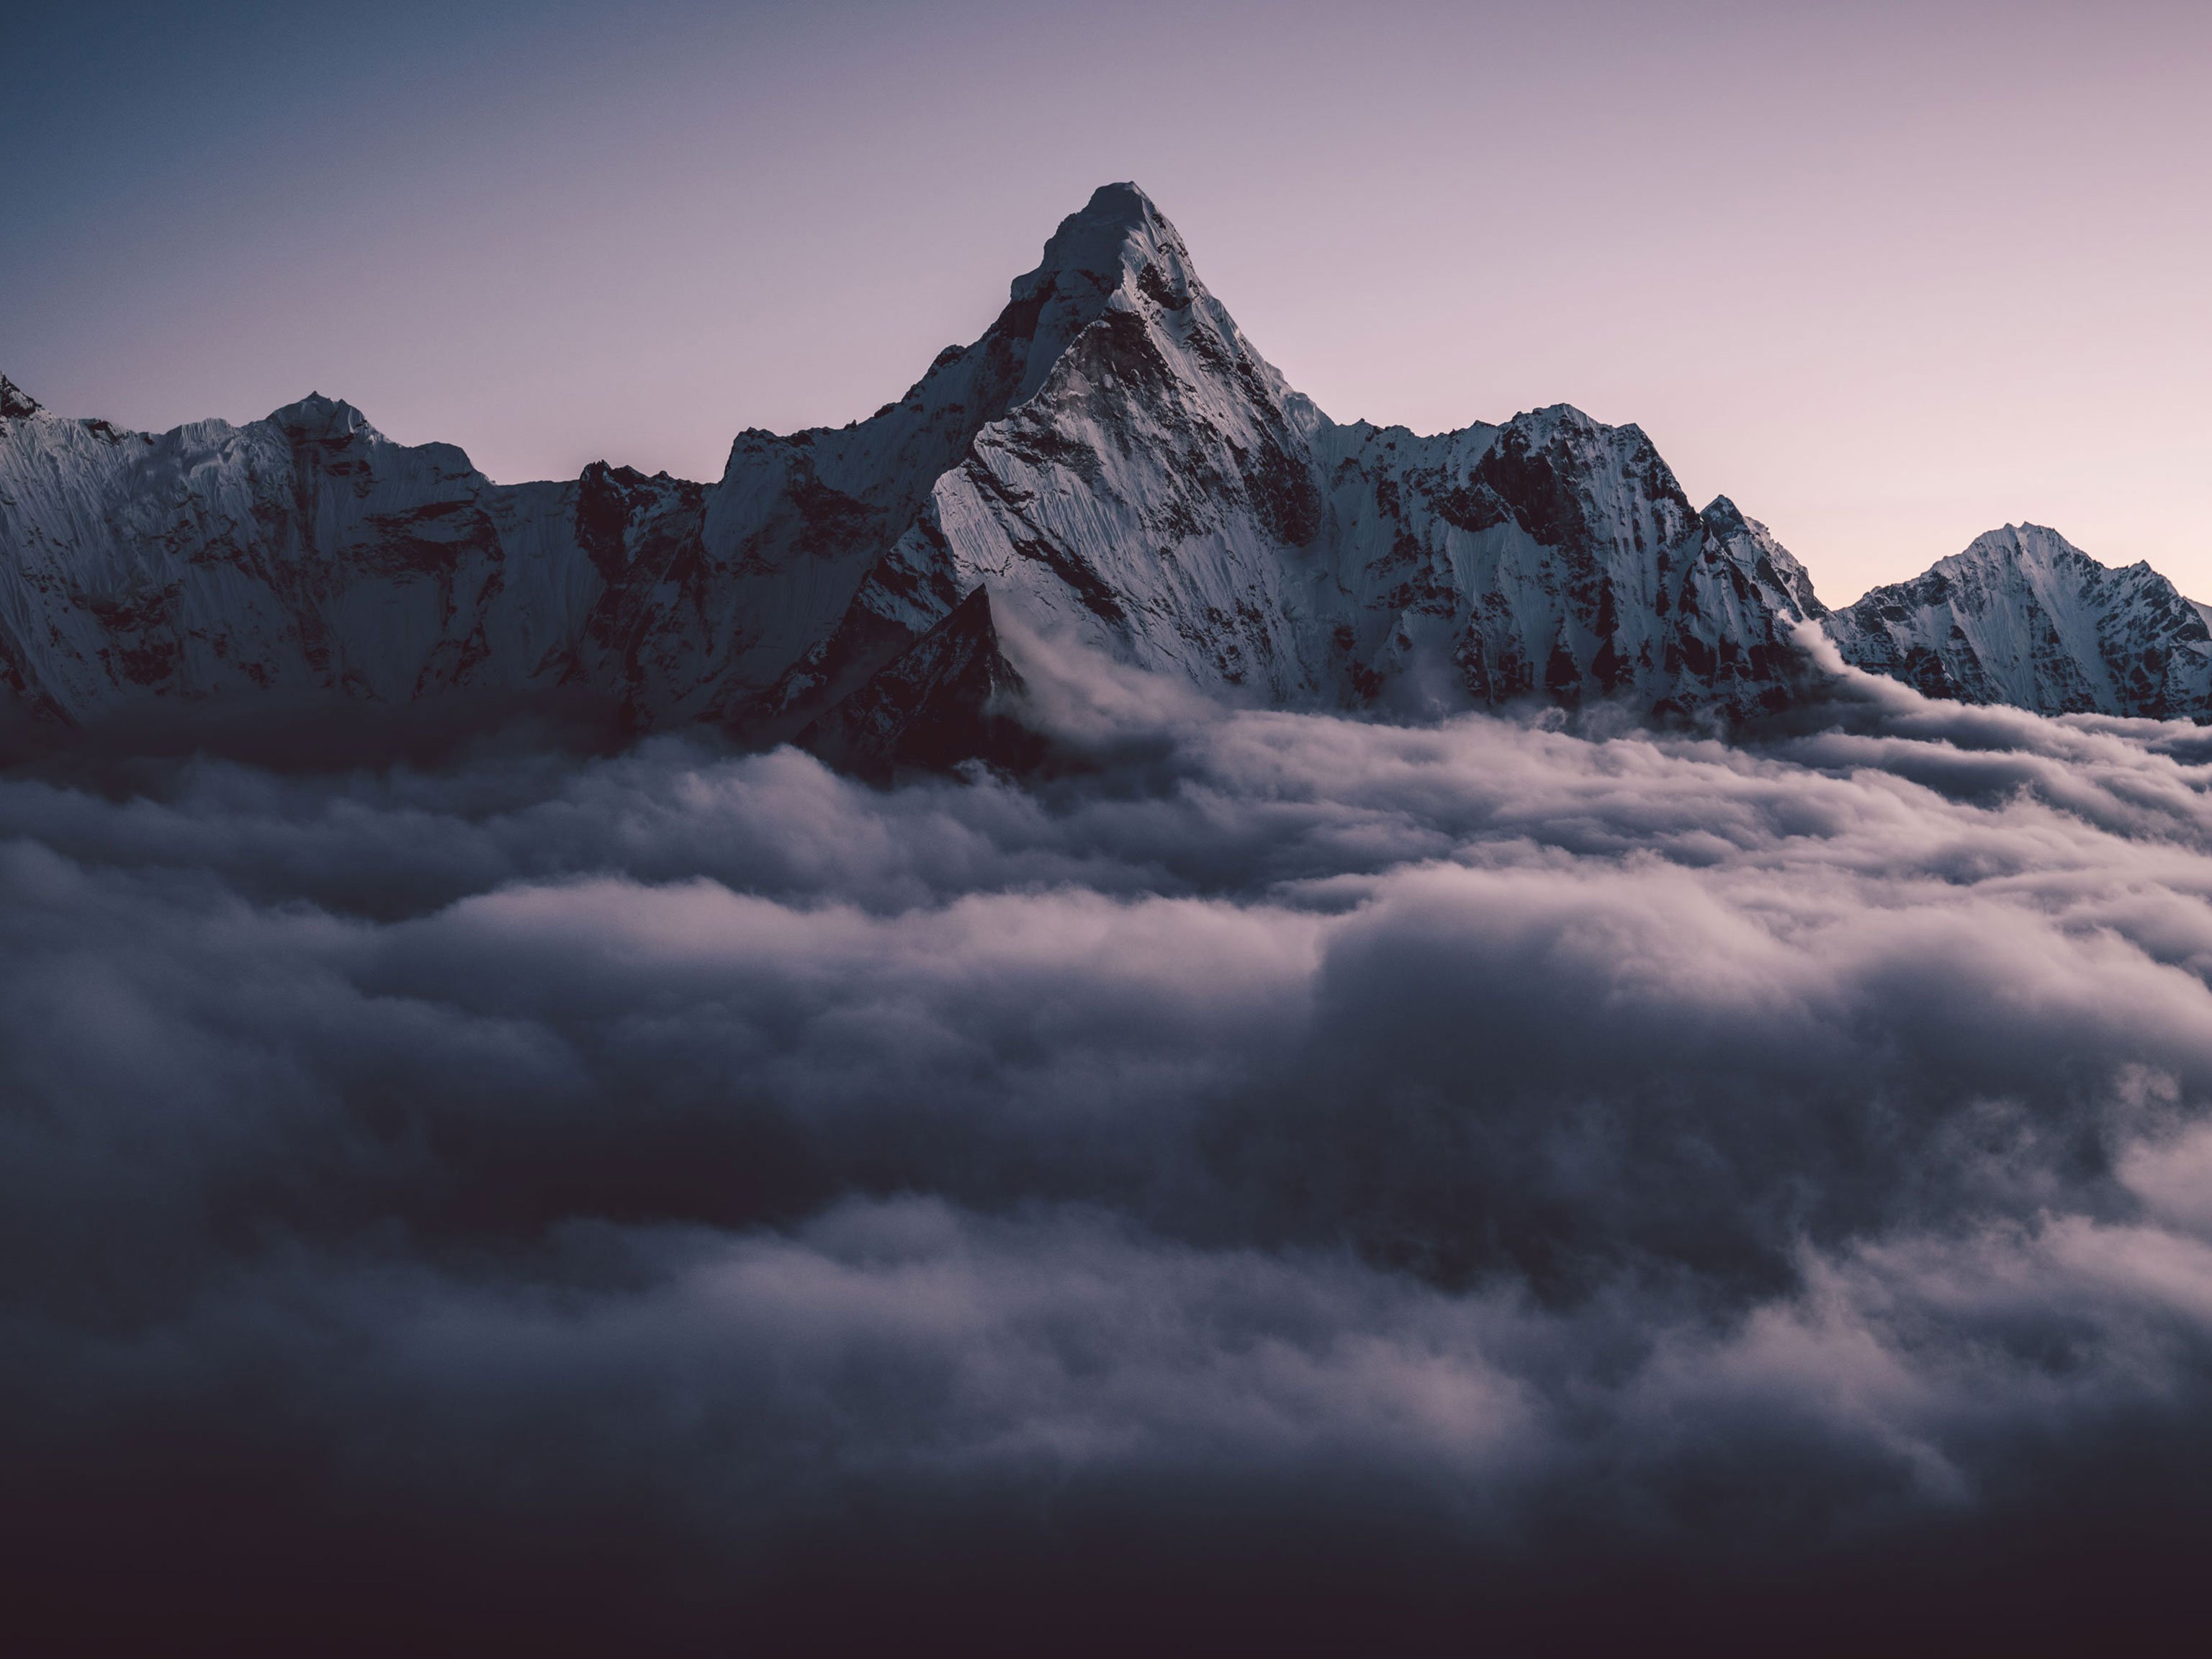
2 Take your photos at the right time of day
Outdoor photography is all about good light conditions and atmospheric moods. At Midday, the sun is high in the sky and creates virtually no shadows. Shadows give a landscape more structure and make outdoor photos more interesting. Go out in the morning hours or early evening to catch the sun when it’s low in the sky. You might even be lucky enough to catch a glowing red dawn or sunset.
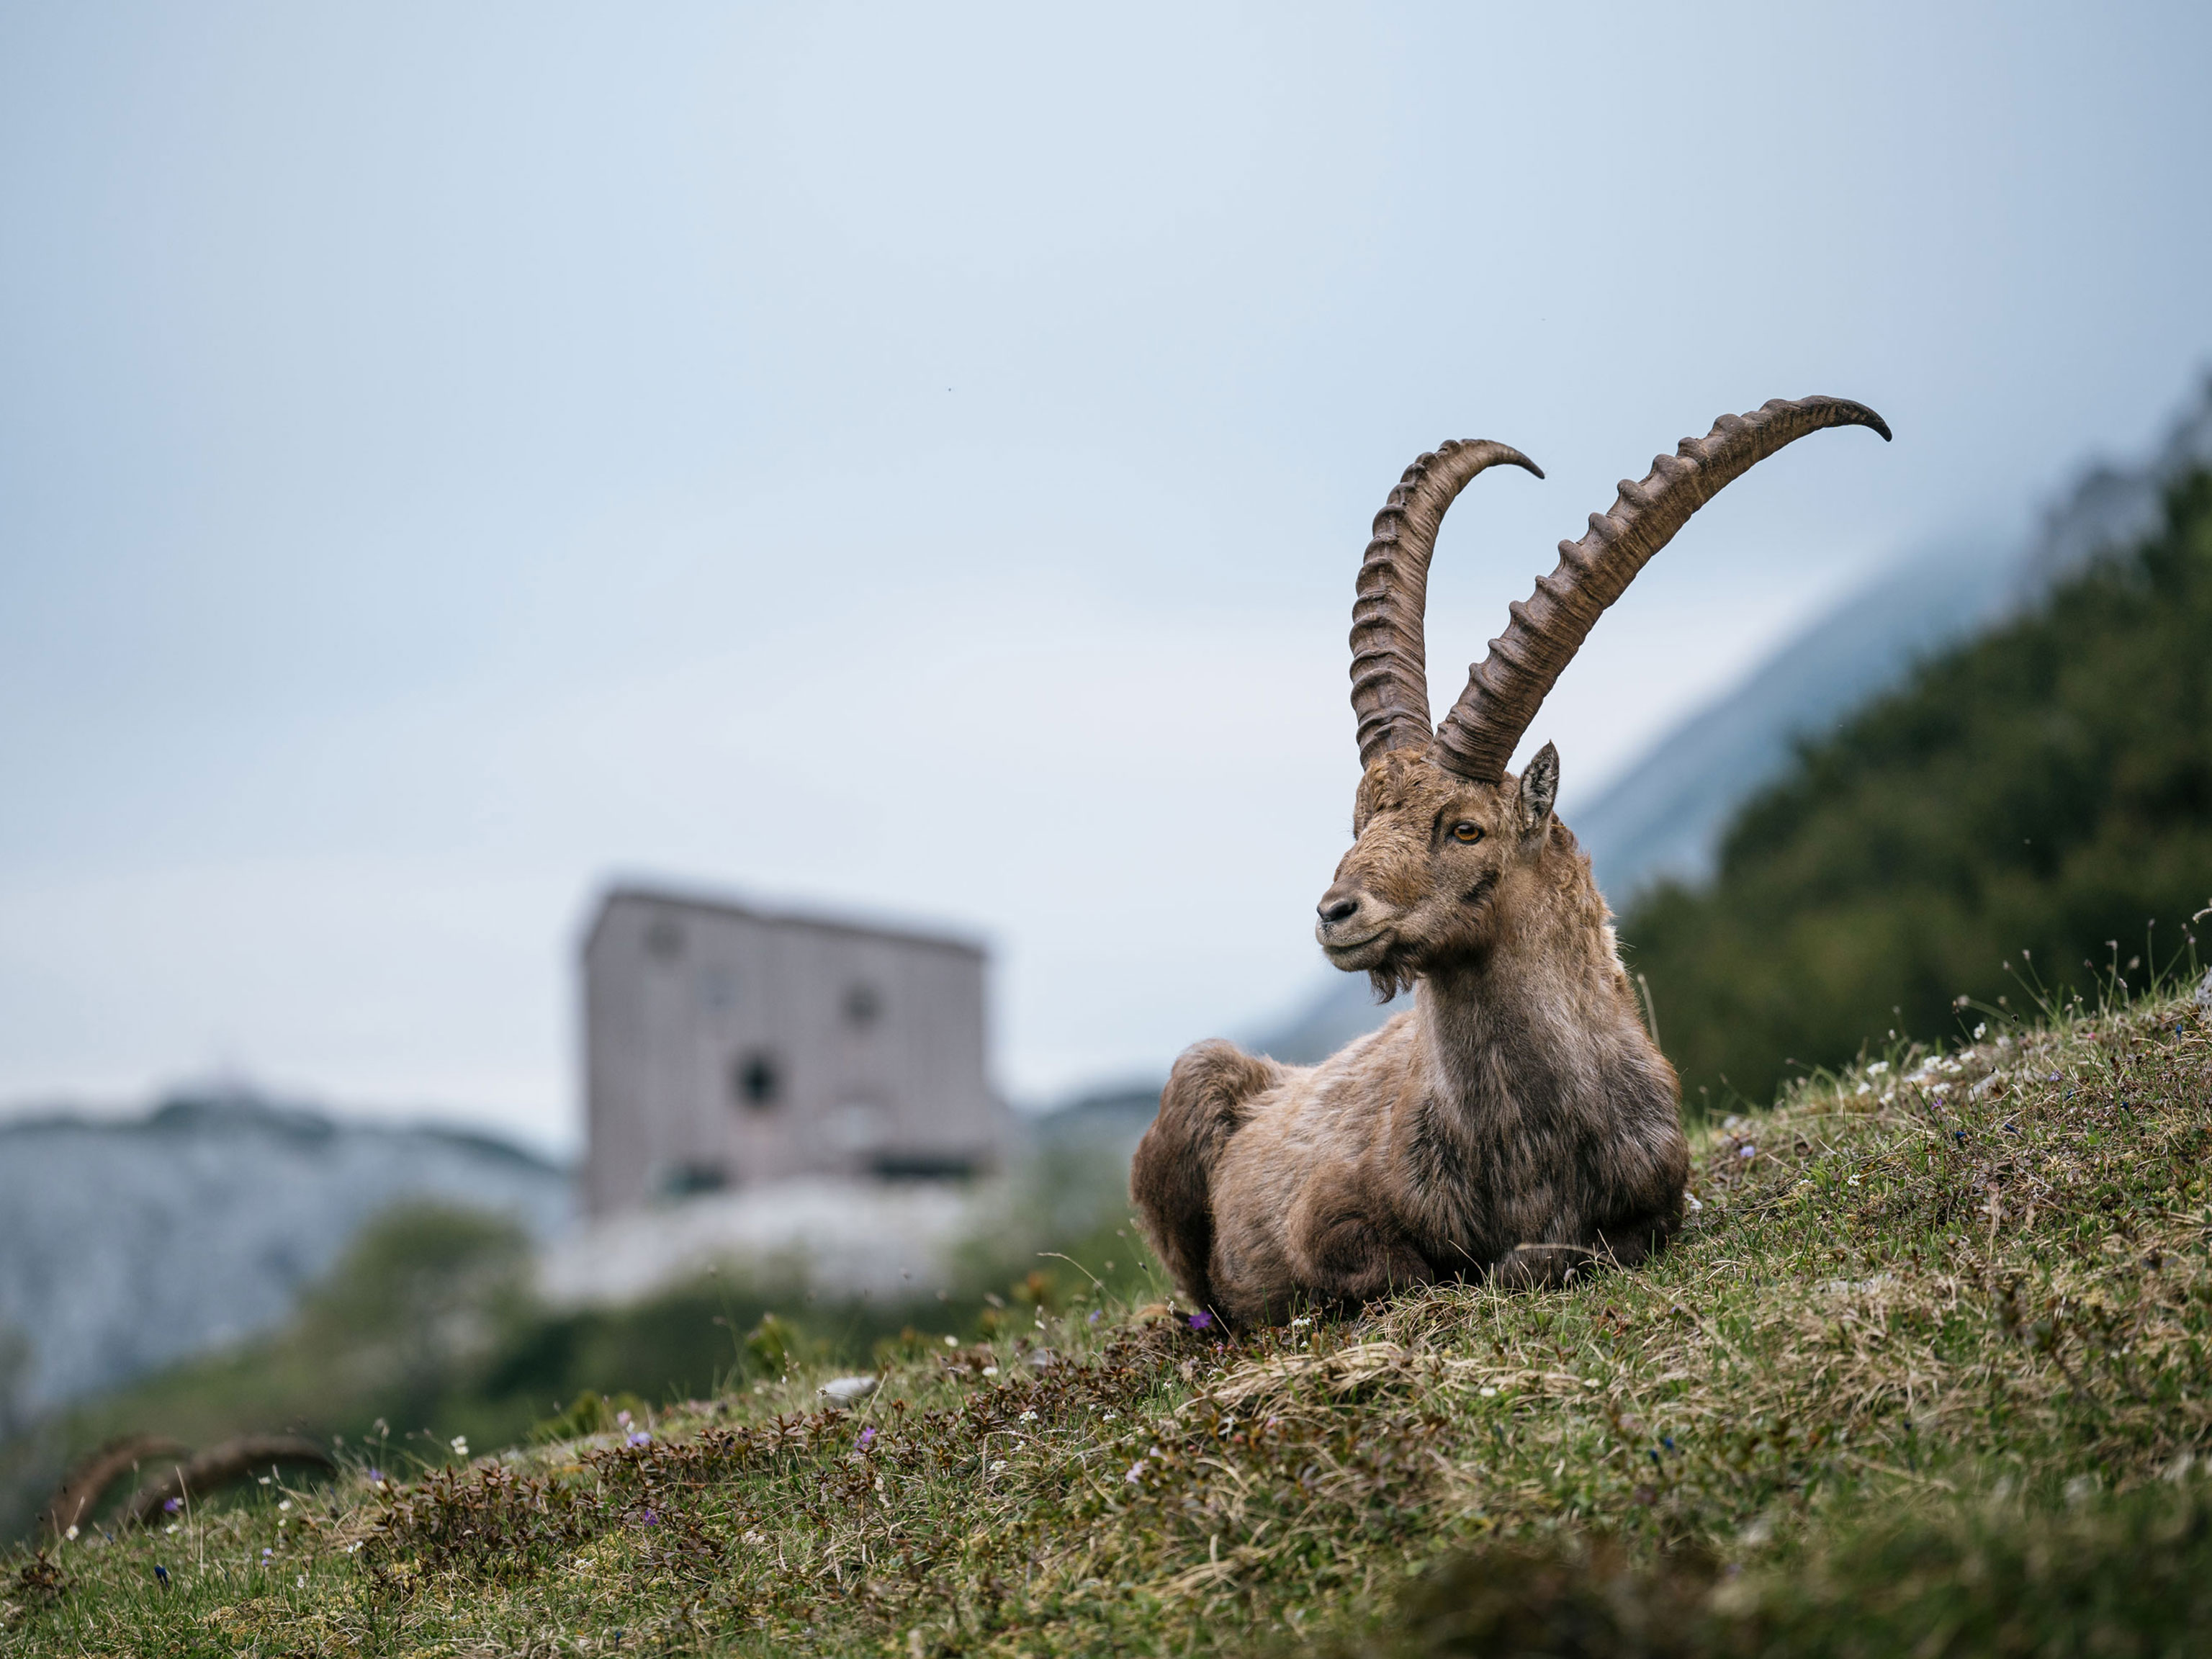
3 Always keep your camera ready
You probably keep your smartphone close to hand when you go hiking or mountaineering. But your camera might often be sitting inside your pack. I find that I’m often too lazy to get mine out.
For this reason, I try to keep my camera somewhere I can reach it. Either on a strap around my neck or attached to the outside of my pack. This is really important if you want to get good photos of animals. It’s also helpful when you are hiking through the landscape and want to capture a particular play of the light or moment.
4 As a beginner, use automatic mode
Manual modes allow you to set aperture, shutter speed and sensitivity (ISO). However, this can initially all seem a bit overwhelming. Or might distract you from the main thing – the subject. When you’re starting out, it’s fine to use automatic mode.
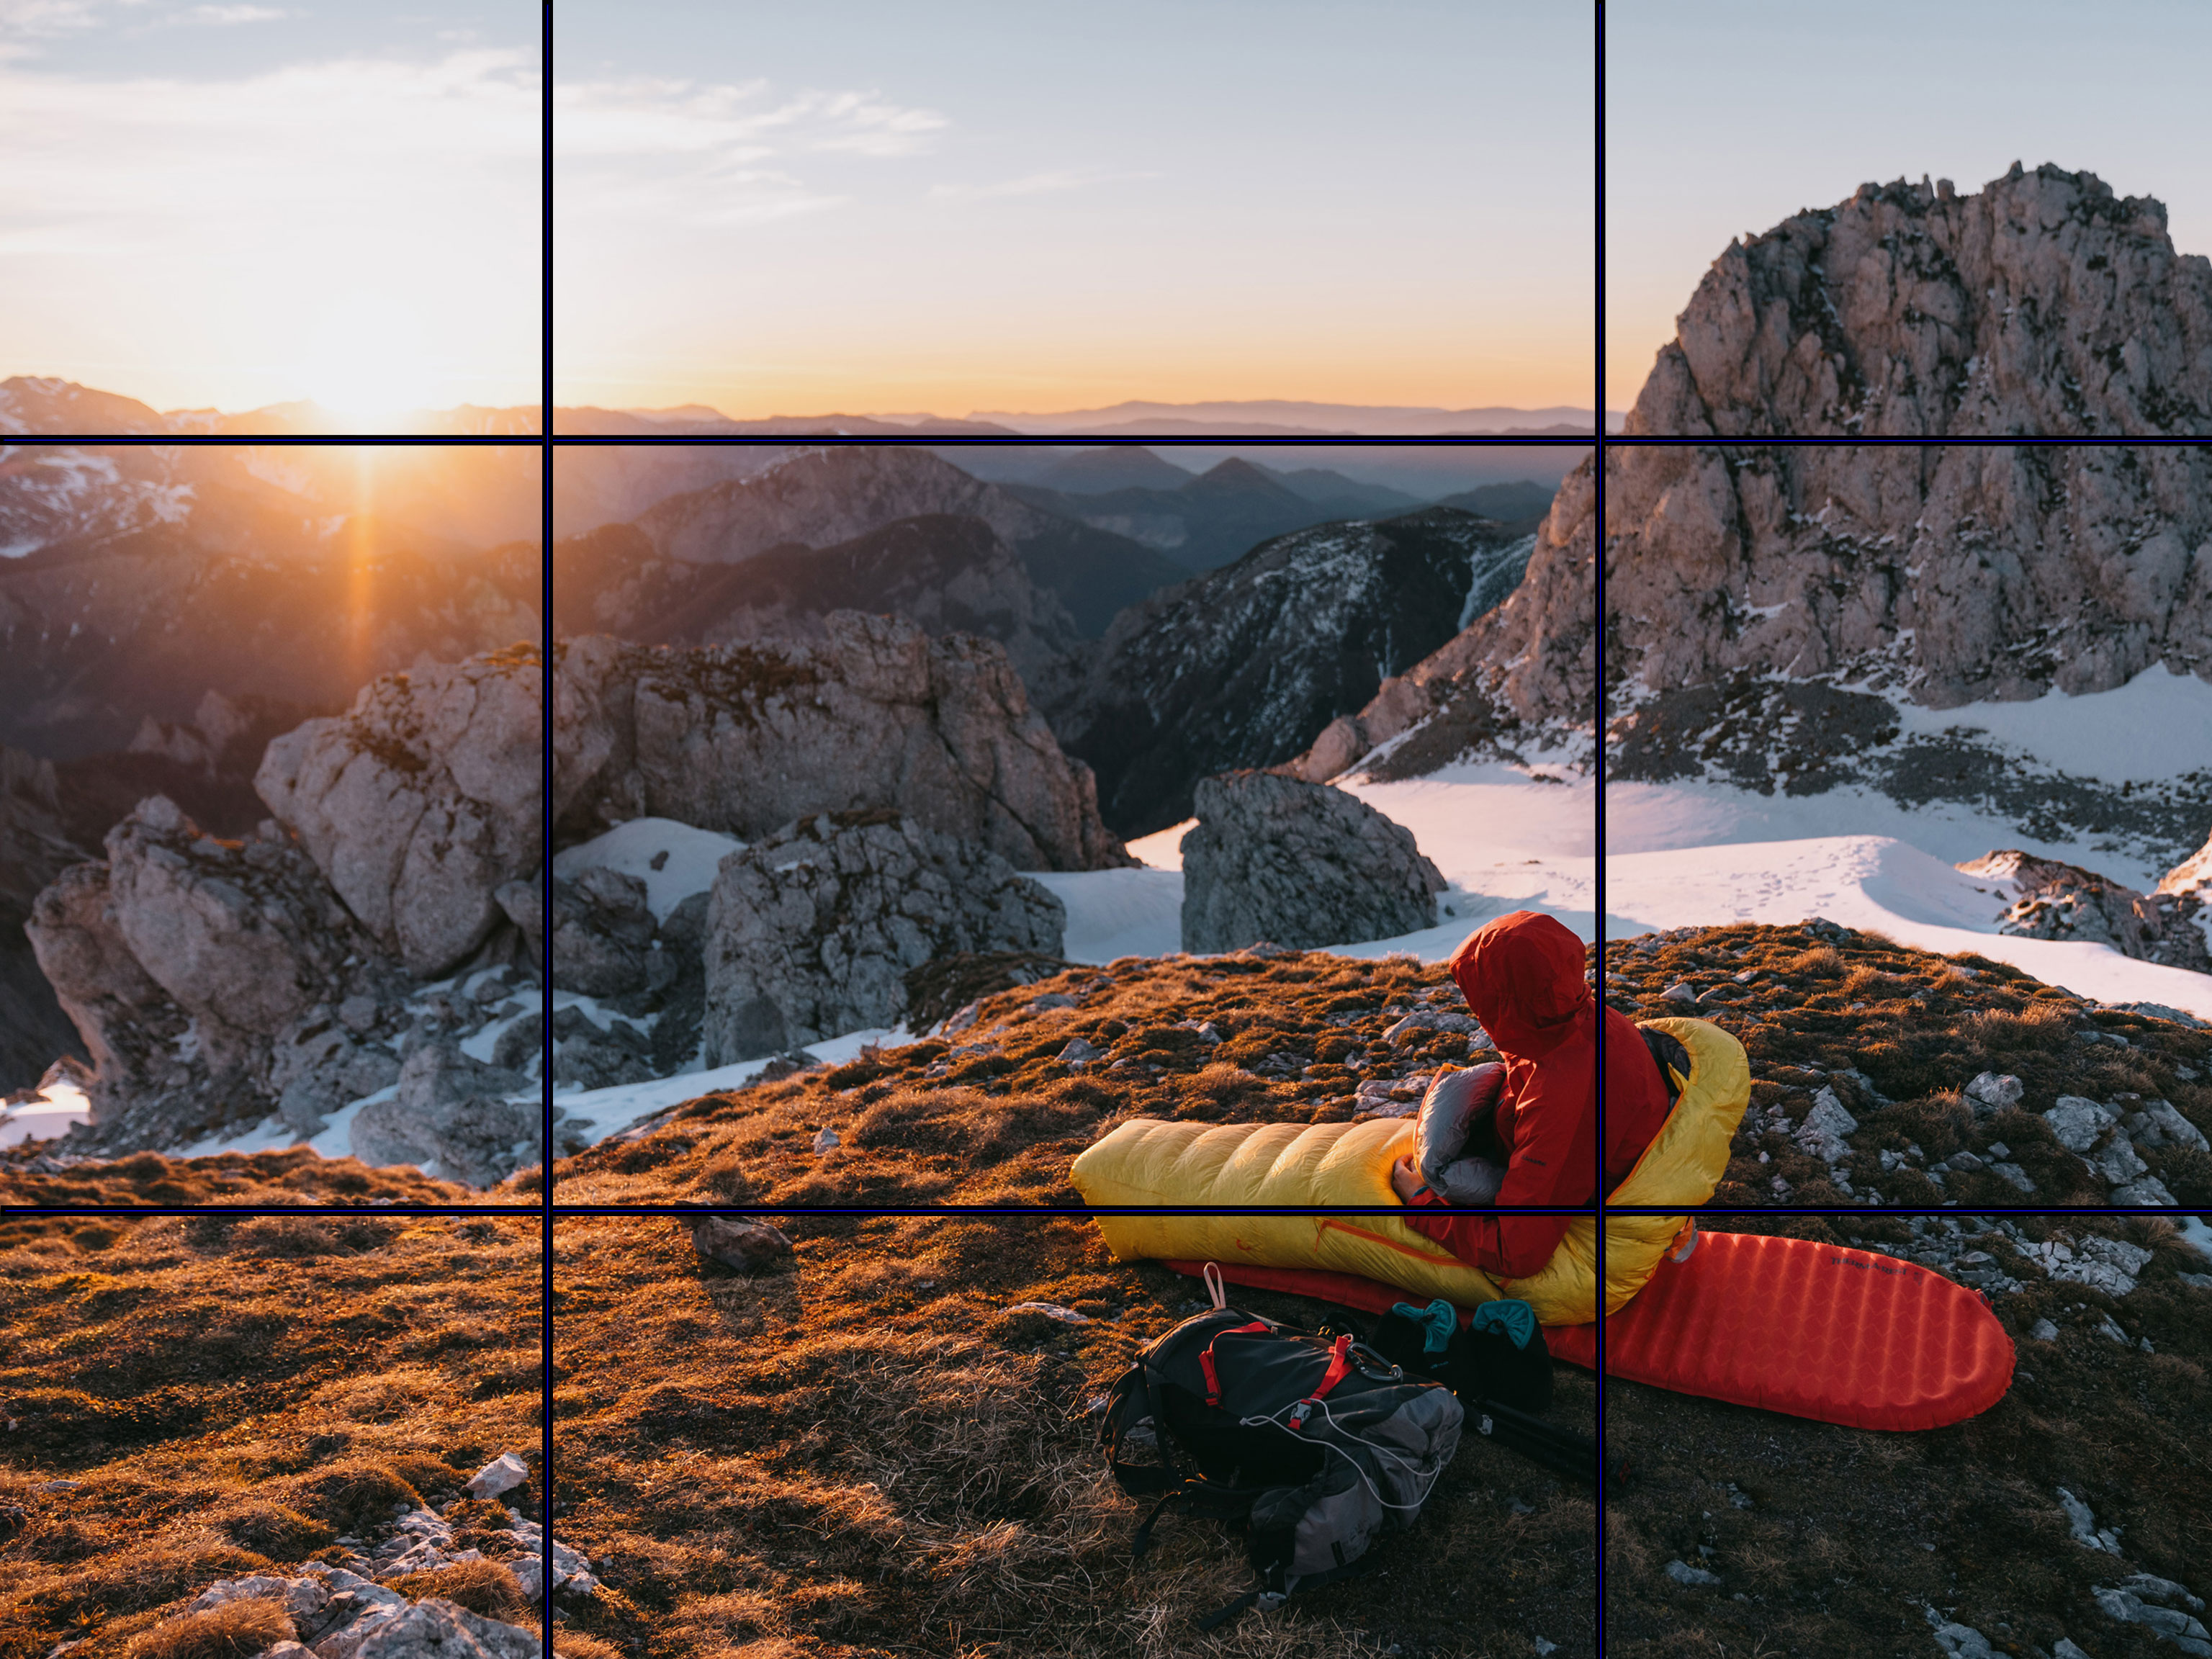
It’s more important to train the eye and learn how to see like a photographer. Where are there interesting contrasts between light and shade? How close in should you zoom? How does the golden ratio work? Once you’ve mastered these basic skills, then you can go deeper into camera technology.
5 Stabilise your camera where necessary
Beginners often start to have problems when it gets dark. For example, when taking photos in a hut or outside at night. The shots are often underexposed, blurred or show so-called ‘noise’. So, how do you take good photos in low light situations?
The most important thing here is to stabilize your camera/smartphone. This keeps your images sharp and prevents excessive in-camera noise even with longer exposure times.
There is a wide range of small tripods available that are small enough to fit in every backpack. Alternatively, you can simply prop up your camera on a table or a rock. Ideally, use the self-timer function, so as not to wobble the camera when you touch the release.
5 tips – for more experienced photographers to take better photos
Pro Tip 1: Use a fixed focal length lens
Changing from a zoom lens to a fixed focal length lens is a whole new challenge, but it can really encourage your creativity. Head out with just one lens and try it out for yourself. You’ll learn to train your eye and create completely new and different compositions.
SHARE YOUR PHOTOS WITH THE HANWAG COMMUNITY!
Do you enjoy taking photos on your tours? Then show the world your photos! On our community page, you can easily upload pictures to appear on the photo wall for everyone to see. This way you can inspire each other with your outdoor experiences. Or you can tag your Instagram posts with @HanwagOfficial so that our community can see your photos including a link to your profile. We also post selected user pictures on our official Instagram or Facebook channel.
Pro Tip 2: Ditch auto mode
At some point, advanced photographers should ditch auto mode and start shooting in manual. This allows completely new possibilities and will give you lots of new photography ideas. For example, you could focus sharply on one particular level or object in the picture, while the foreground and/or background is left deliberately blurred.
For taking photos in manual mode, it’s important to have a good understanding of the so-called exposure triangle or photography triangle. It’s one of the fundamental principles of photography that every ambitious photographer should master. You’ll find a good explanation here.
Pro Tip 3: Take photos with slower shutter speeds
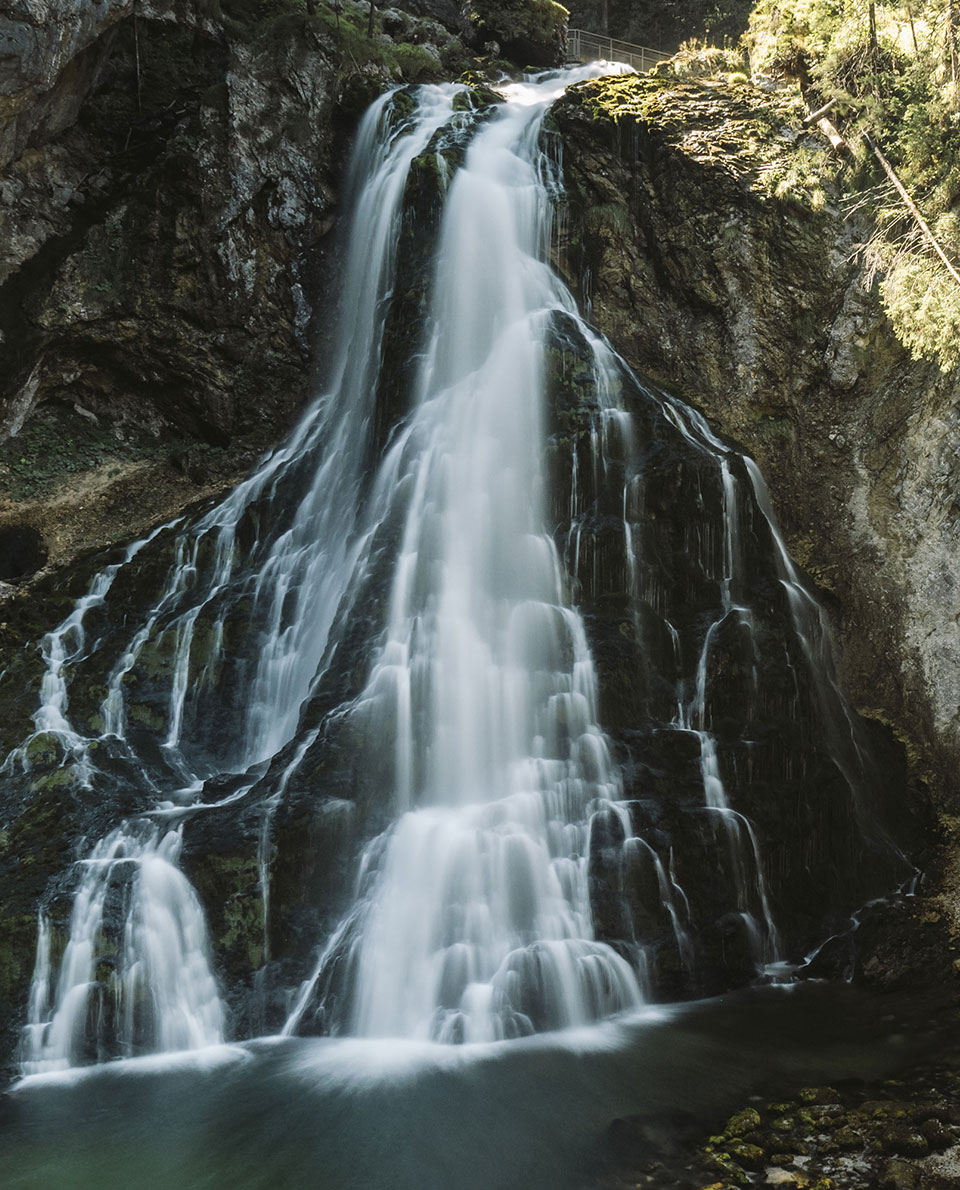
By varying shutter speed, you can create different effects in your photos. For example, we can freeze movement, such as flowing water or leaves blowing in the wind.
A waterfall is the ideal place to start. Set your camera/ smartphone up on a tripod and experiment – see how you can capture the movement of the water in different ways by changing the shutter speed to give longer exposures. On sunny days, you’ll need to use a grey filter to prevent overexposure.
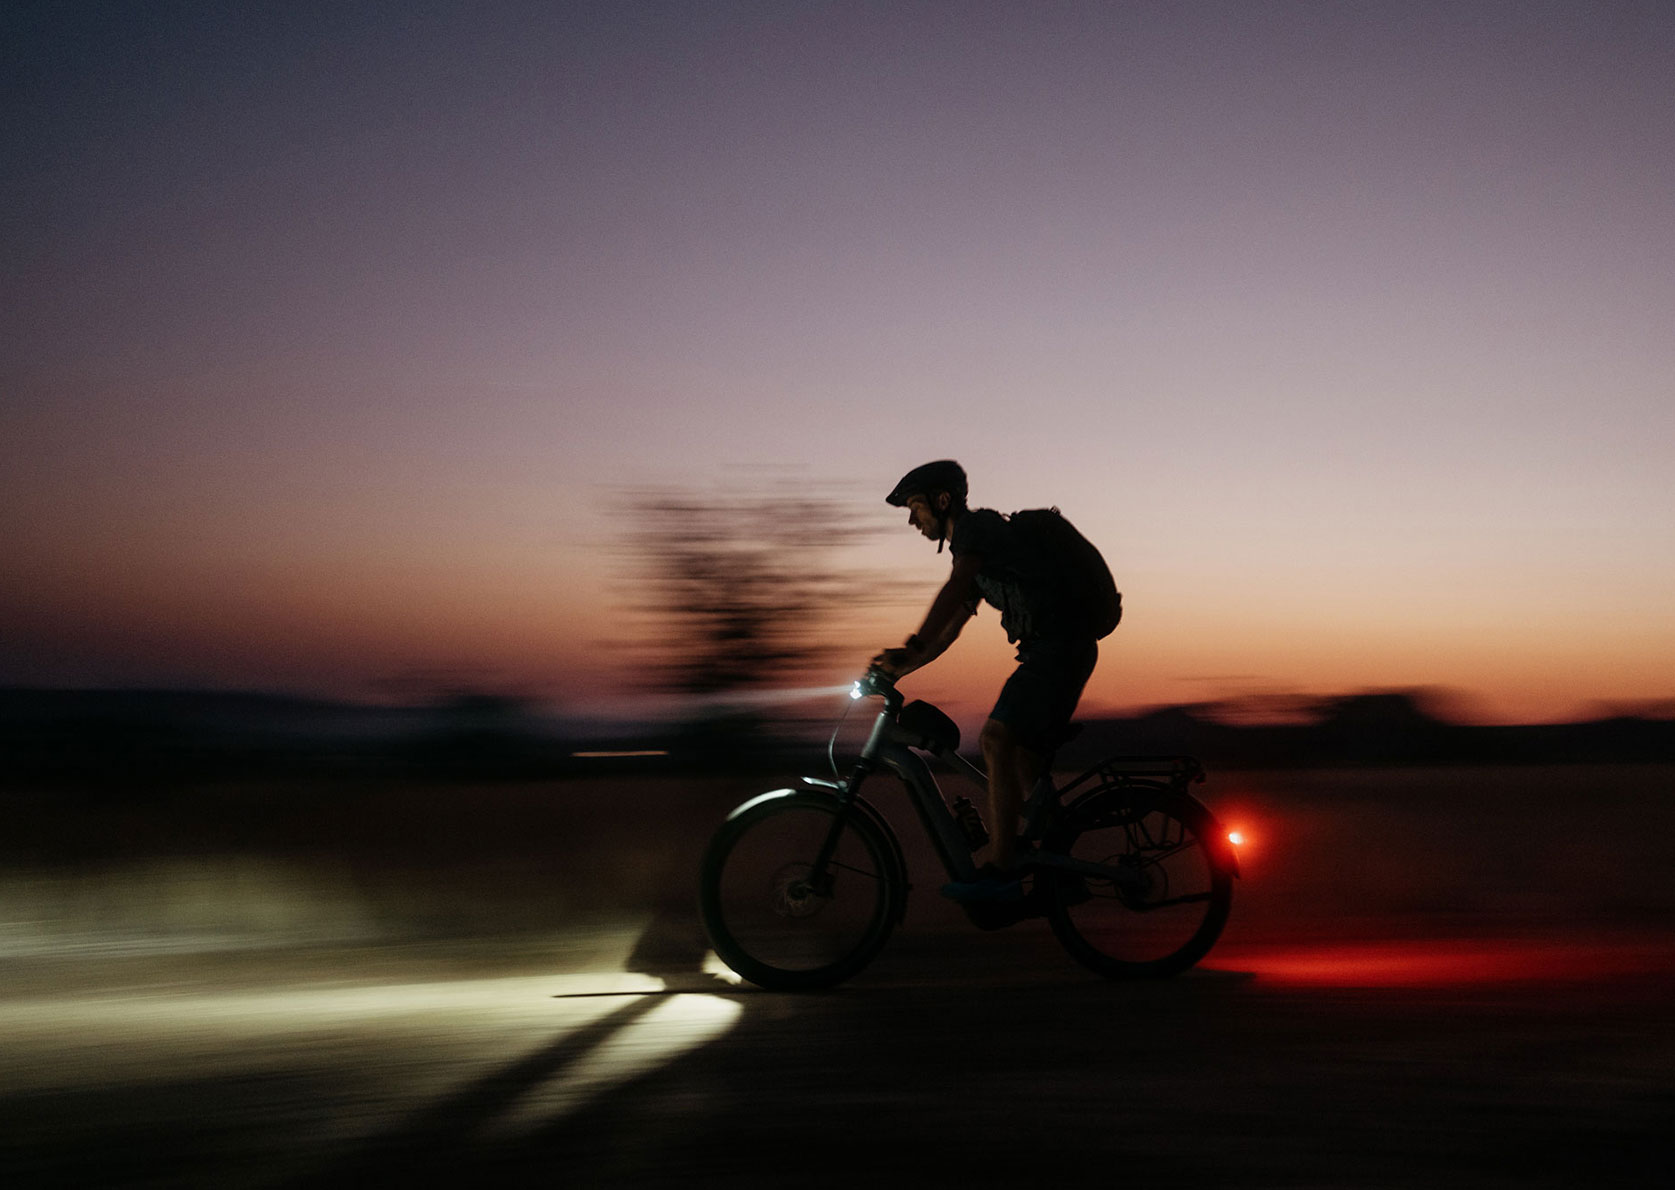
With a slow shutter speed, you can bring motion to your photos. By moving your camera to capture a moving subject, known as panning, you can capture your subject in sharp focus, while the background is blurred. Getting the right settings and timing takes some practice though.
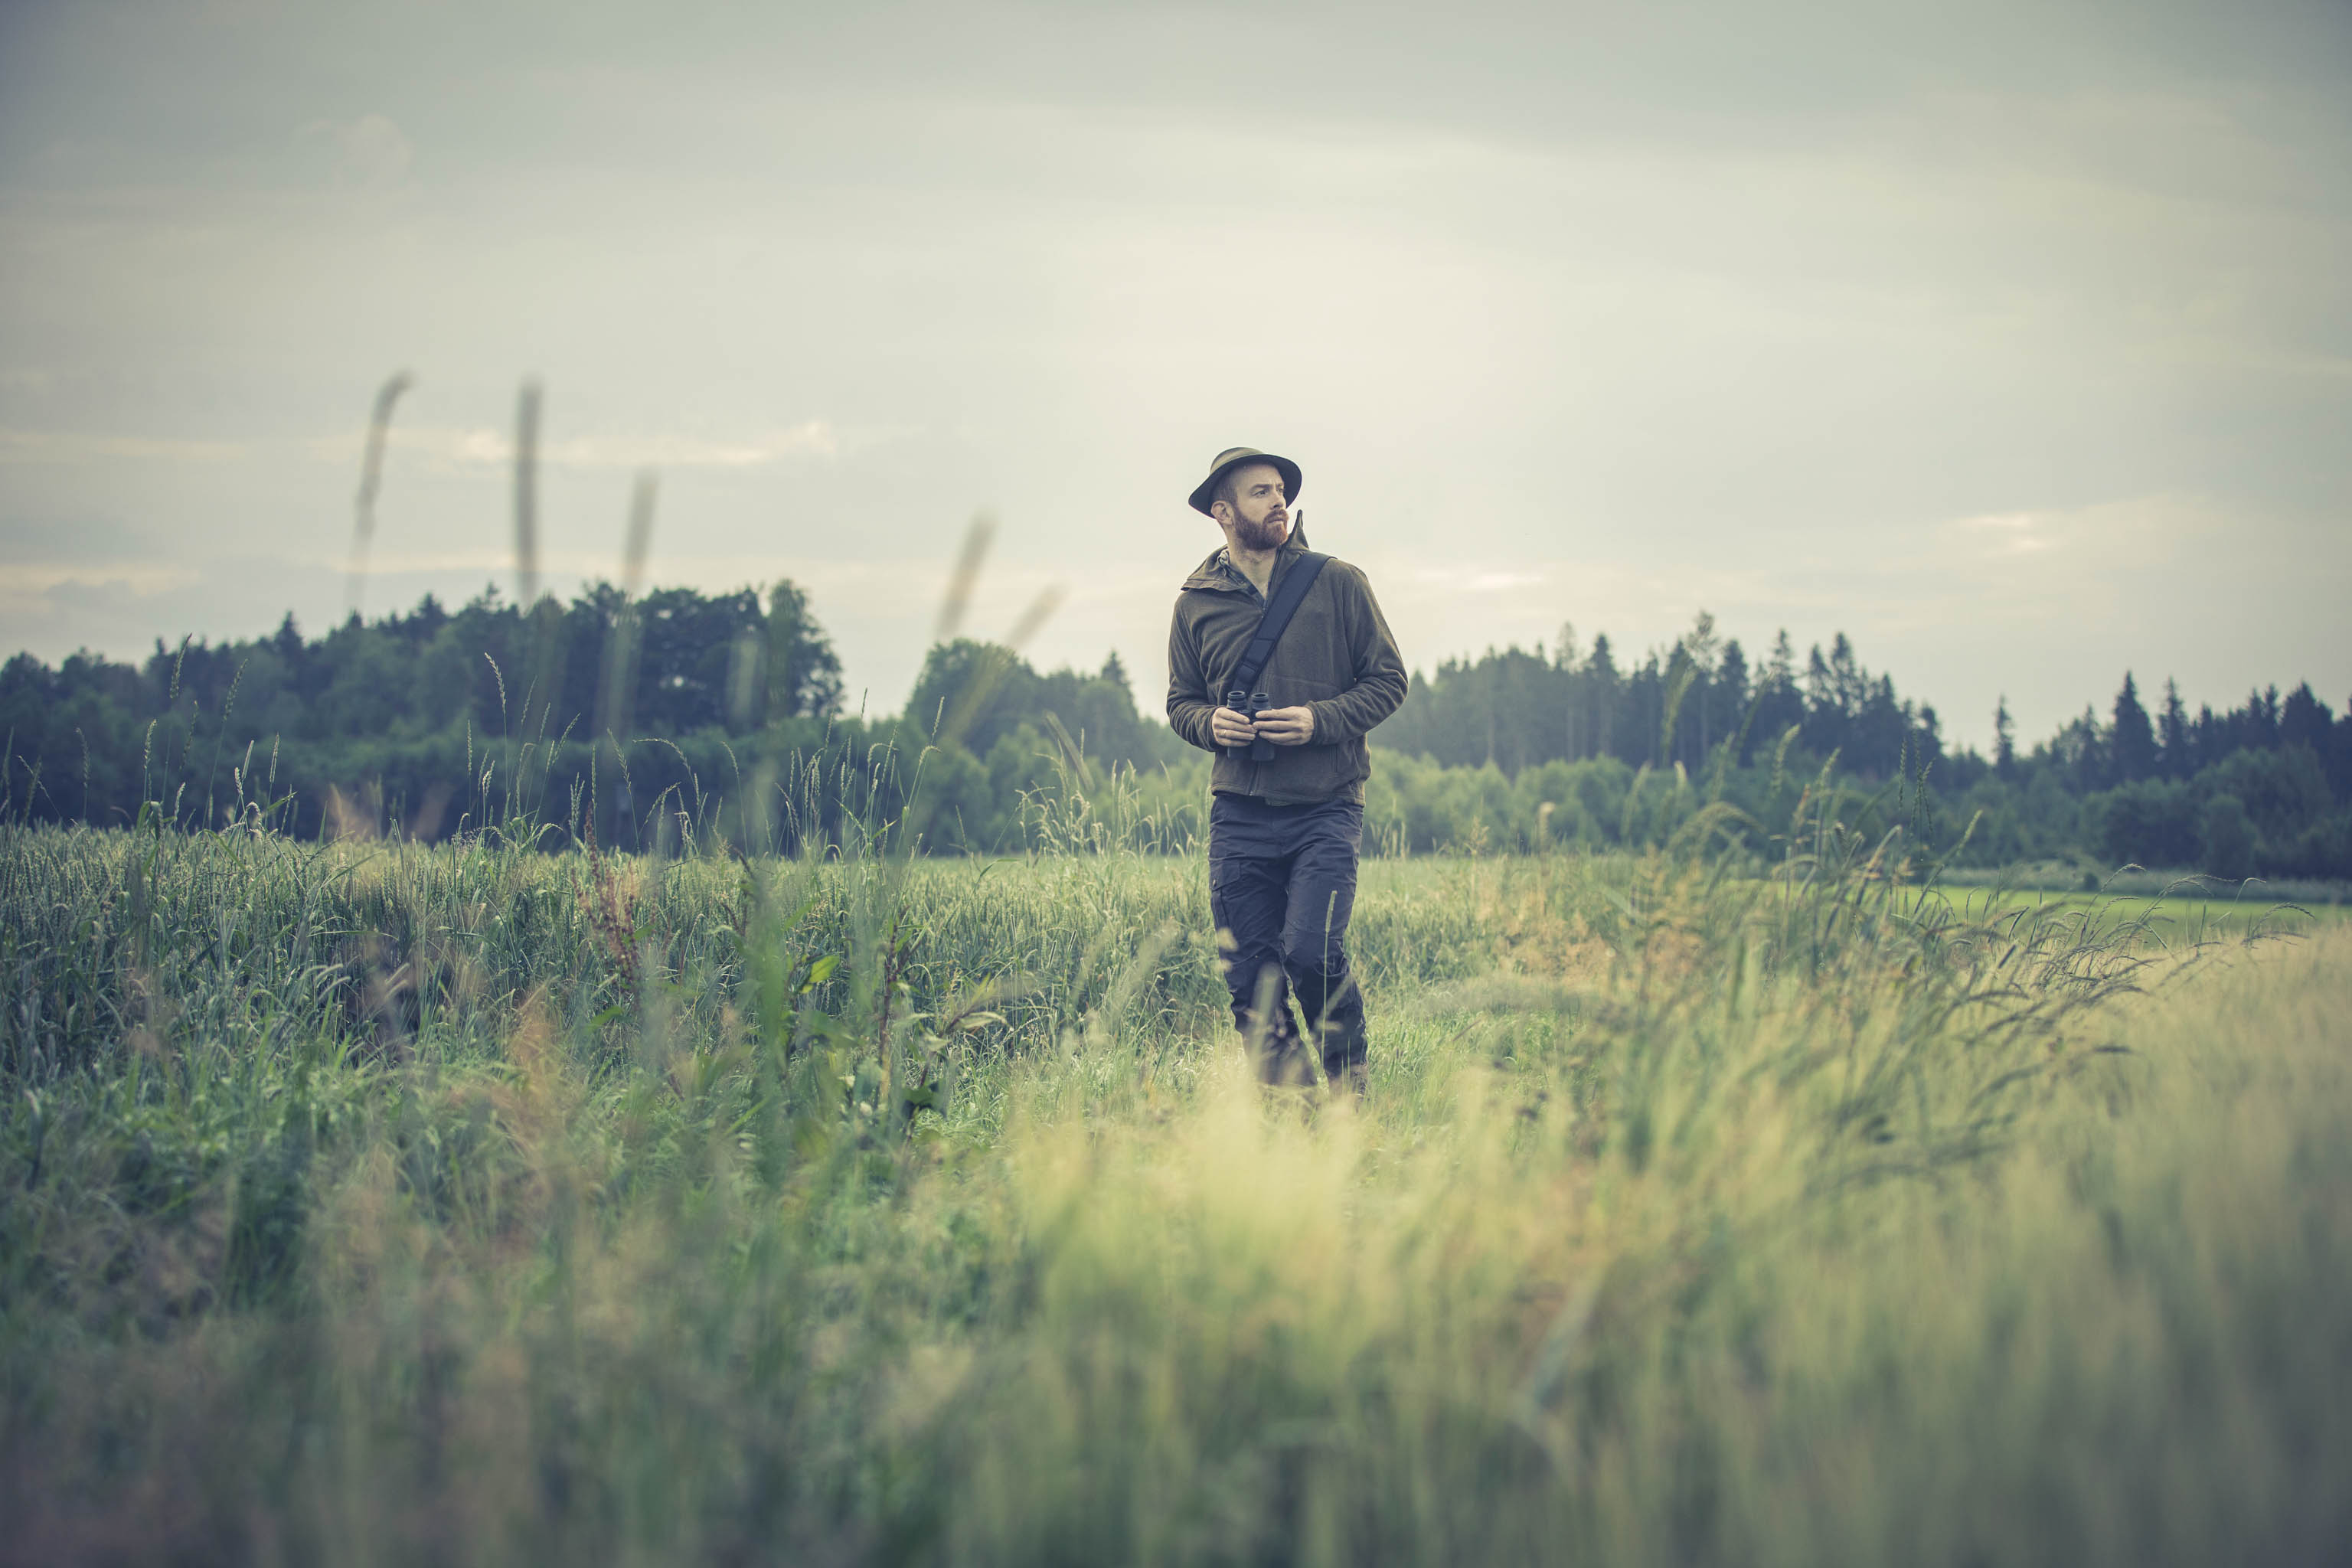
Pro Tip 4: Incorporate people in your photos
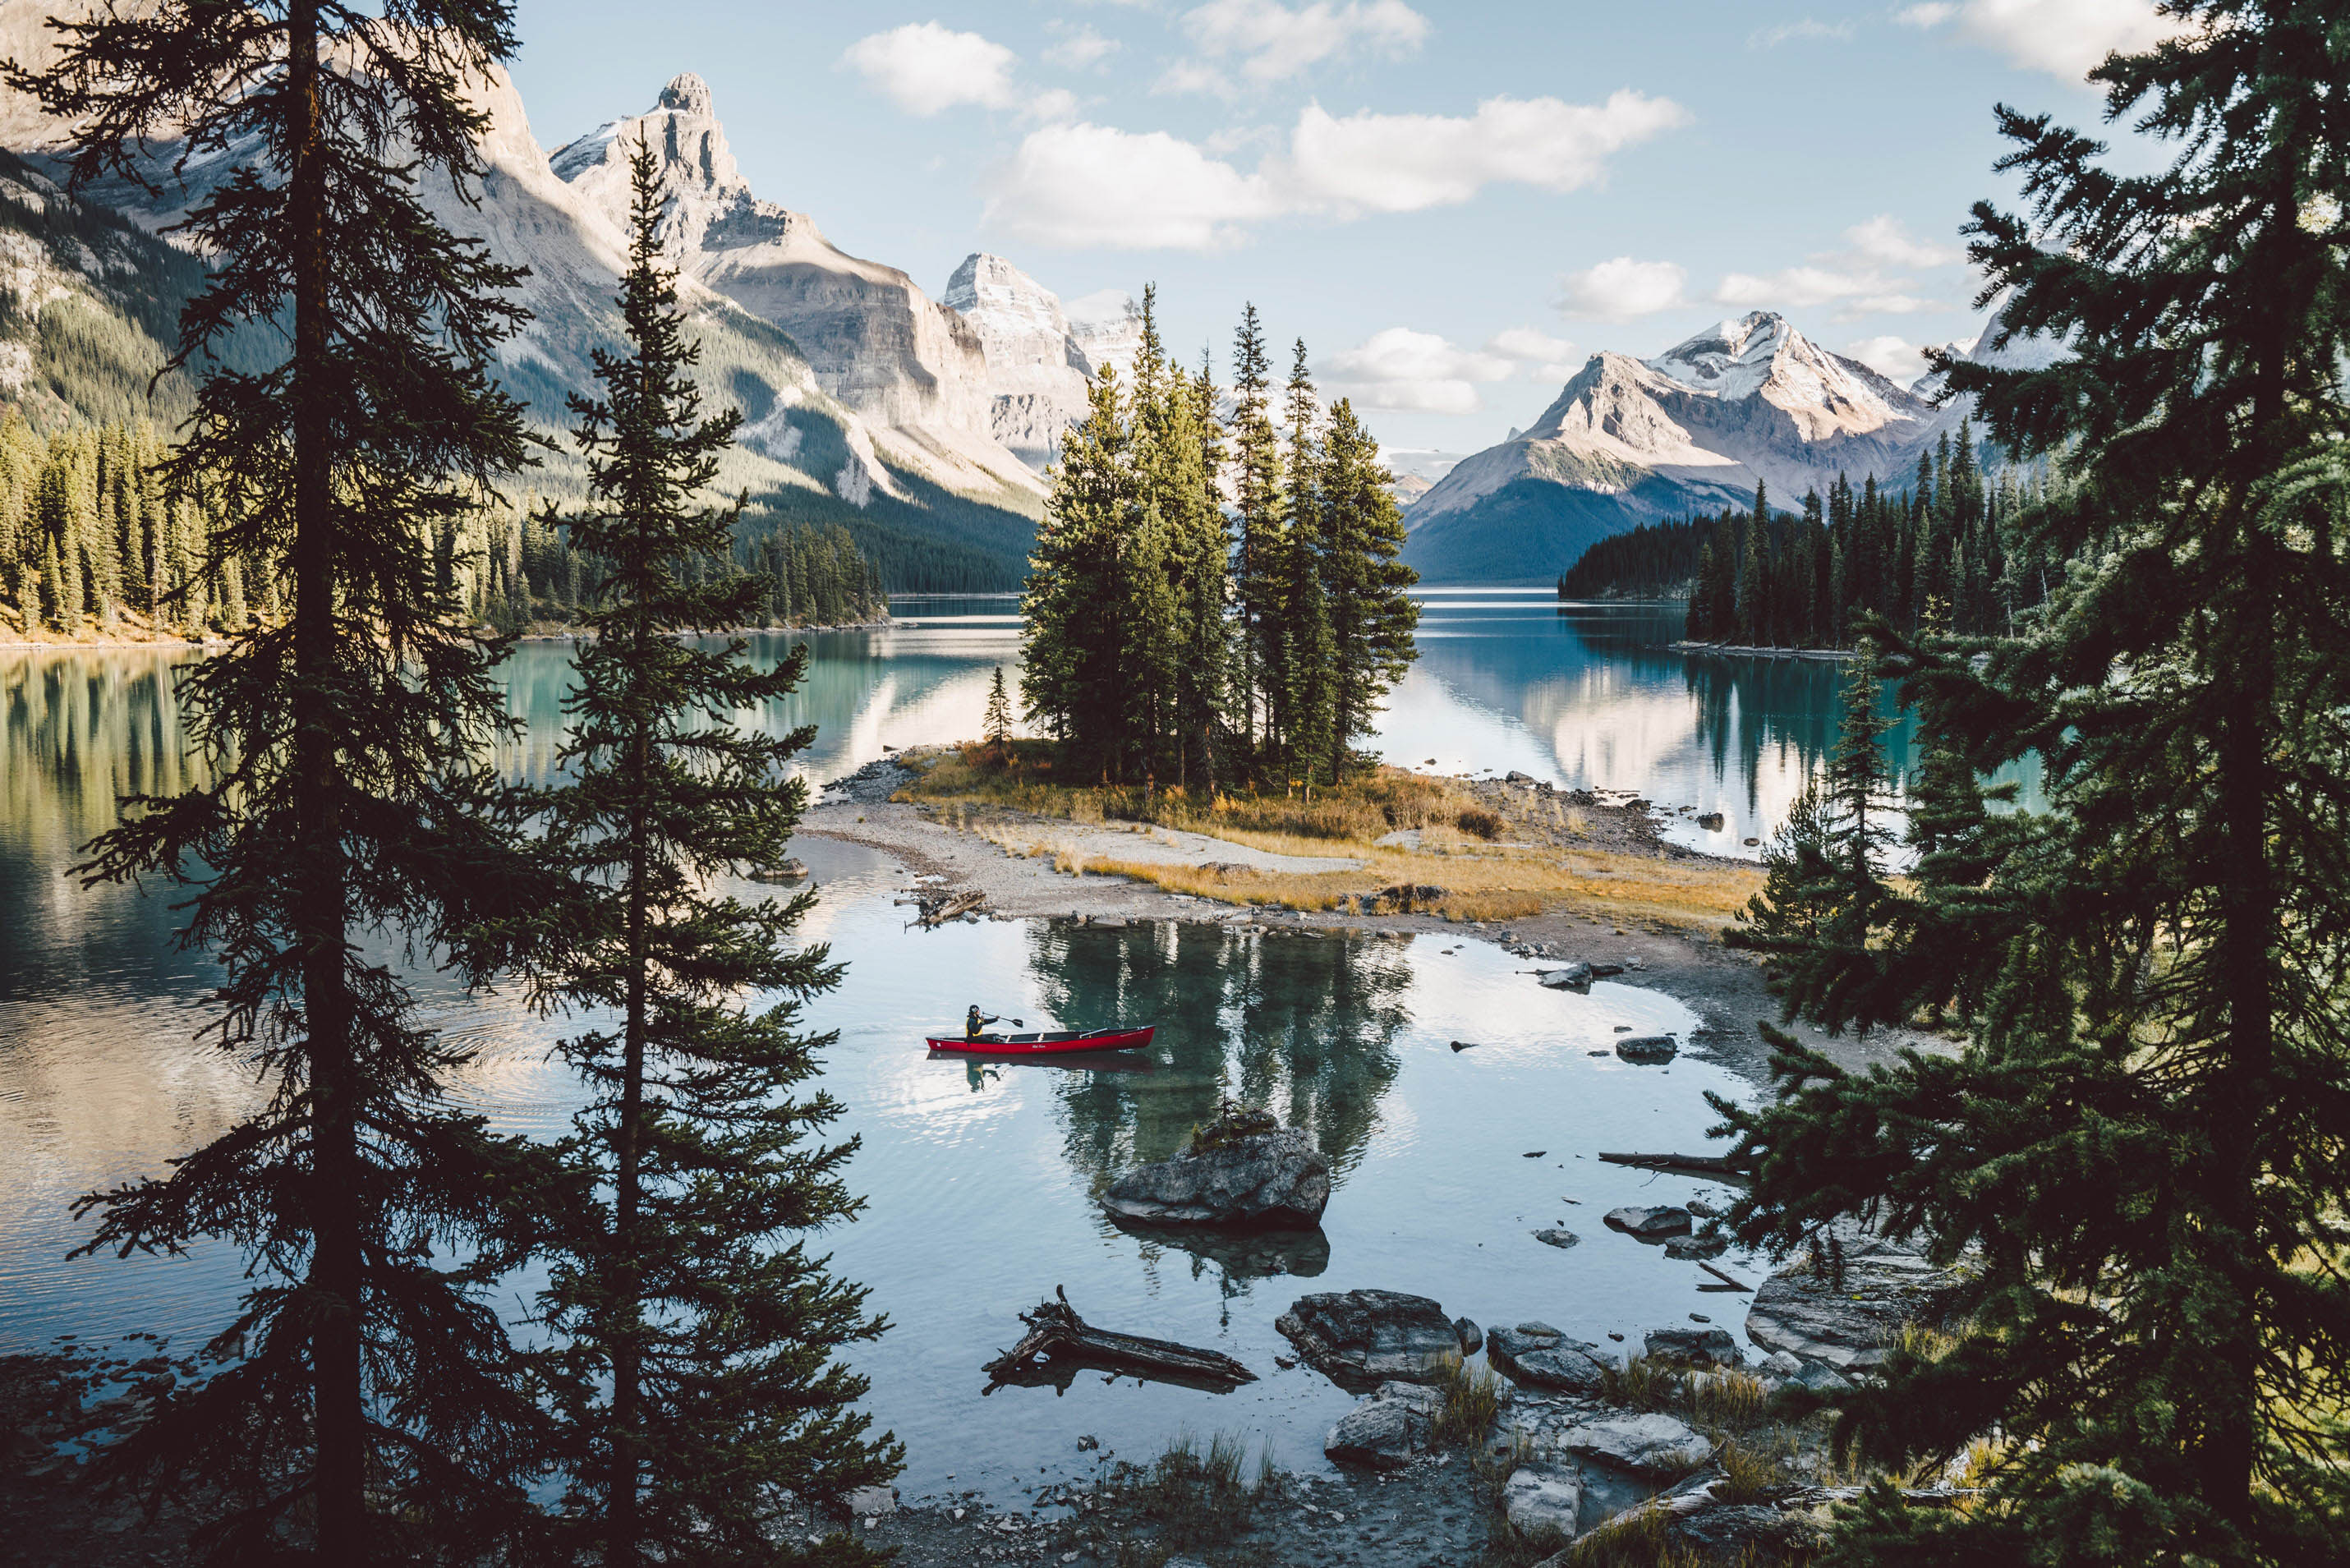
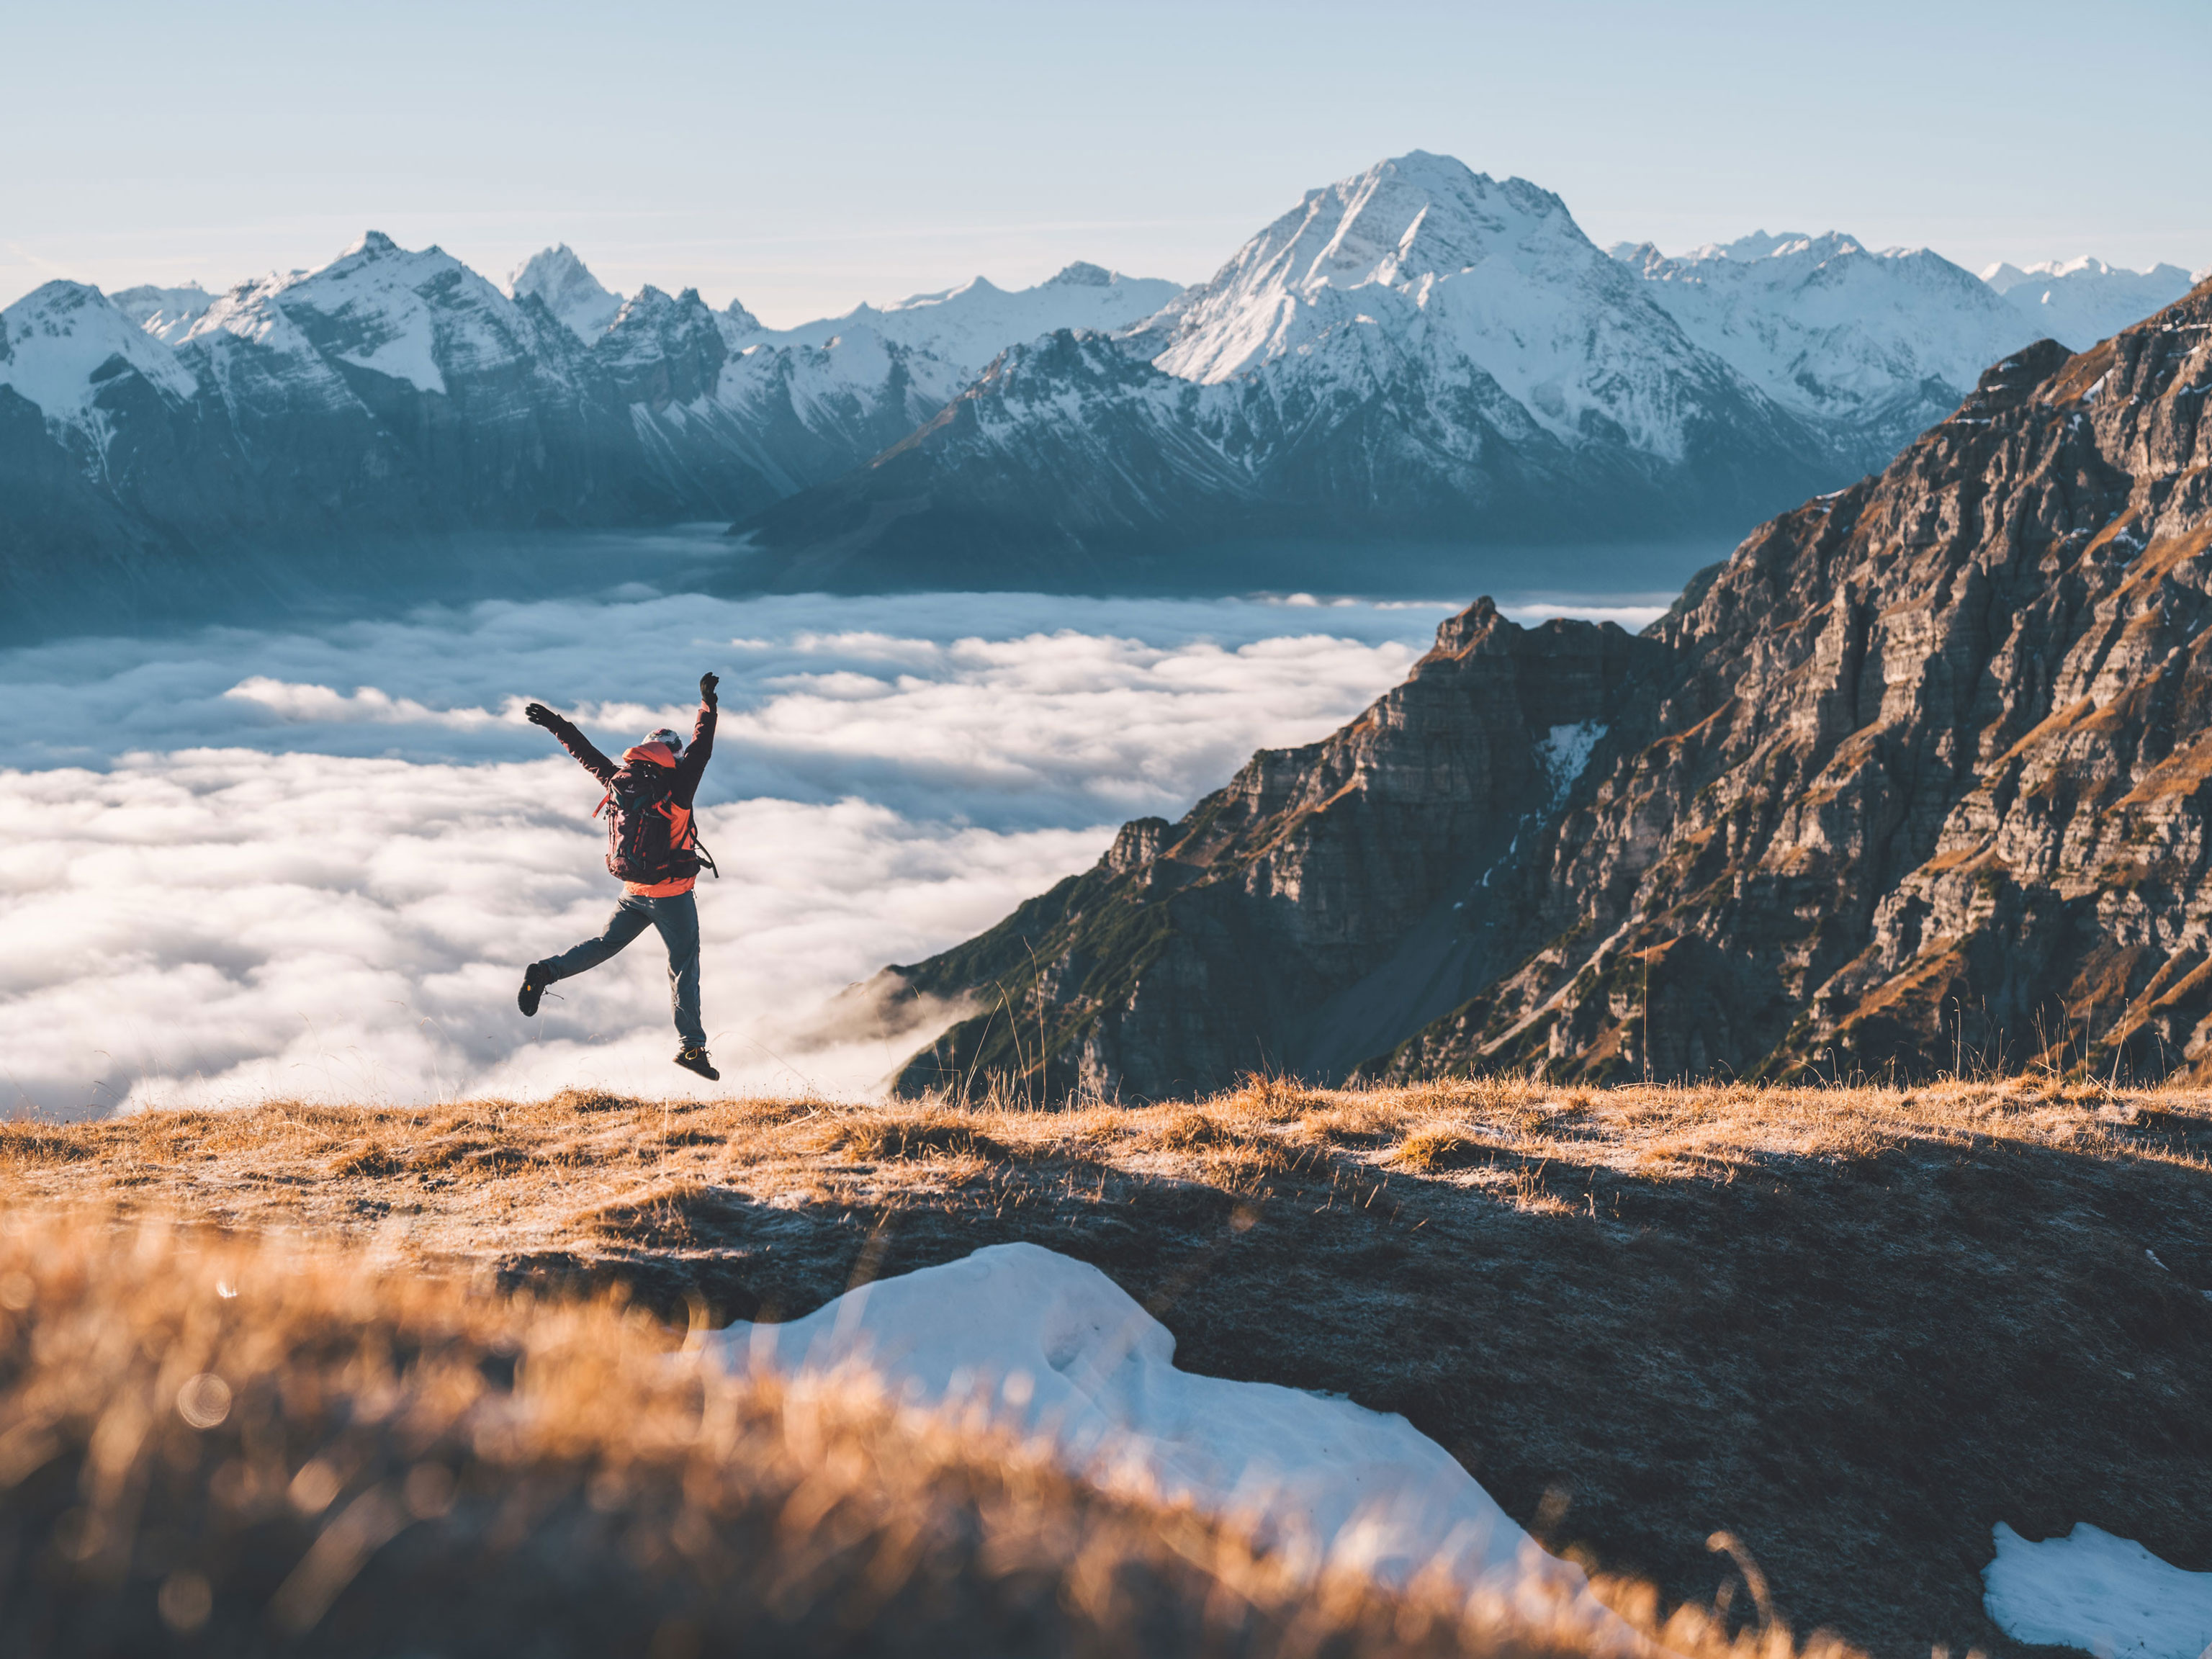
Nature photography can be very beautiful. However, by incorporating people in our images, we can make our photos really stand out. This is when we move on from landscape photography and into outdoor photography.
For example, if I see a beautiful landscape, where there are two people walking onto a sunset, then this creates a mood that triggers more emotion with the viewer than just pure nature on its own.
Click the slider to see the difference
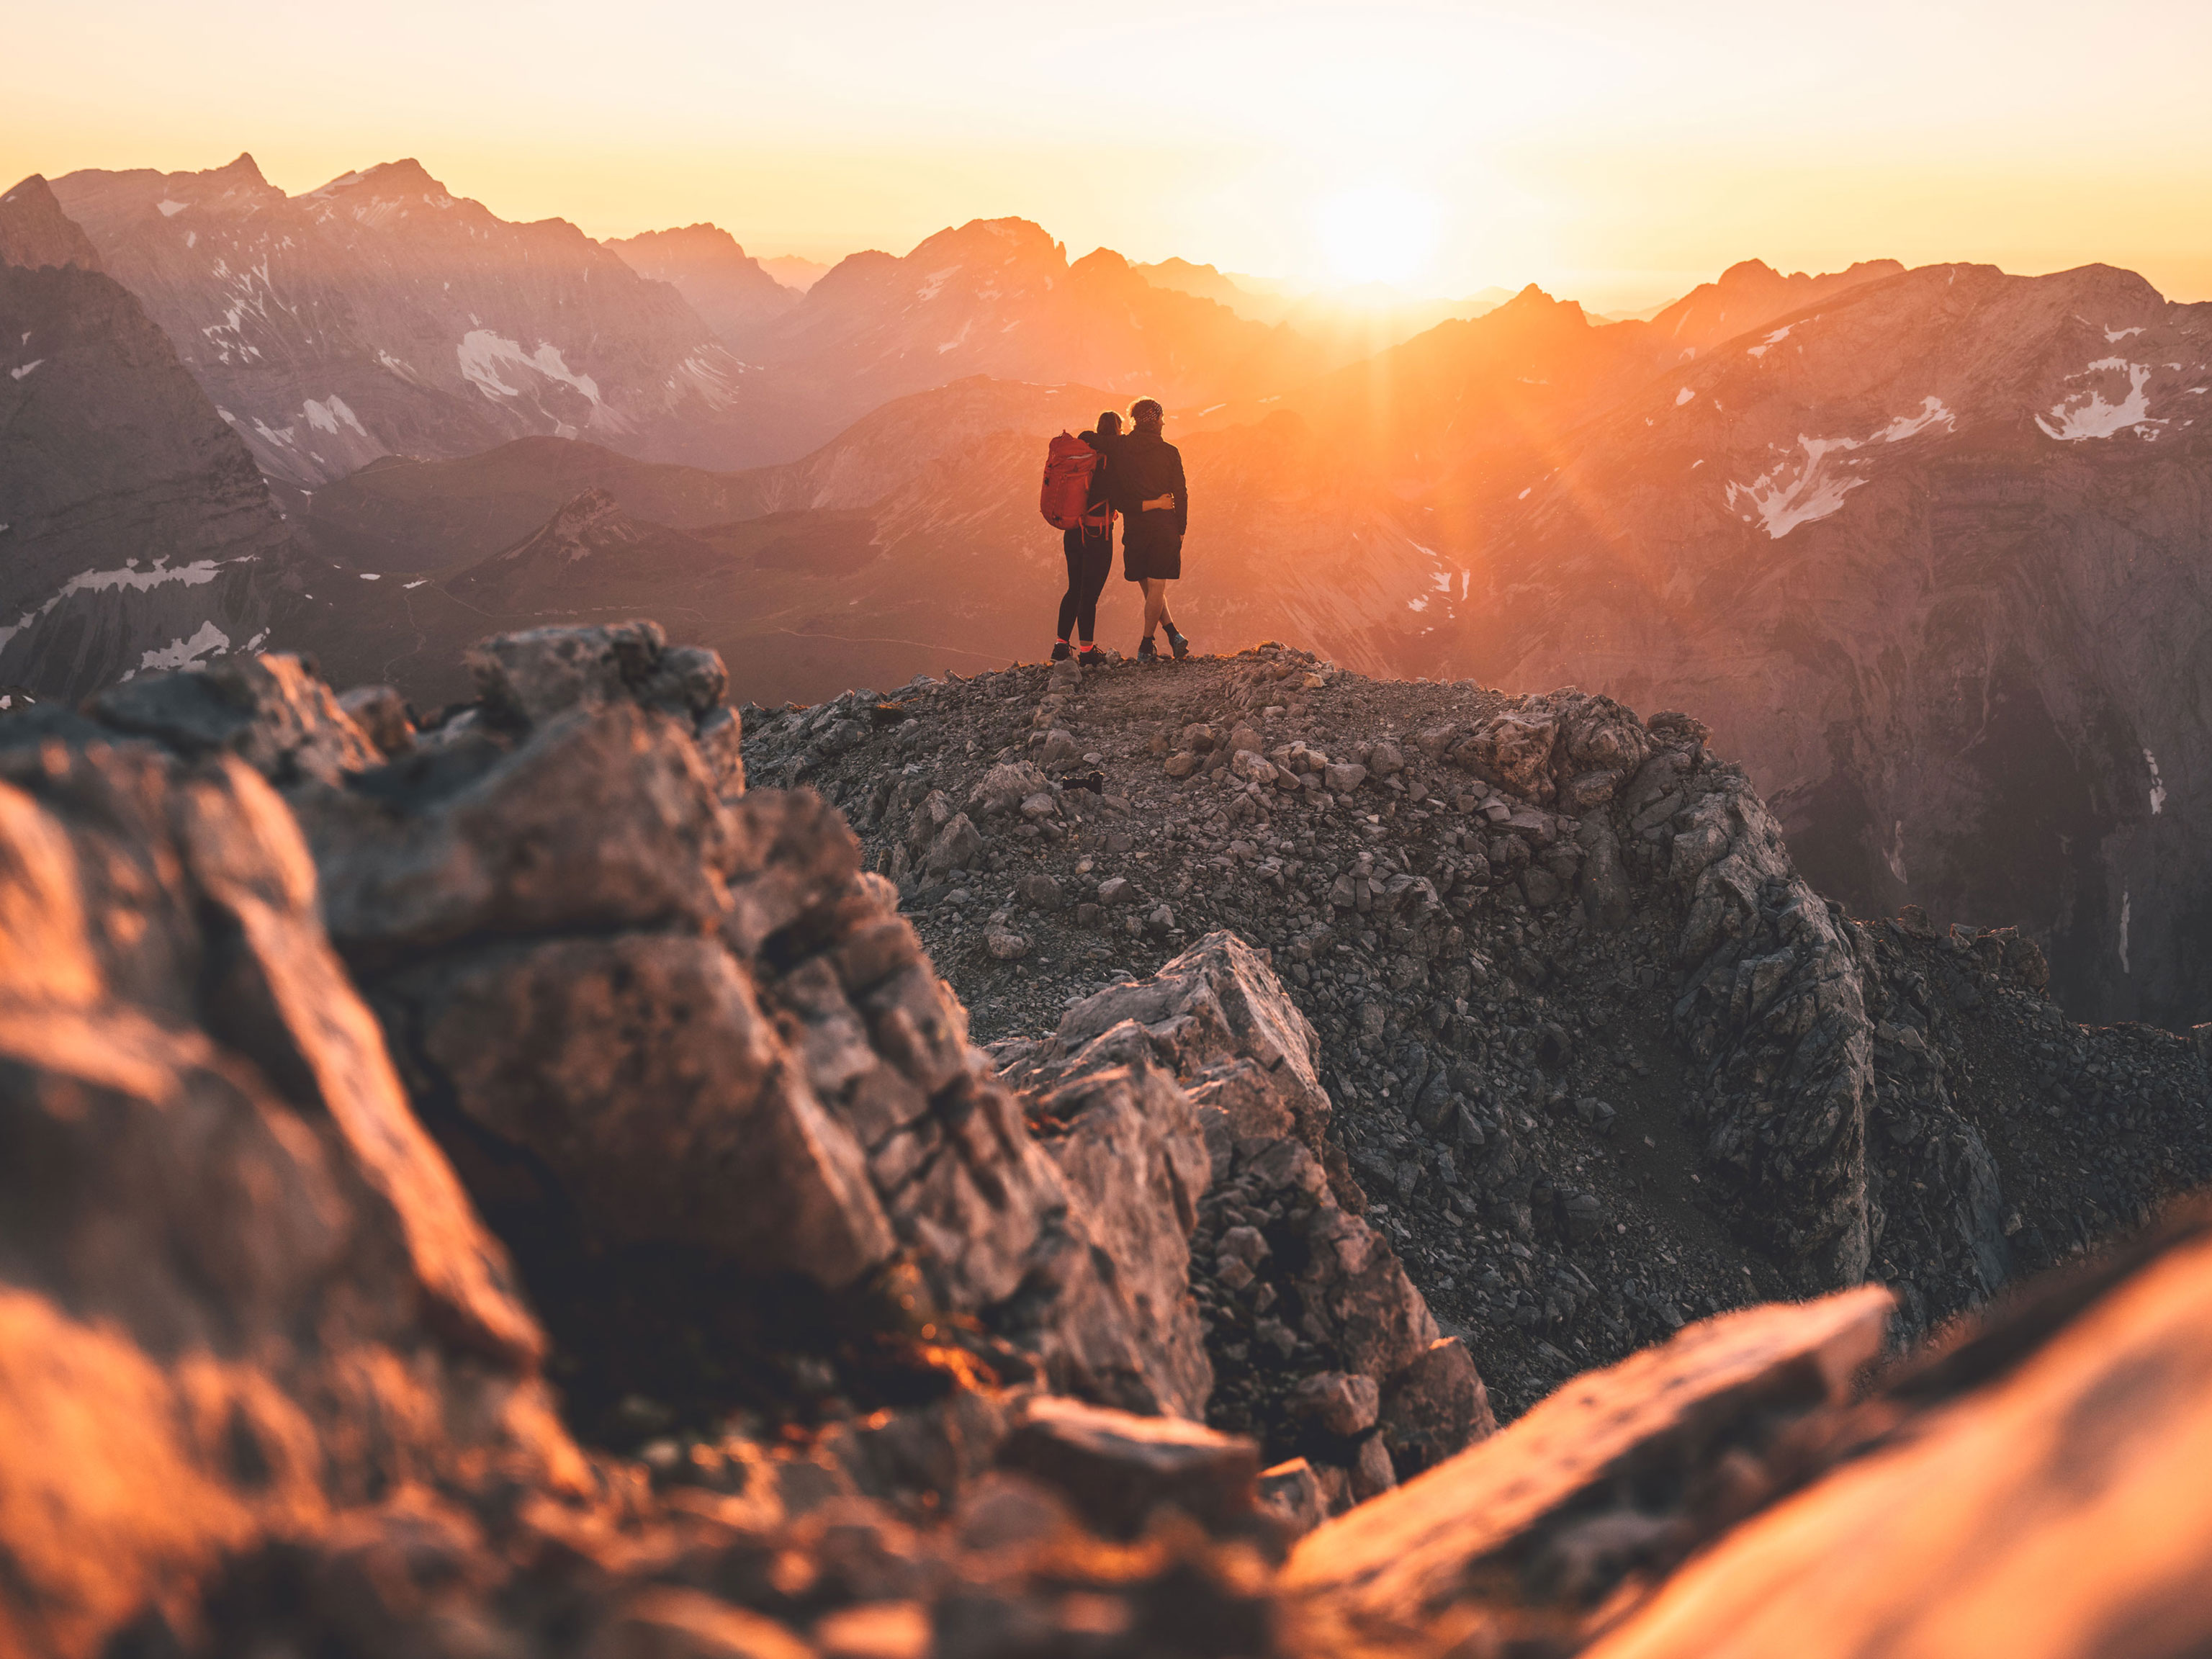
Unlike landscape photography, outdoor photography is all about integrating people in natural settings.
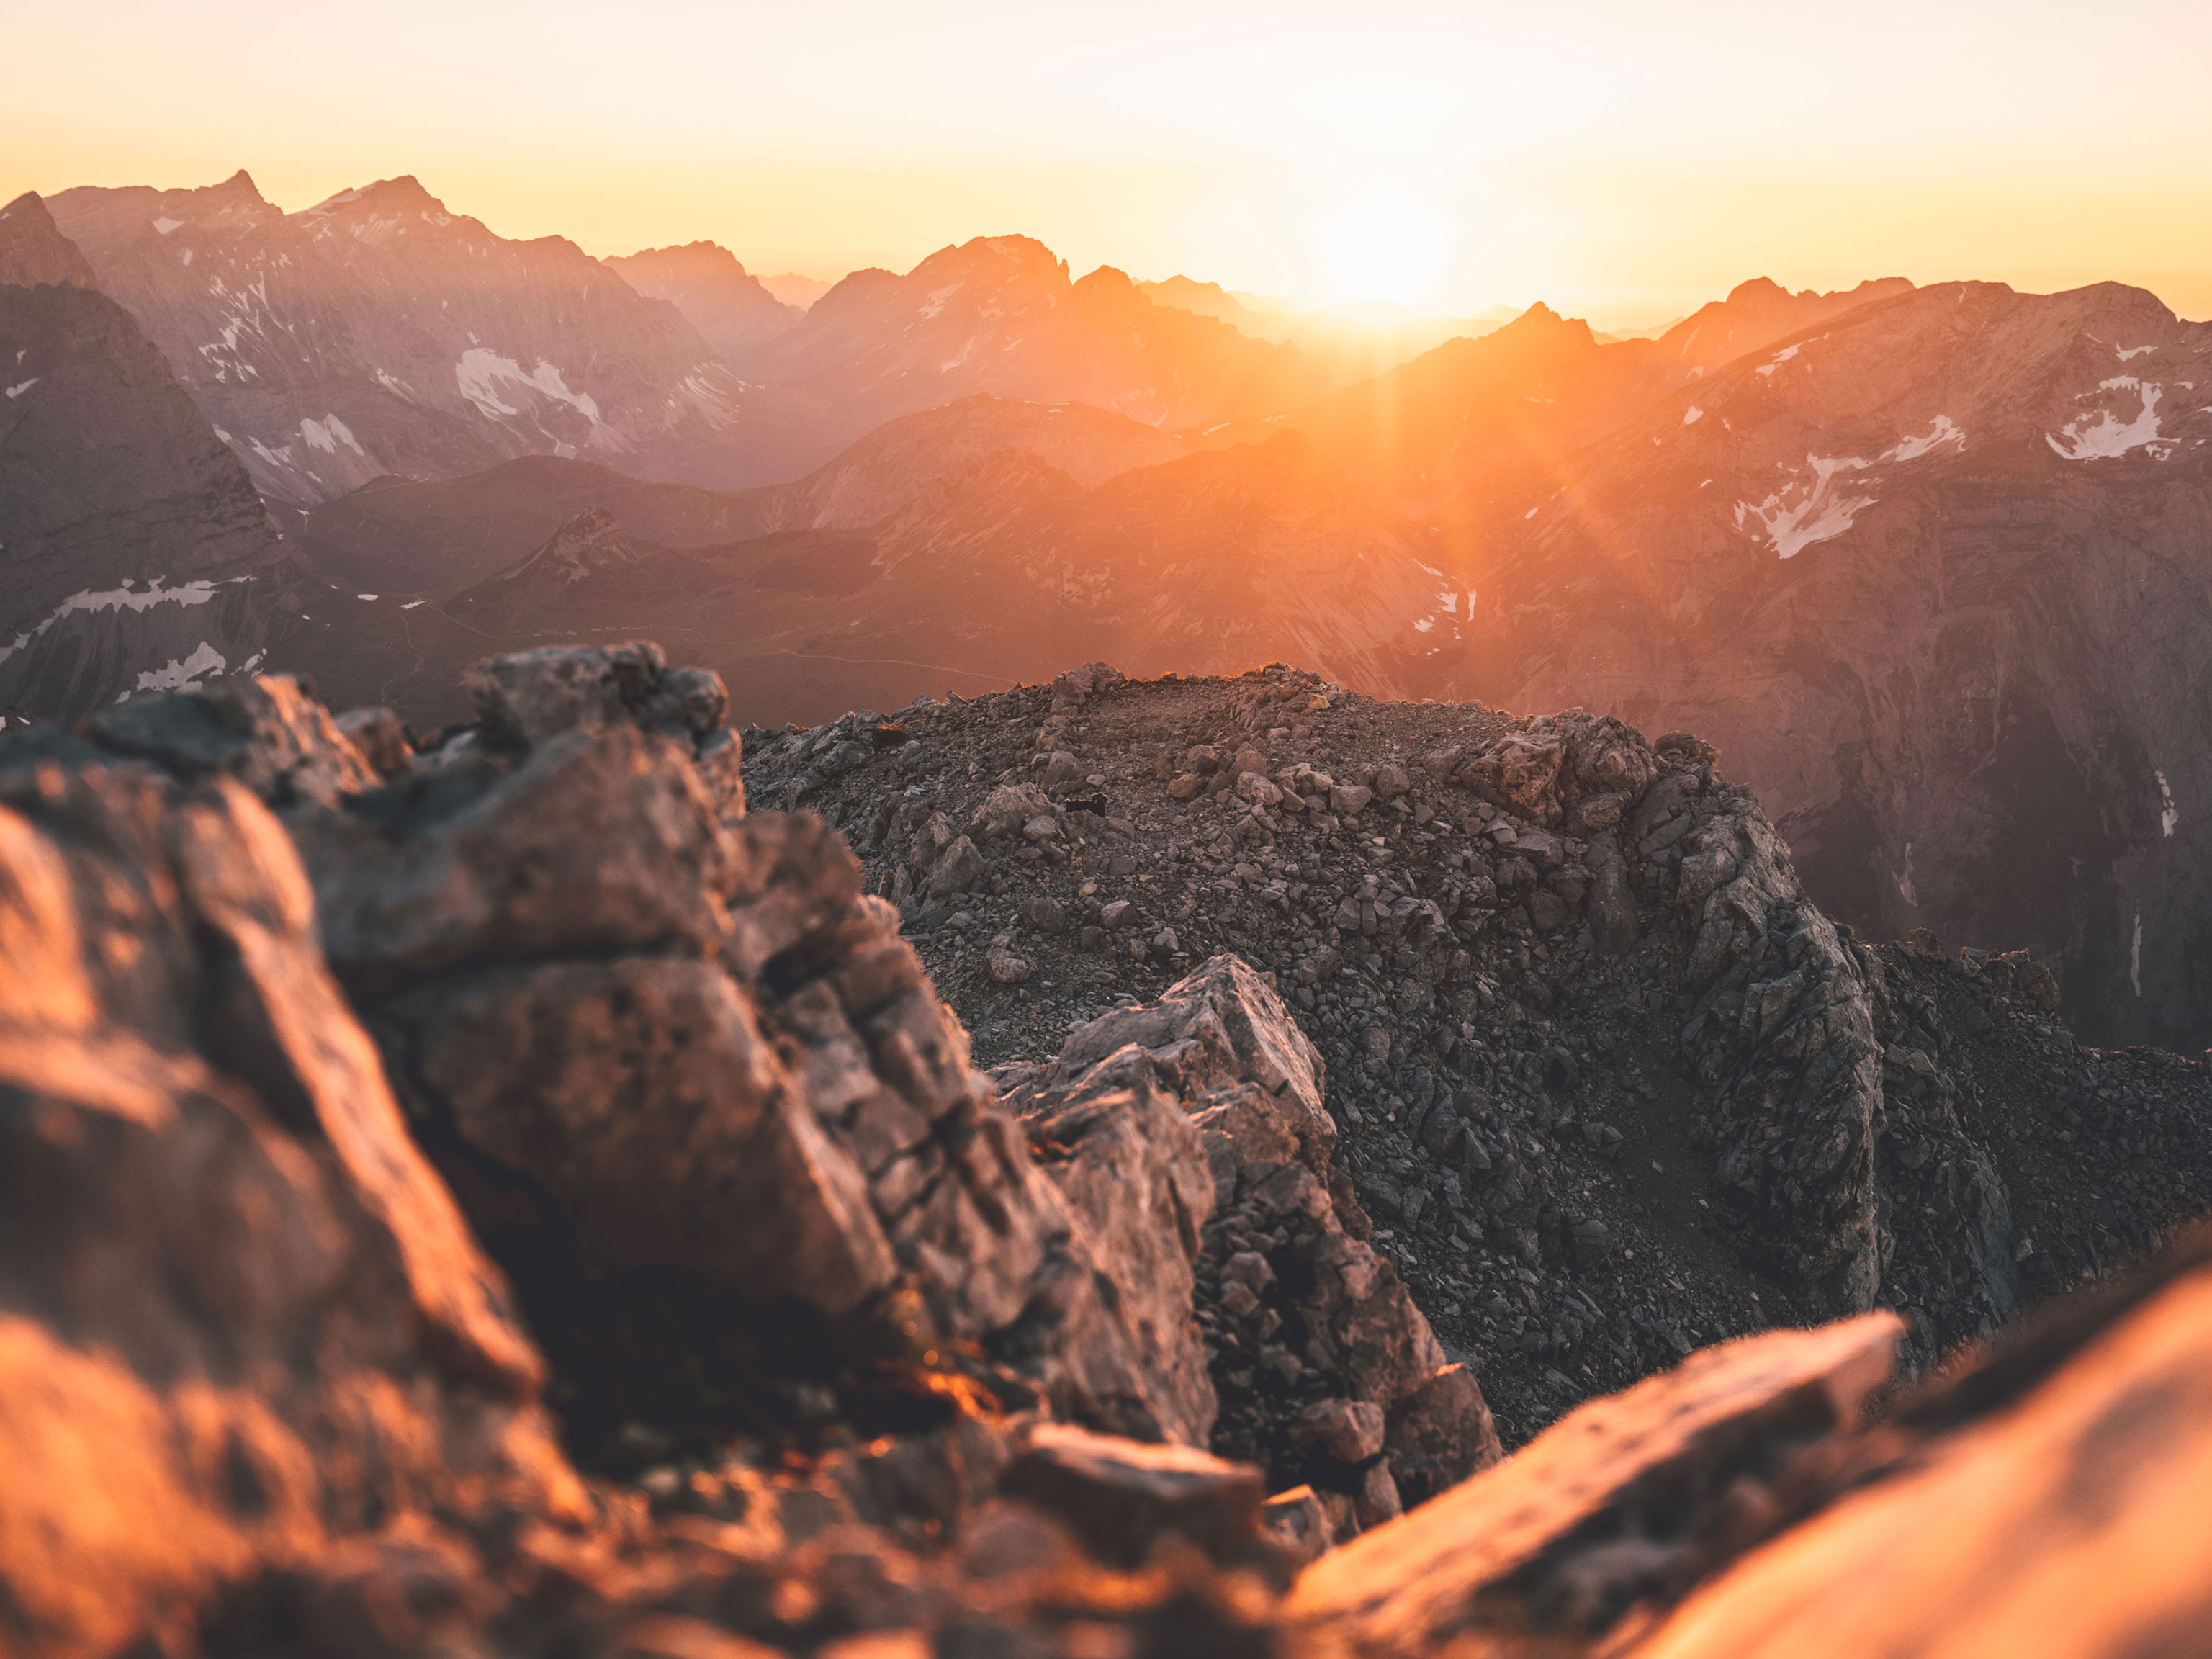
Look at the same picture without people in it. It’s still a beautiful landscape image – but feels somehow empty in comparison.
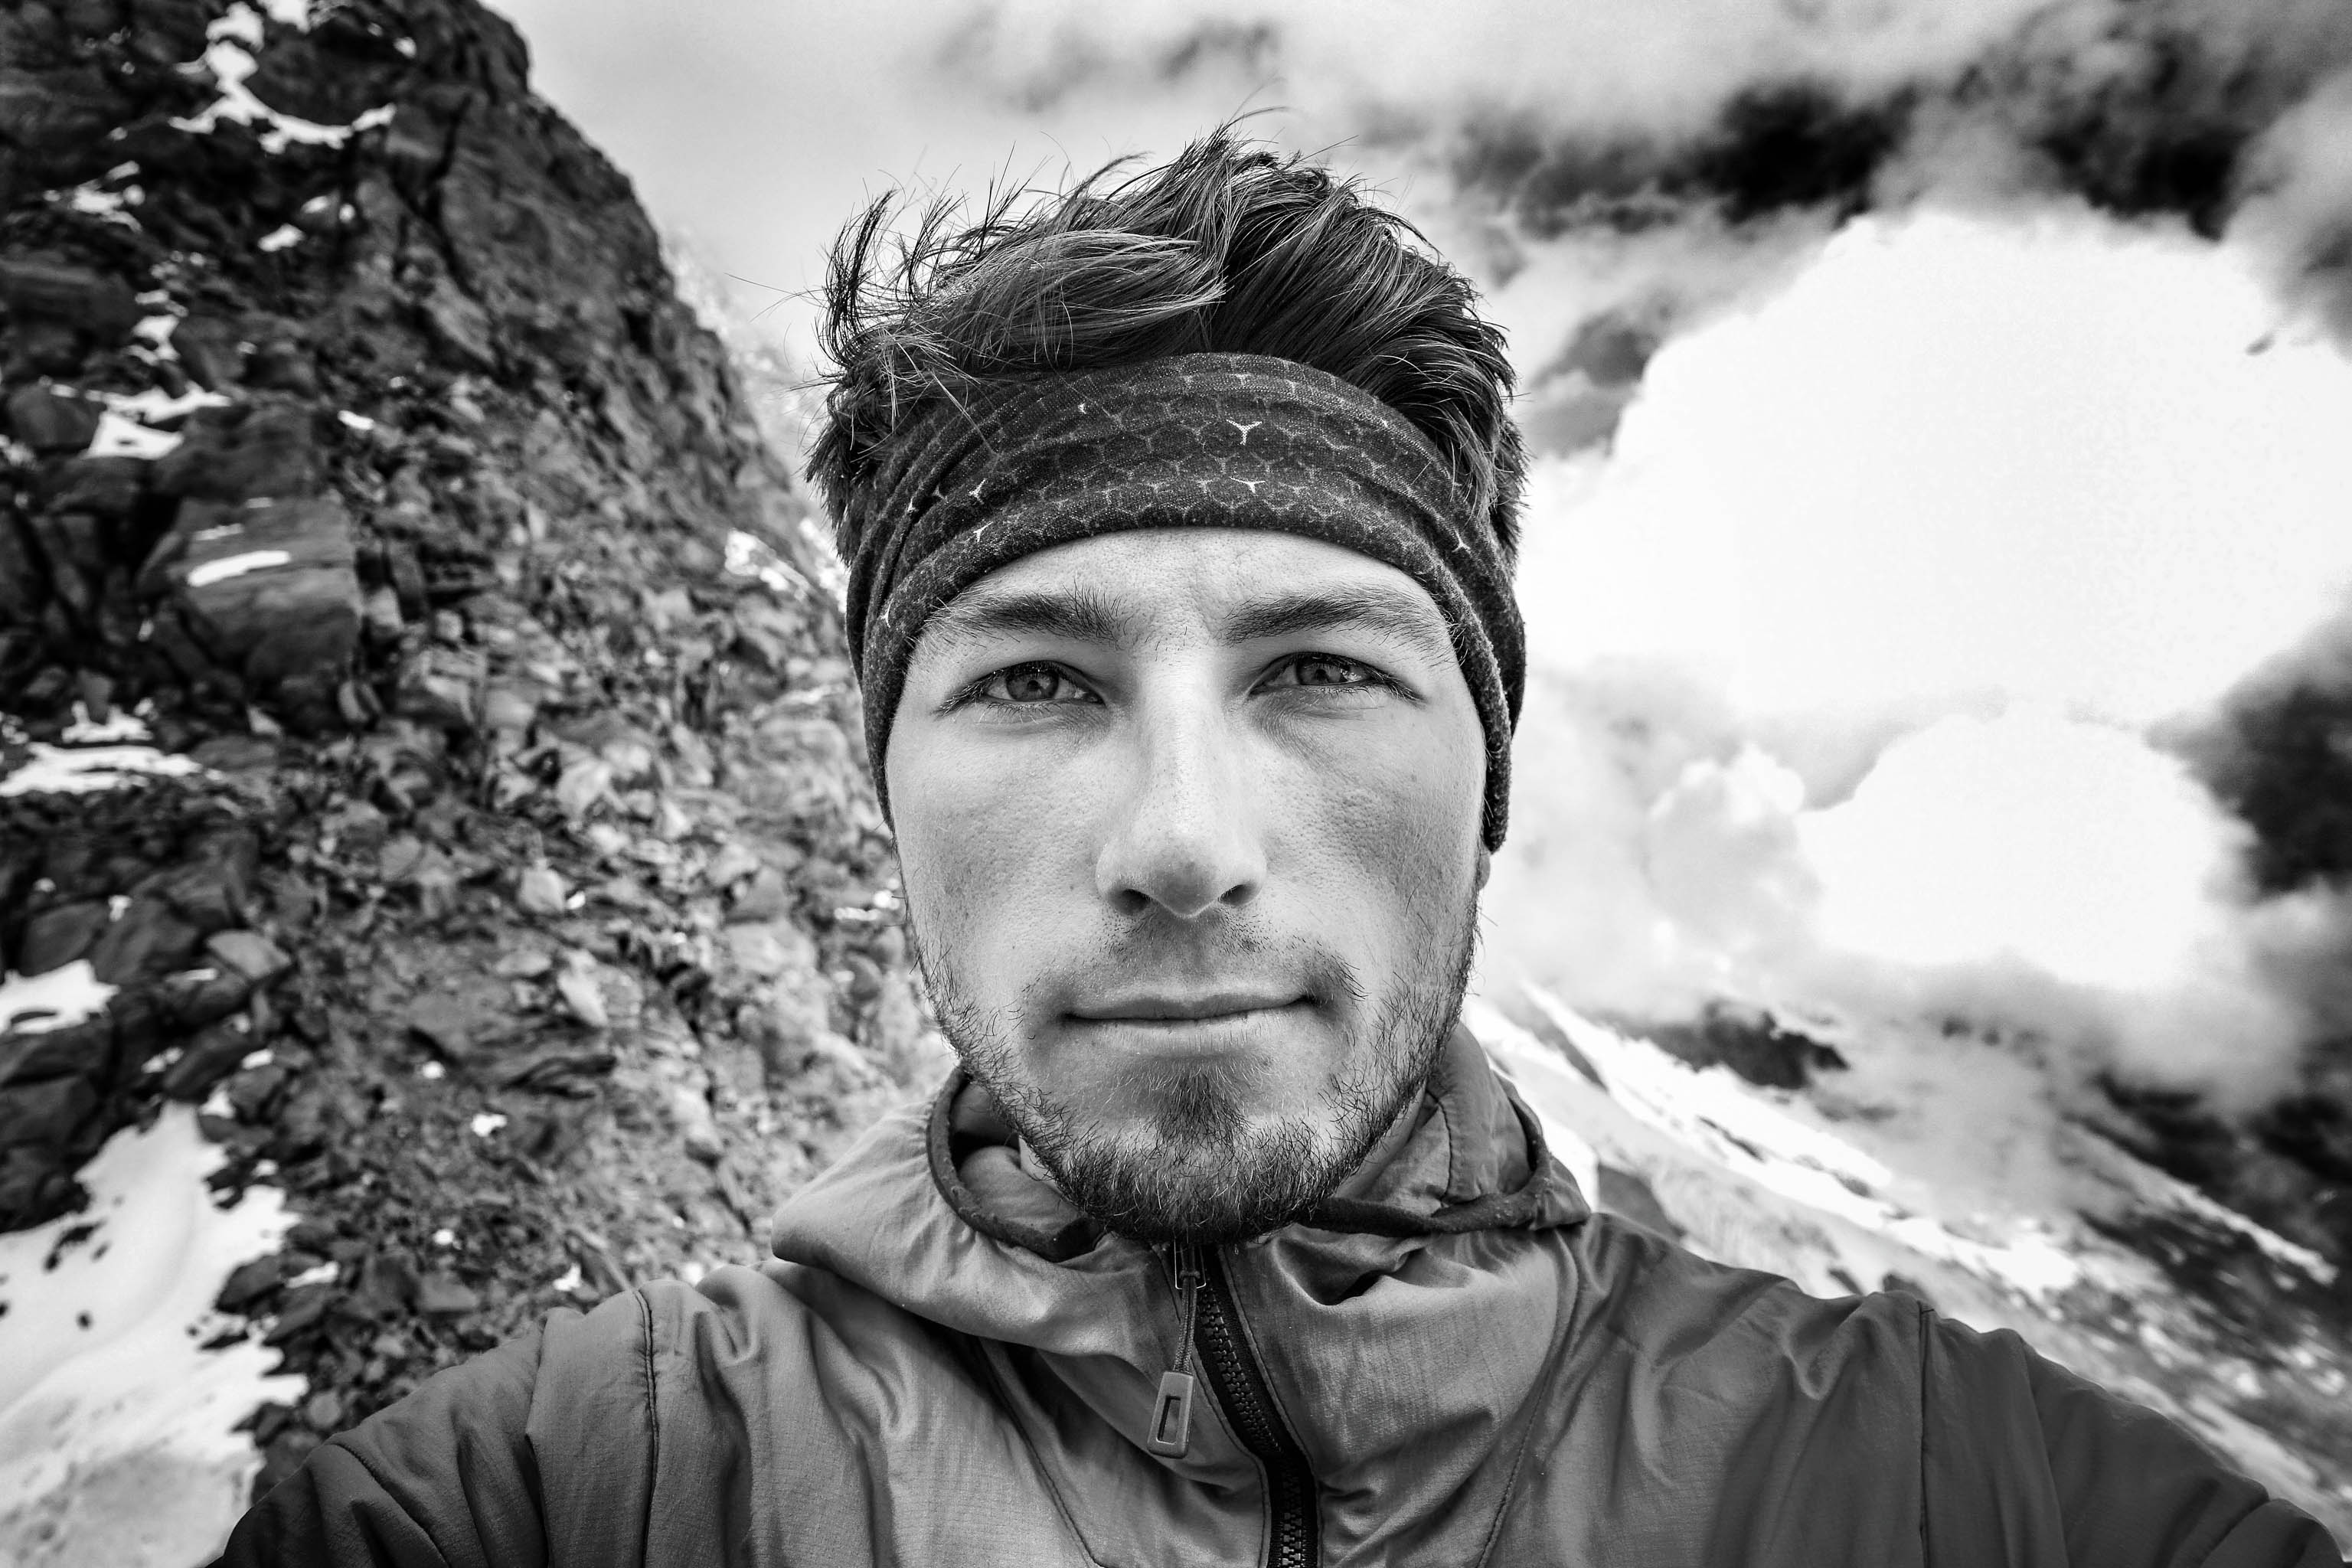
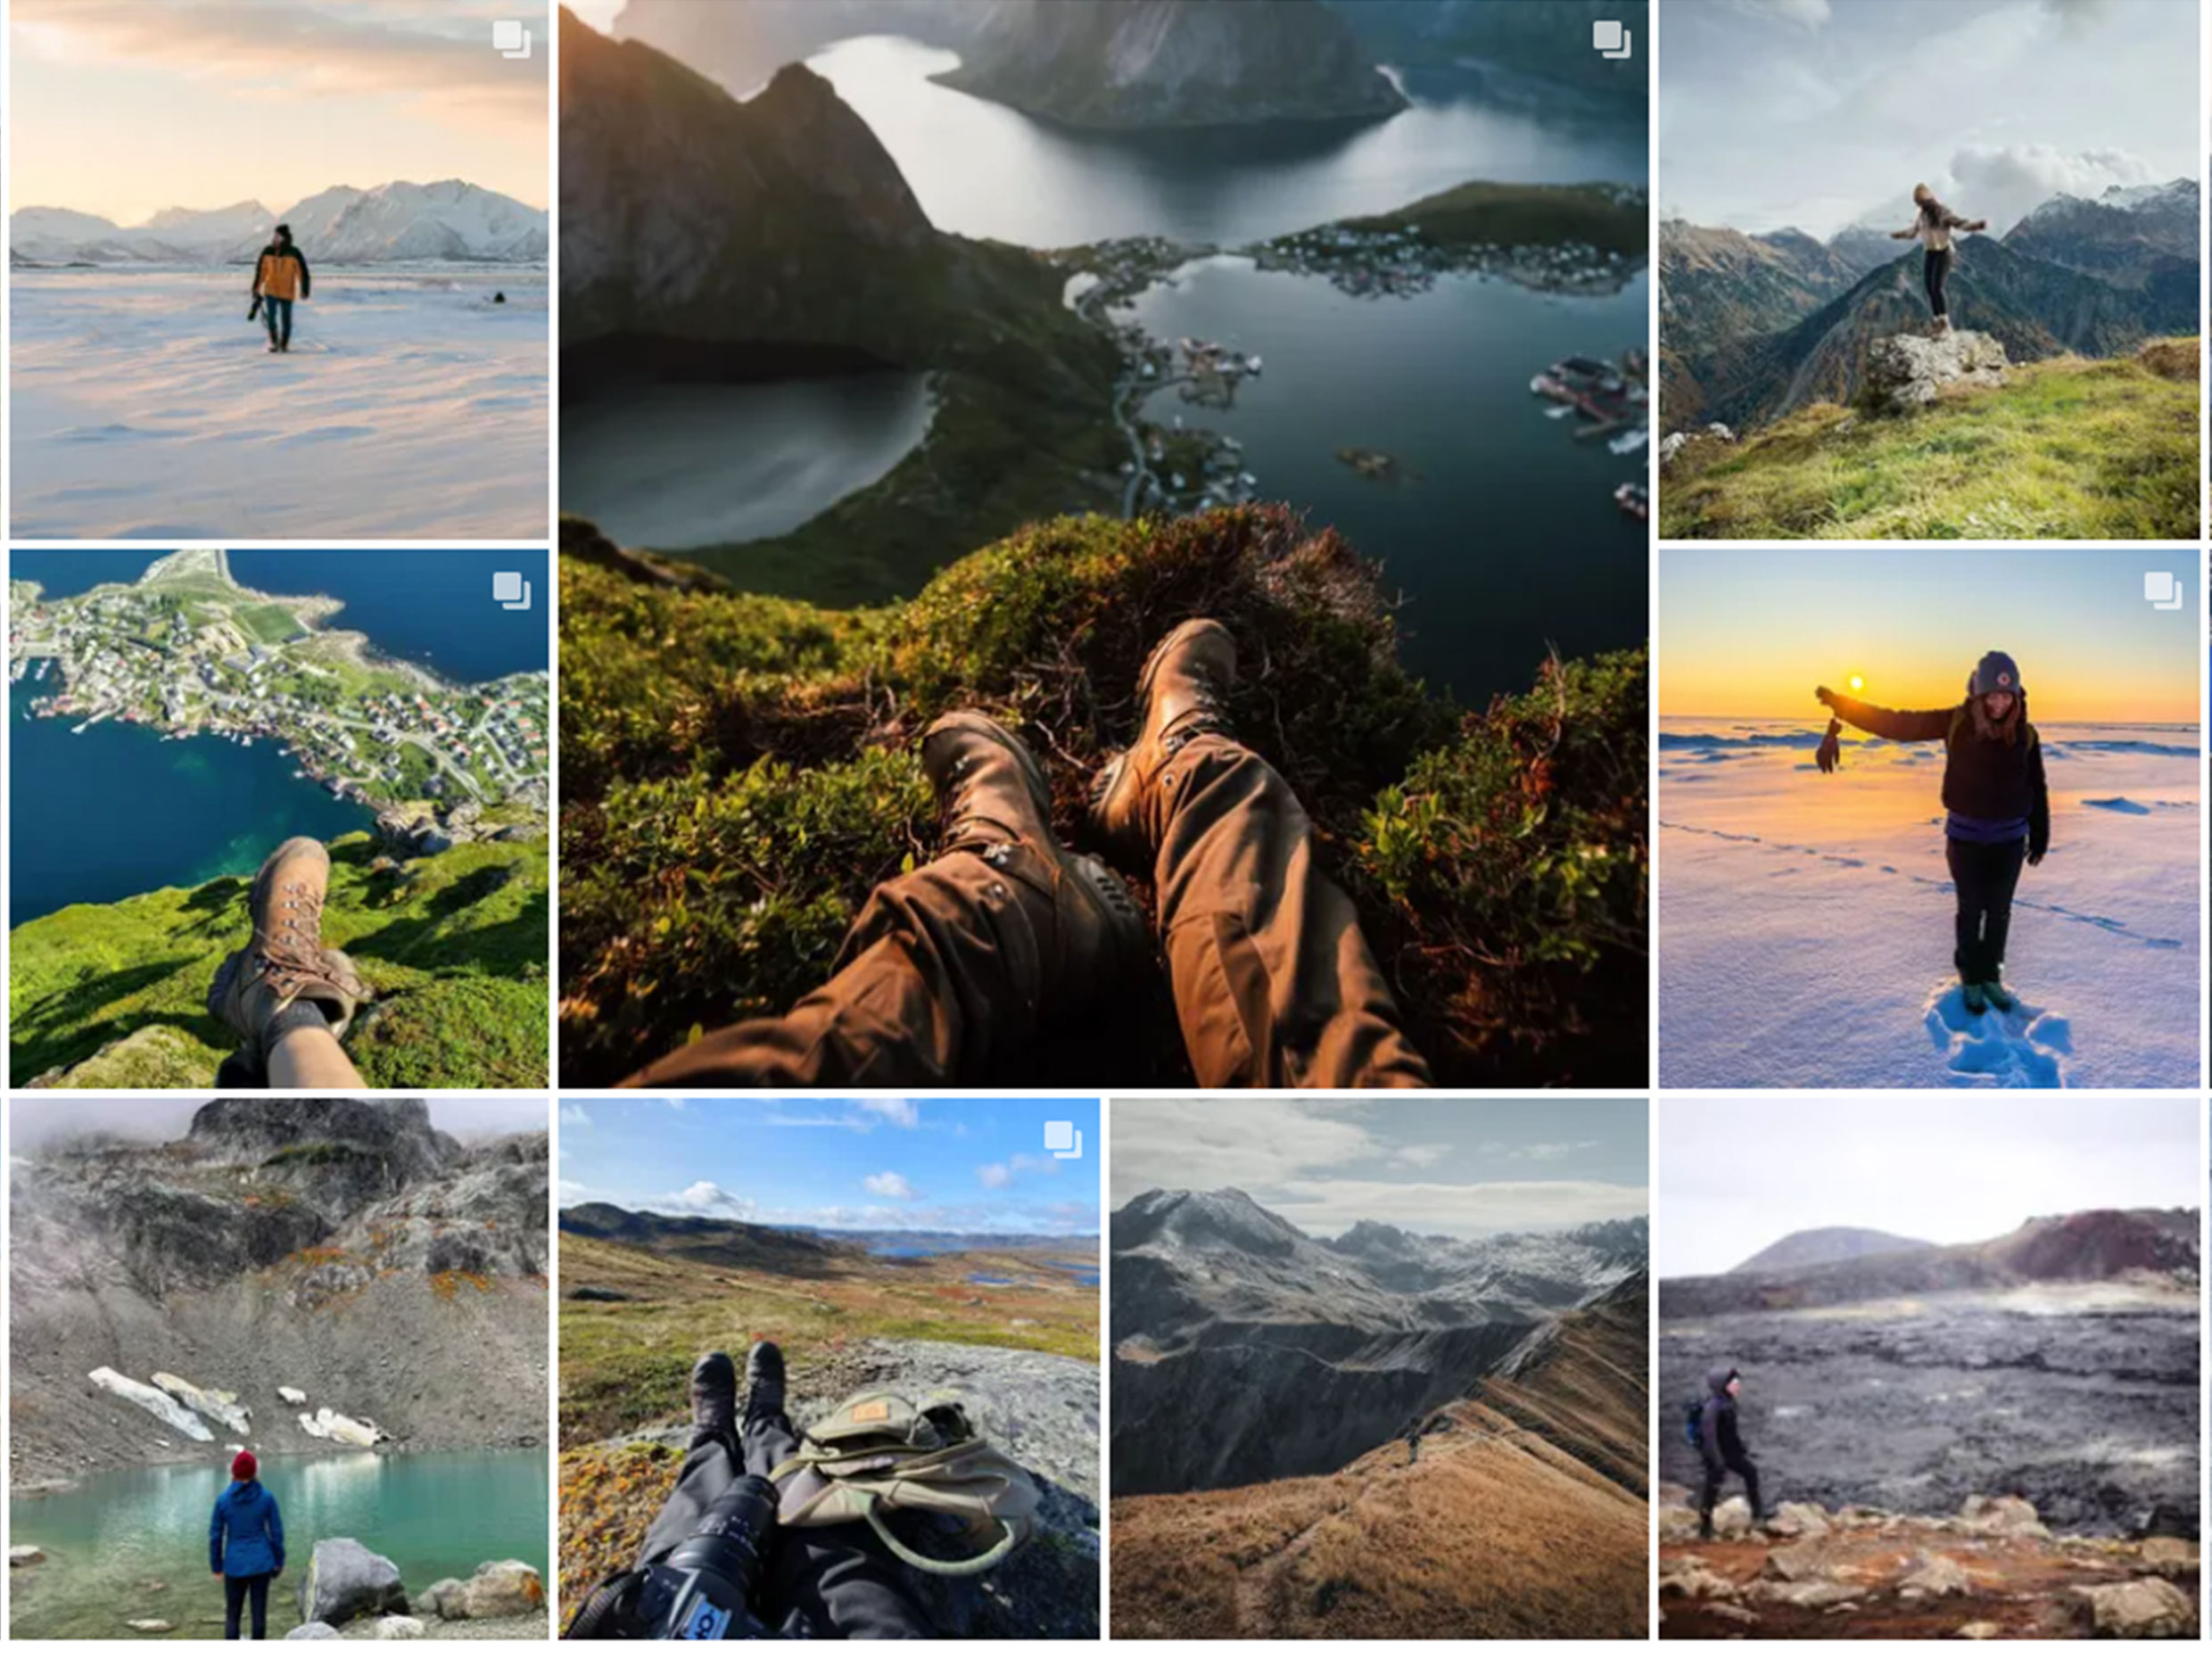
Pro Tip 5: Tell stories with your pictures
Telling strong stories is an important skill in advanced photography. It’s about more than just creating the perfect shot – it’s about being able to shoot a whole series of photos that work together to tell a story.
What are the participants experiencing? How can I depict this in a series of images? Sometimes you have to go in close, other times you want to be further away. Focus on the details, yet look to portray the overall experience: where are we?, who’s with us?, what are we doing? etc.
You might shoot in a more documentary style. Or you could be the director, issuing instructions, telling people where you want them, to get the shot you want.
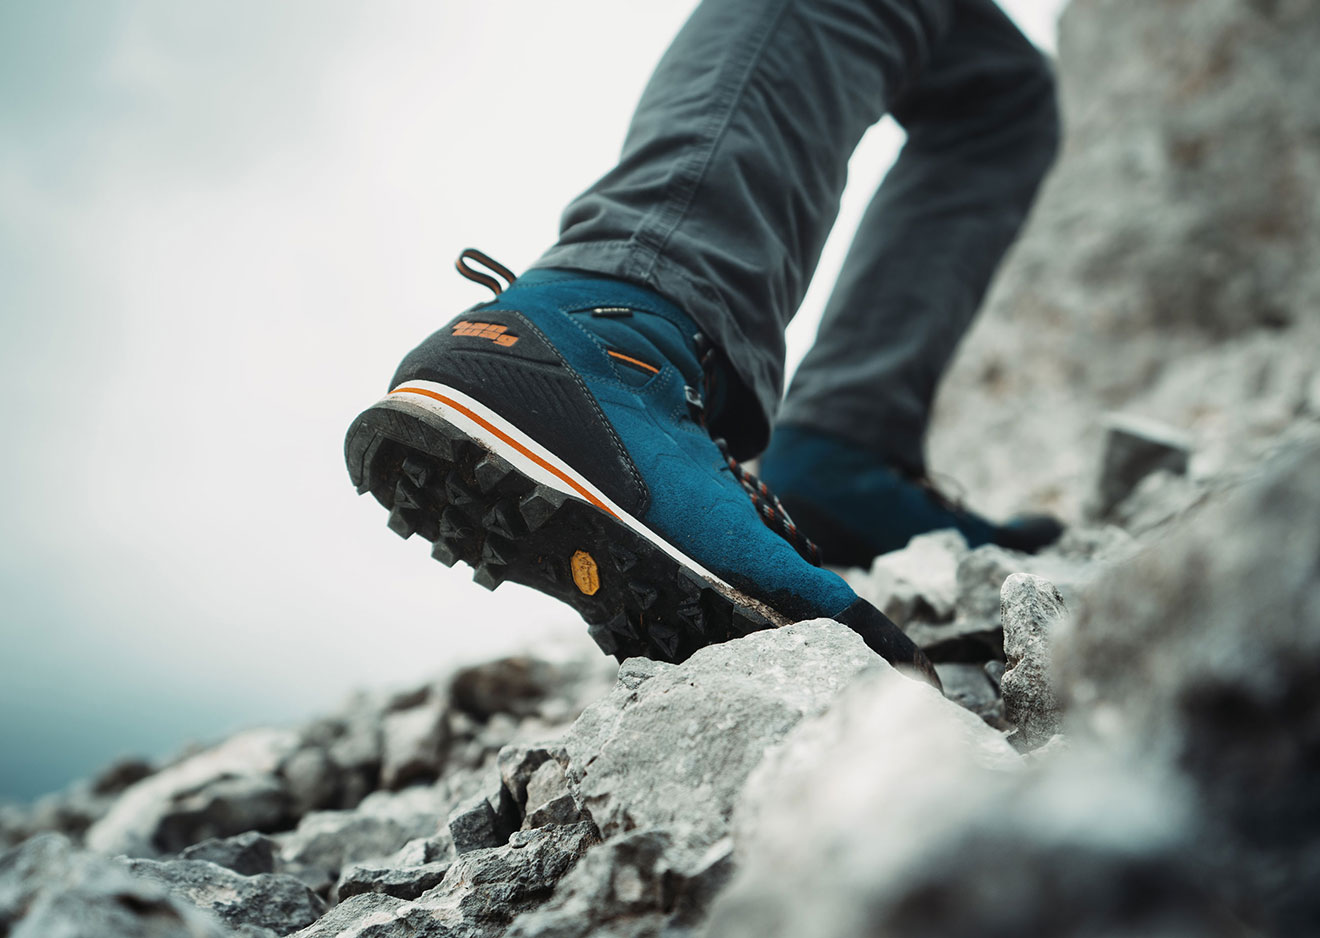
Click the slider for a storytelling example
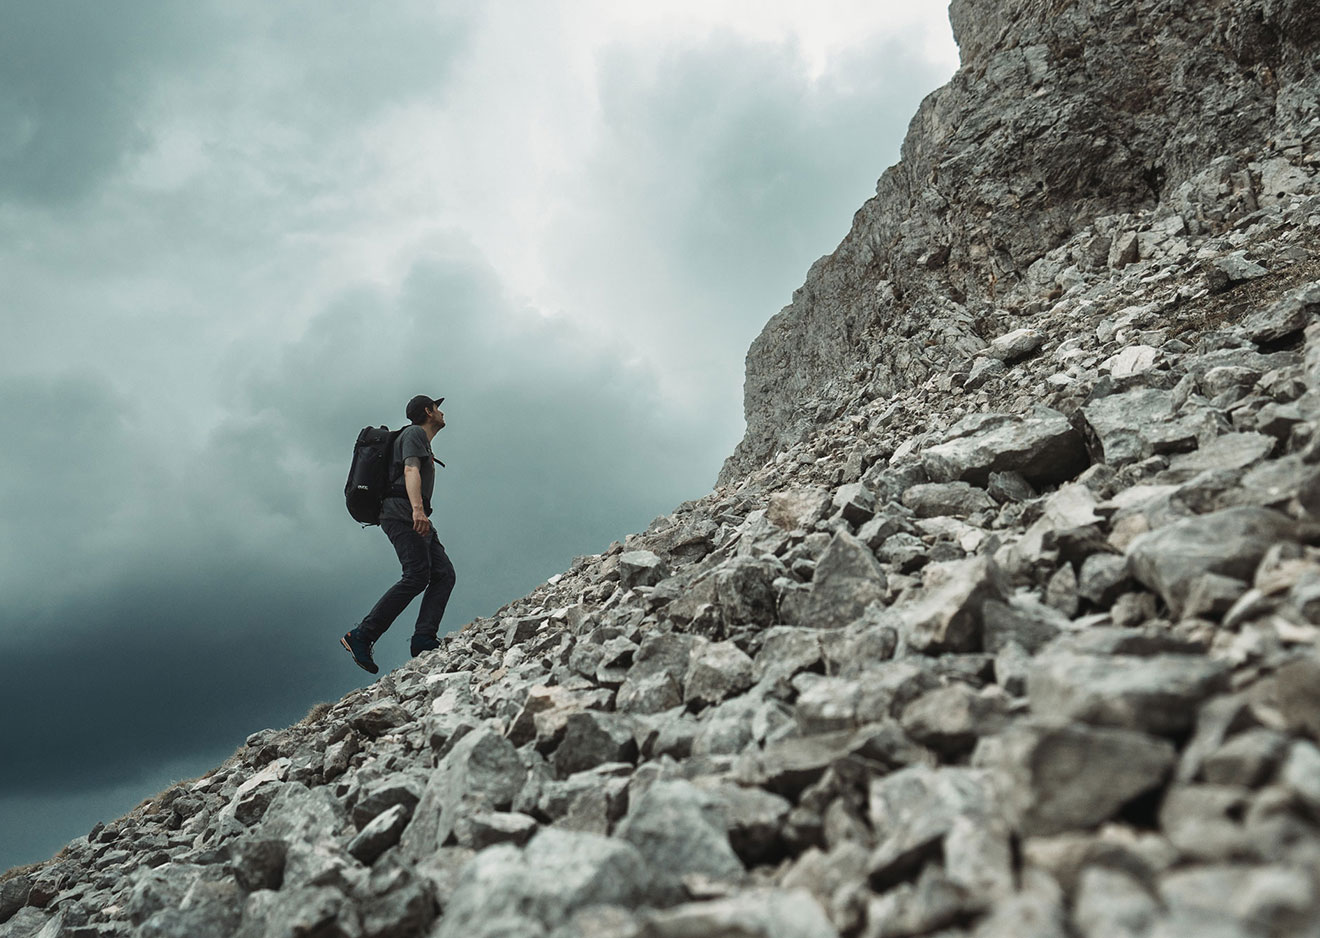
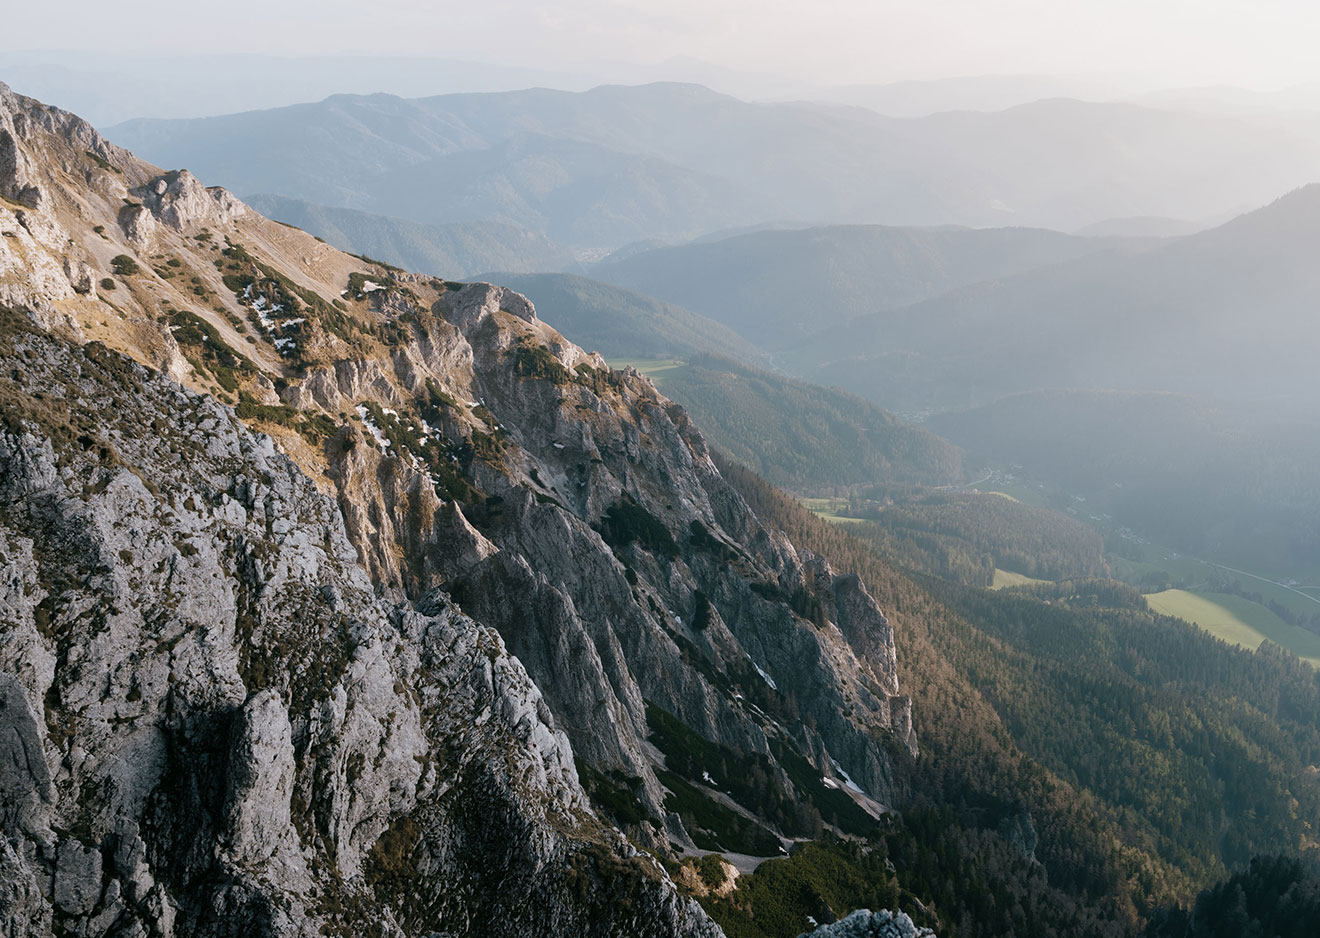
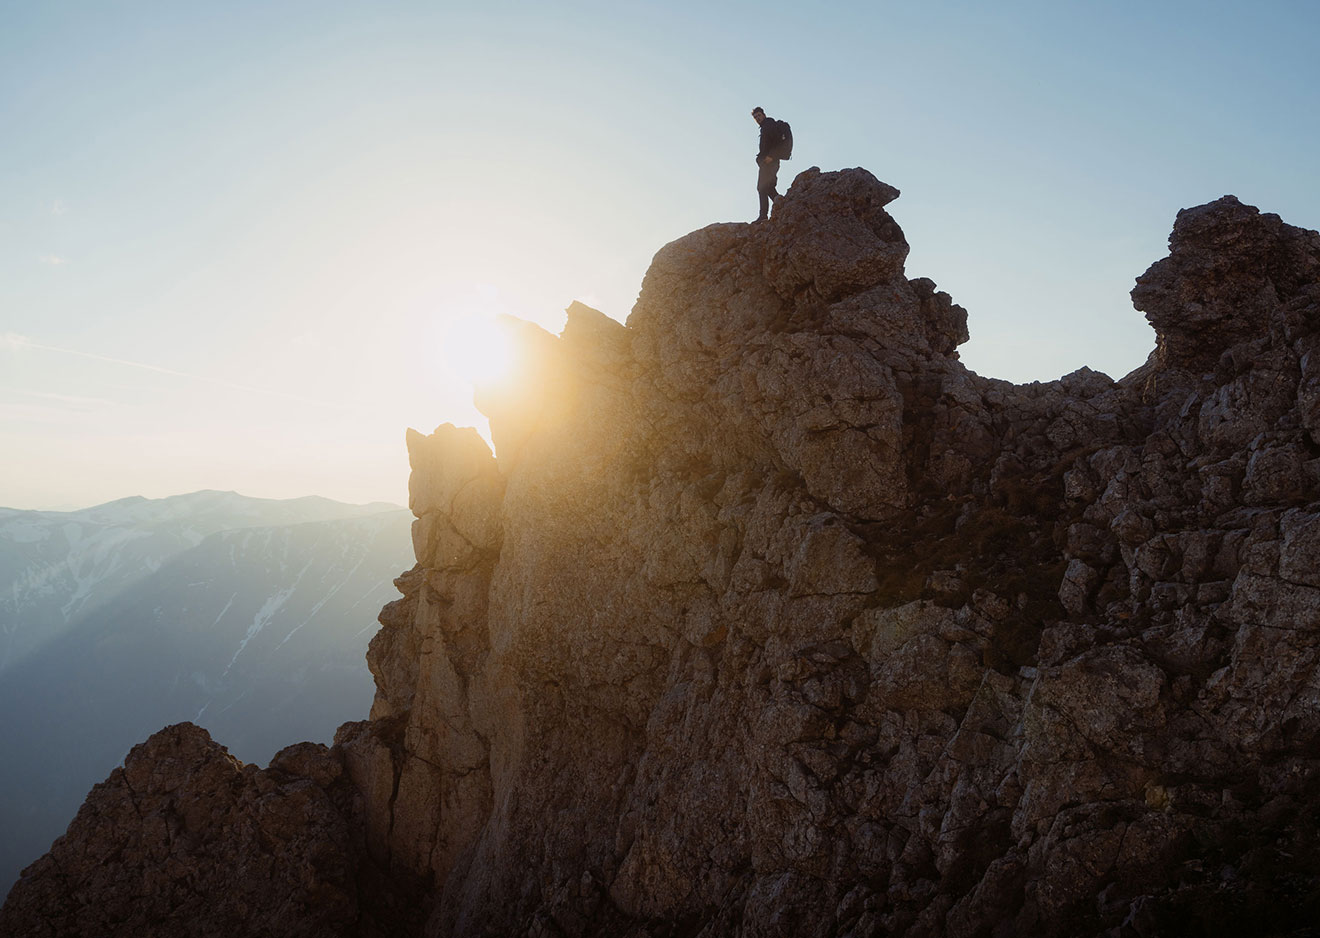
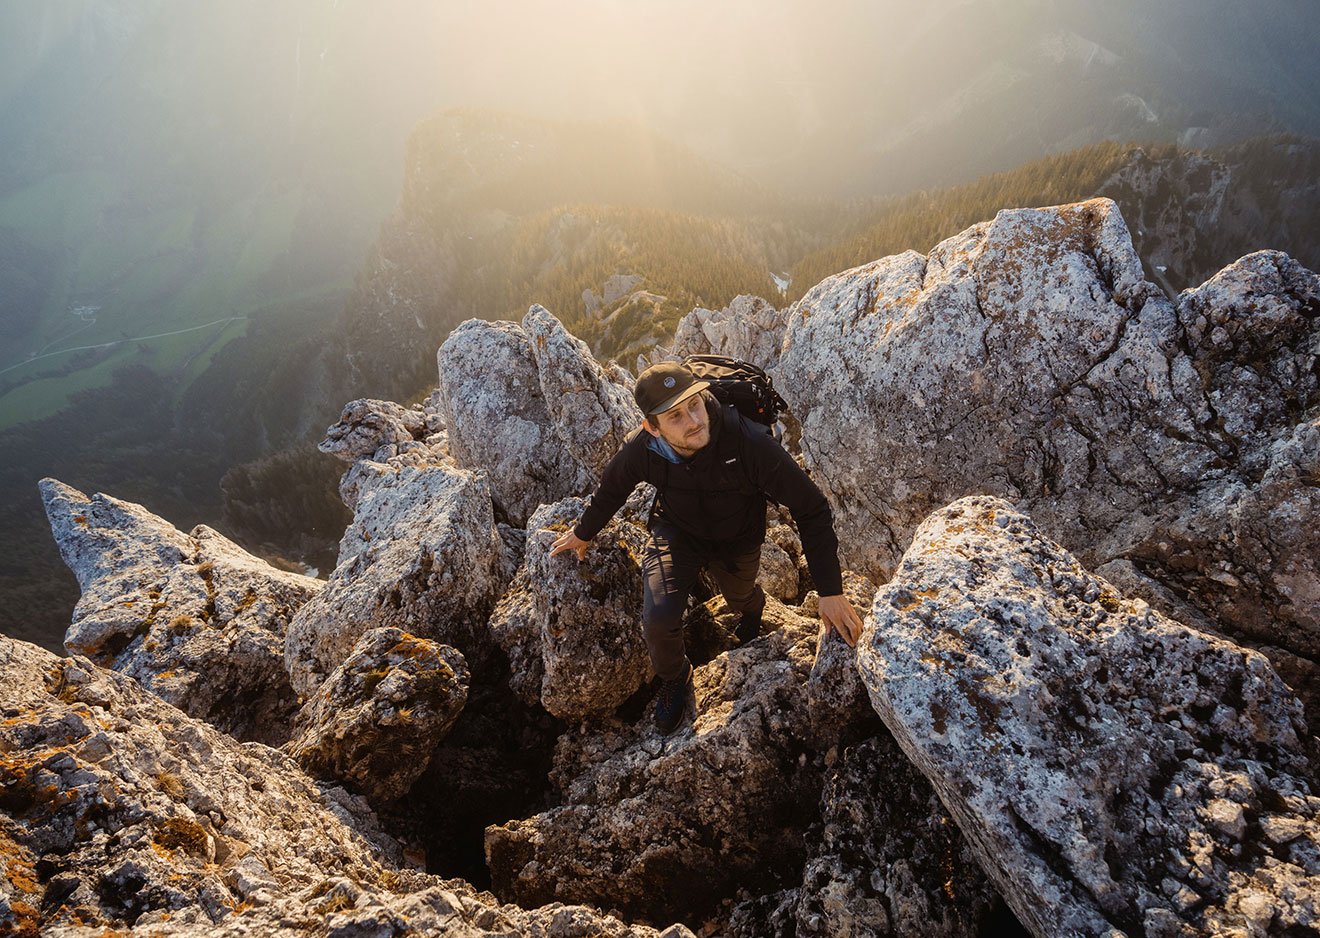
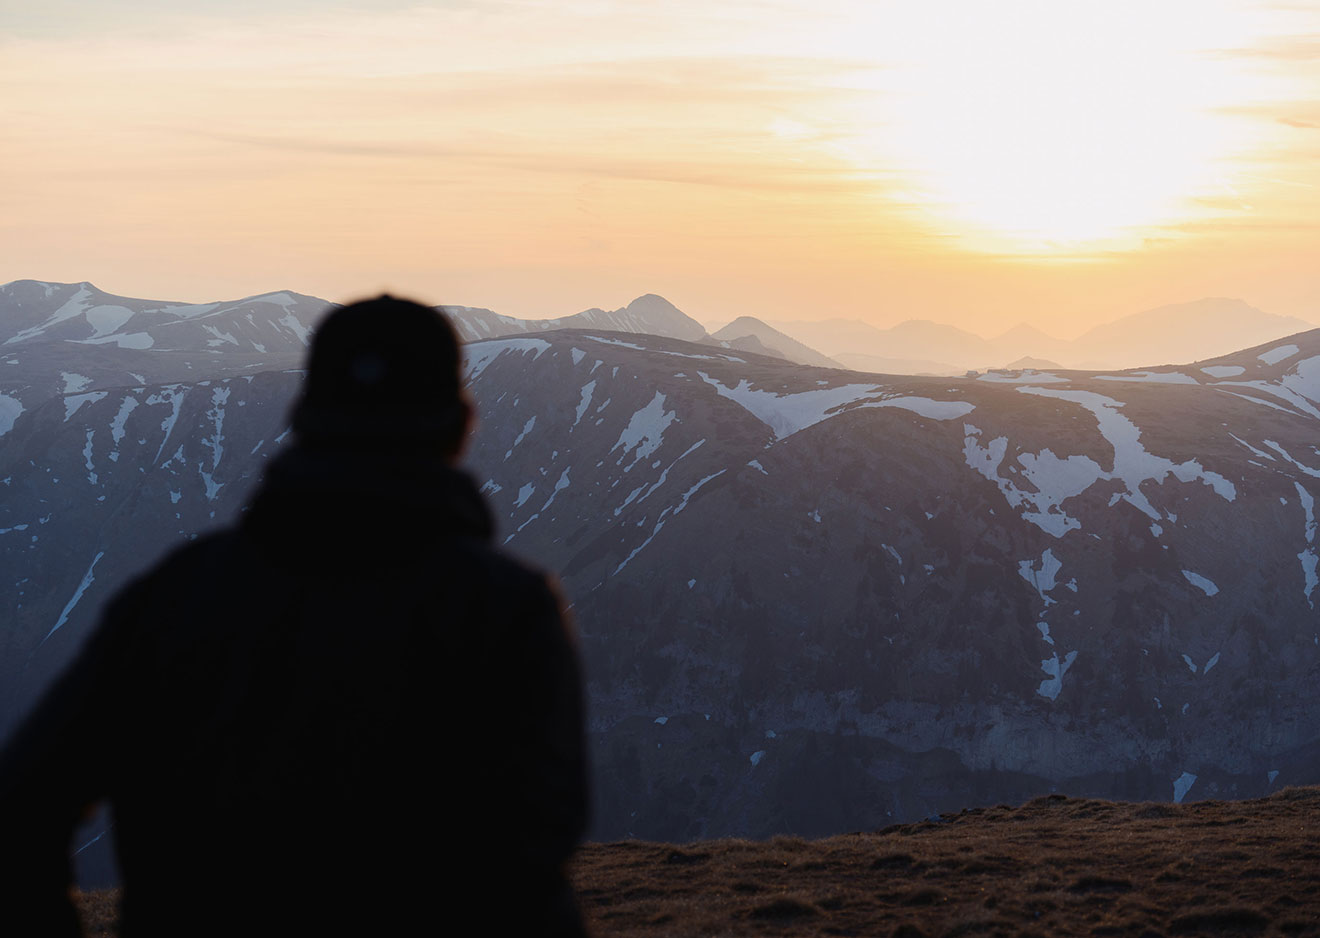
Using photos to tell a story is a technique for advanced practitioners. The six photos here in the slider tell the story of a mountain climb using different subjects, settings and perspectives.
Using photos to tell a story is a technique for advanced practitioners. The six photos here in the slider tell the story of a mountain climb using different subjects, settings and perspectives.
Using photos to tell a story is a technique for advanced practitioners. The six photos here in the slider tell the story of a mountain climb using different subjects, settings and perspectives.
Using photos to tell a story is a technique for advanced practitioners. The six photos here in the slider tell the story of a mountain climb using different subjects, settings and perspectives.
Using photos to tell a story is a technique for advanced practitioners. The six photos here in the slider tell the story of a mountain climb using different subjects, settings and perspectives.
Using photos to tell a story is a technique for advanced practitioners. The six photos here in the slider tell the story of a mountain climb using different subjects, settings and perspectives.
Conclusion: Experiment and try things out
Why not try out some of Roman’s tips on your next hike or during your next holiday – you’re bound to take better photos. And here’s one final piece of expert advice to take with you.
“Don’t get too hung up on expensive equipment or photography techniques when you start out. Get outdoors as much as you can, and try out new things with your camera. The best way to learn how to take good photos is through regular practice. And the great thing about outdoor photography is that we can pursue our hobby out in nature with friends. So, charge up your batteries and get out there!”

Ingo Wilhelm
You’ll find him hiking, mountain biking or ski touring. Mainly in the Alps. Favourite destination: Iceland.